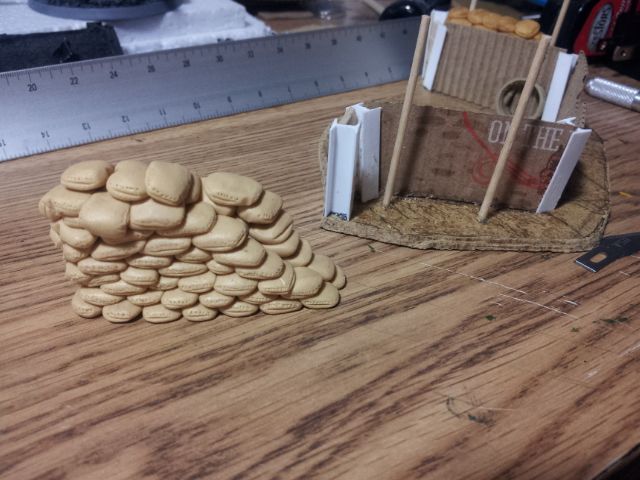
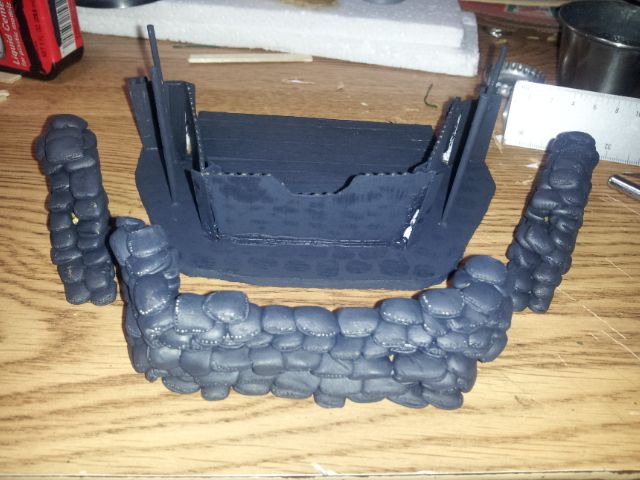
With the base all set, its time to add sandbags. I use Sculpey polymer clay for my sandbags, rolling it into a 1/4" dia. sausage and then cutting it into roughly 3/8" lengths. Once cut, I shape the segments and place them.
It is a time consuming task, but the results are worth it. I built up the sandbags in three sections, baking each separately.

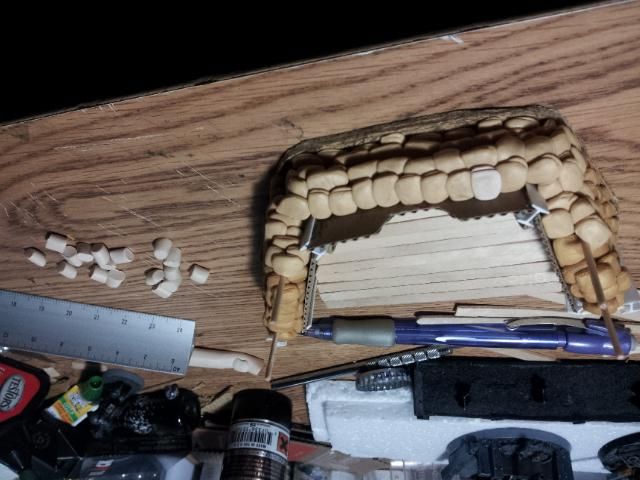
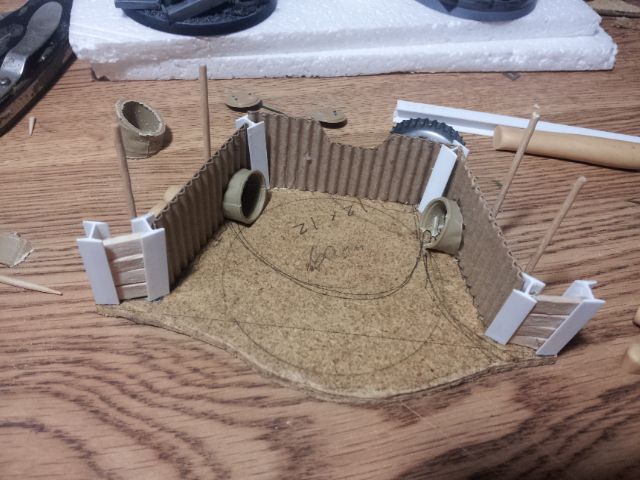
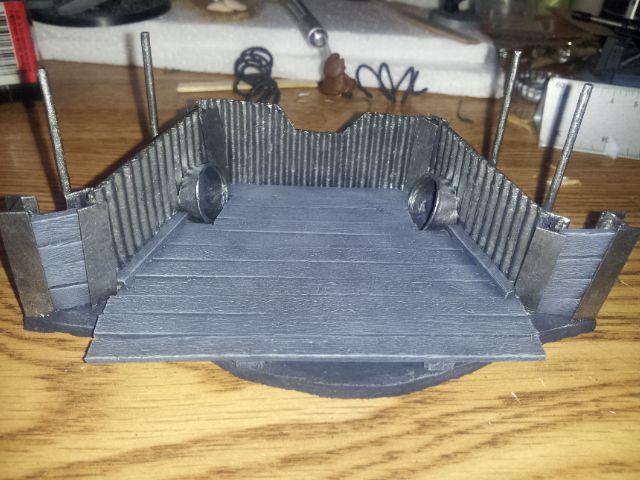
The pictures are a bit out of sequence since I ran out of Sculpey while working on the front section of the sandbags. The grenade sumps are made from a Tamiya 1/35th scale barrel. After the barrel ends were installed, I put down some duck board, using coffee stirrers.
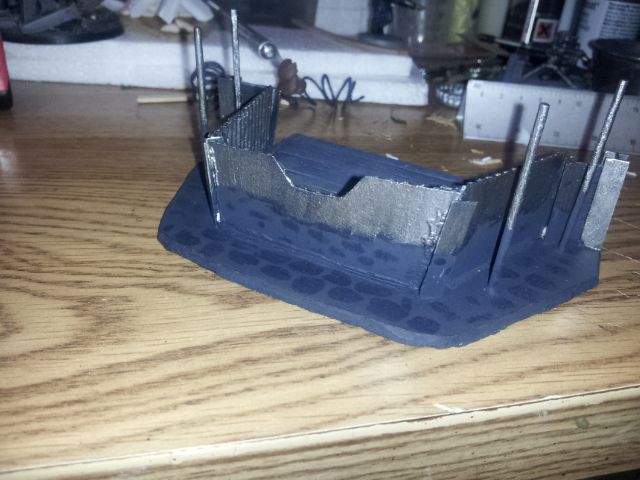
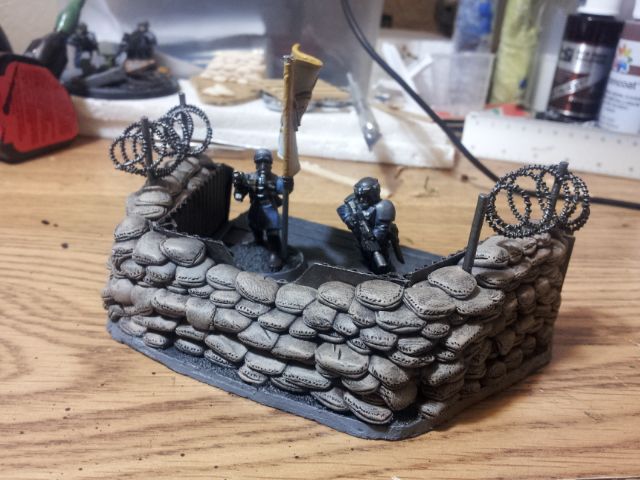
Everything got coated with Delta black, and then base colours and initial drybrushing. The metal parts were all painted with Game Colour Gunmetal Metal. The decking and wood retaining walls were painted with Codex Grey and then drybrushed with Fortress Grey. The sandbags were painted with Delta Brown Iron Oxide, then overbrushed with Graveyard Earth and Kommando Khaki. Finally, everything was given a healthy black ink wash. The last picture up there shows some spots in the black basecoat; these are from the uncured sandbags sitting there. That's right, Sculpey sweats; so beware. Those little spots haven't bothered me before, but your mileage may vary.


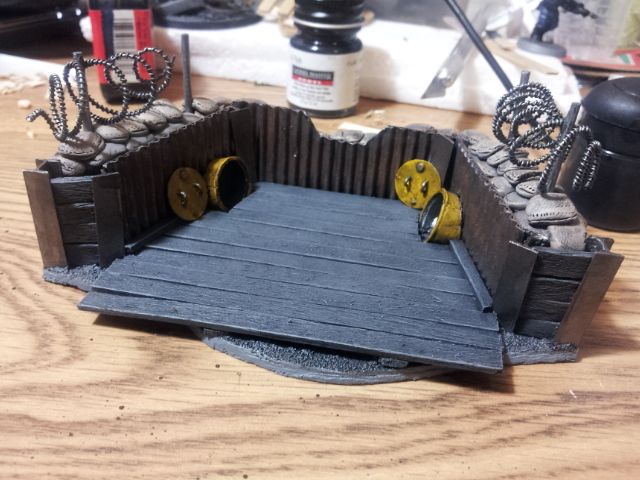
I weathered the corrugated metal by stippling using Delta Burnt Umber and Delta Brown Iron Oxide. Once that dried, I gave it a drybrush of Gunmetal Metal. The grenade sumps were painted with Tausept Ochre, then Golden Yellow. The sandbags were finished with another heavy drybrush of Kommando Khaki. The few spots with sand on the base is Citadel Astrogranite textured paint. This stuff has its uses, even if it is a pain to get out of the pot.
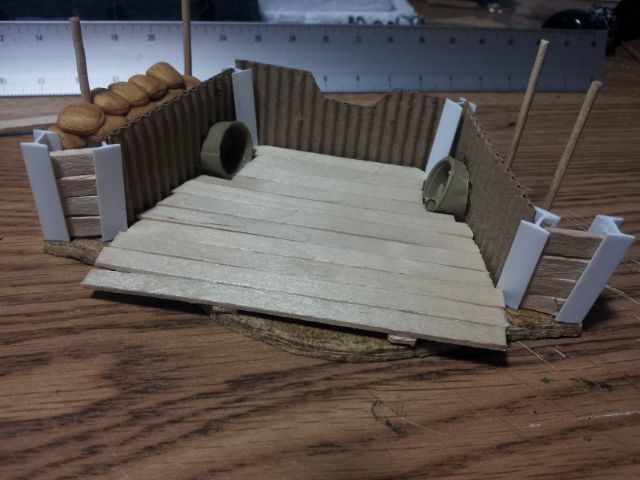
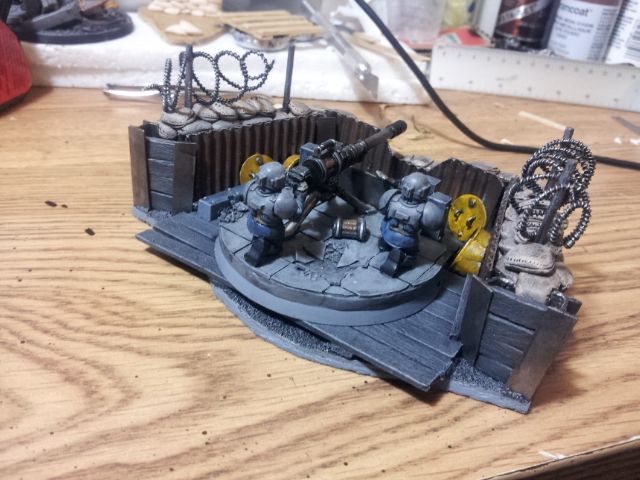
The completed gun nest. It fits the 60mm base comfortably.
Cheers,
Xi