Showing posts with label LEGO. Show all posts

Monday, September 22, 2014

Suppressor: Building a better Taurox 002

I'm back with more on how I'm building myself a better looking Taurox (in my opinion). For anyone who plans to do any sort of scratchbuilding I cannot stress enough the usefulness of having a good steel ruler on hand. I also keep a 12" adjustable square on hand. Together they are awesome.

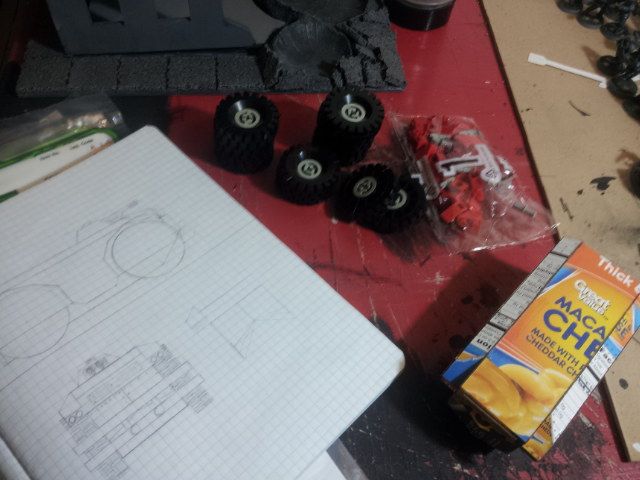
Using my nice steel ruler and a mechanical pencil, I carefully marked out most of the parts I will need for this next step of construction. Before going too crazy with the cutting I made sure to mark any guide lines I might need later.
A steel ruler helps get all these guide lines right, too

After all the cutting I ended up with a couple piles of identical parts and a pile of offcuts. These can be used as braces for the project, or just added to my bucket of scraps. Either way they will find use later.

Watch me turn this pile of parts into a third hull
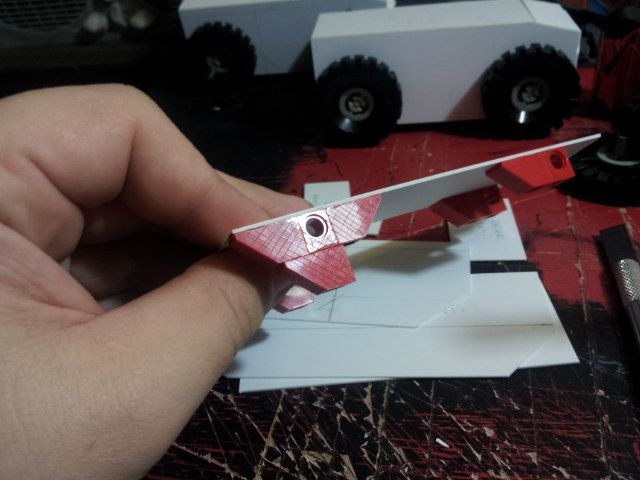
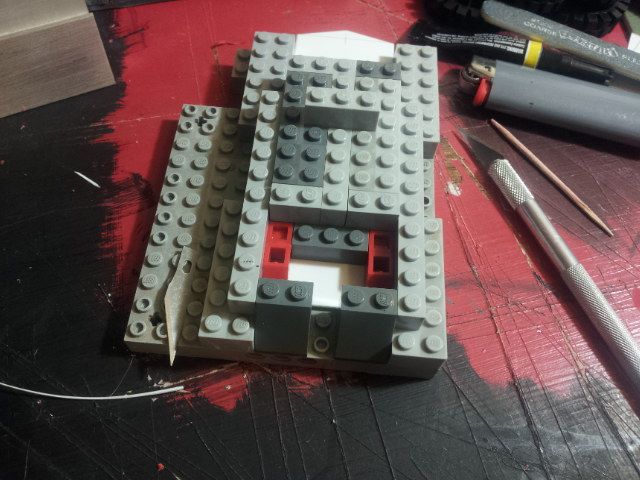
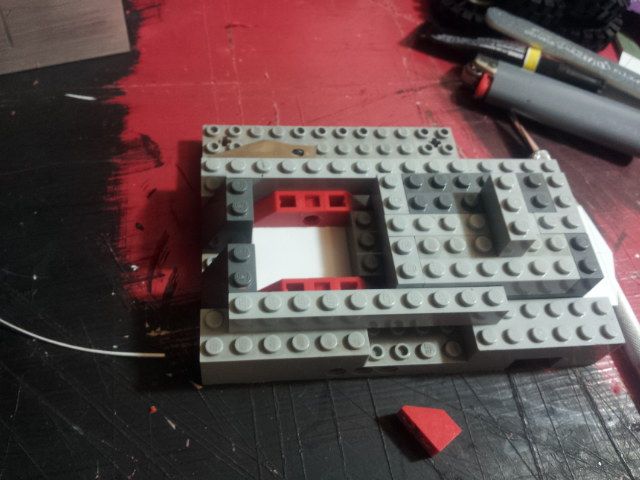
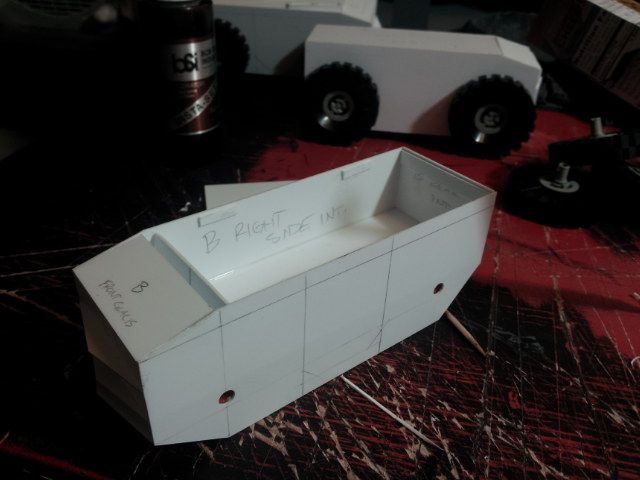
First I score the sides of the LEGO bricks with a stencil knife. This will help the superglue adhere to the surface better. The attach point between LEGO and sheet styrene will be the only place I use superglue on this model.
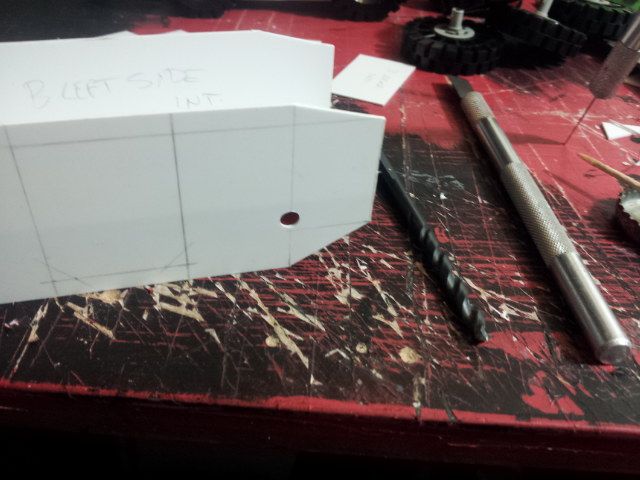
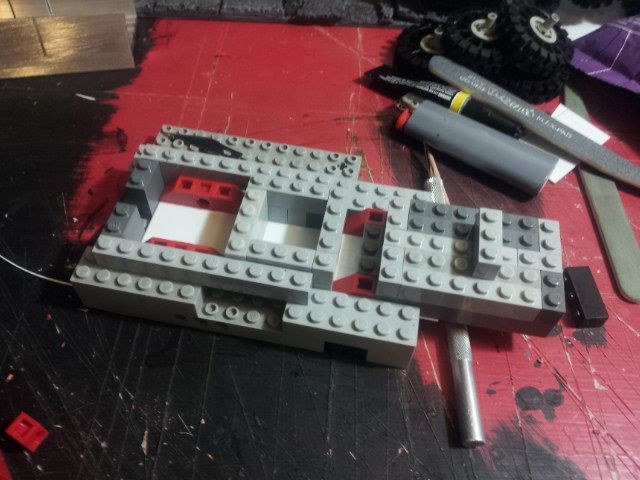
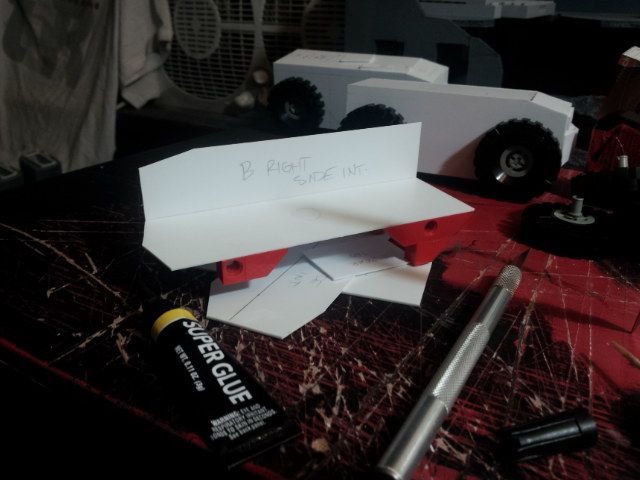
Once both sides are in place, I drill out holes for the LEGO axles to fit into
Examples of the braces I mentioned before
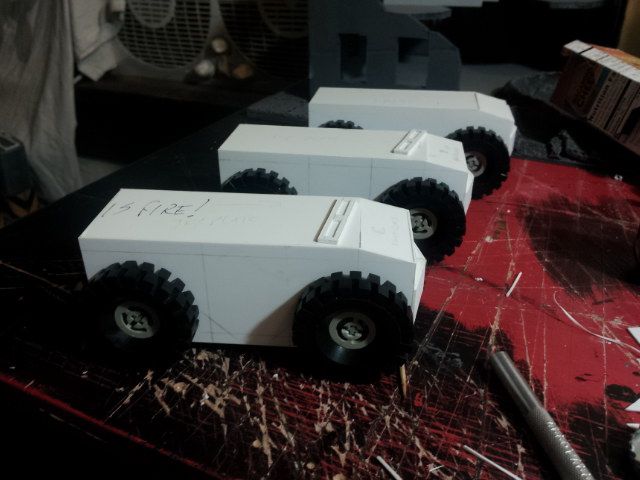
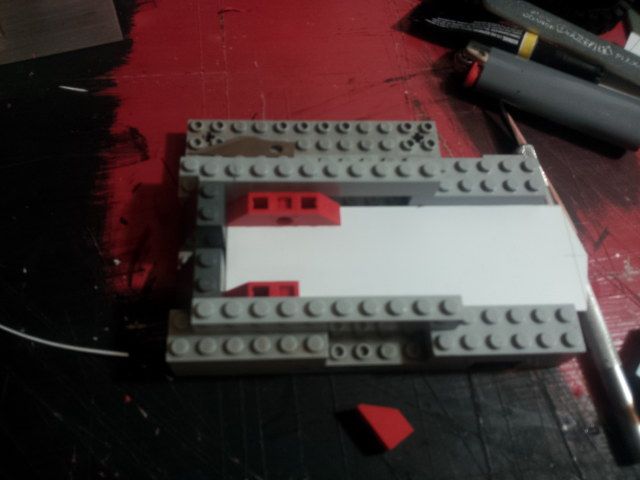
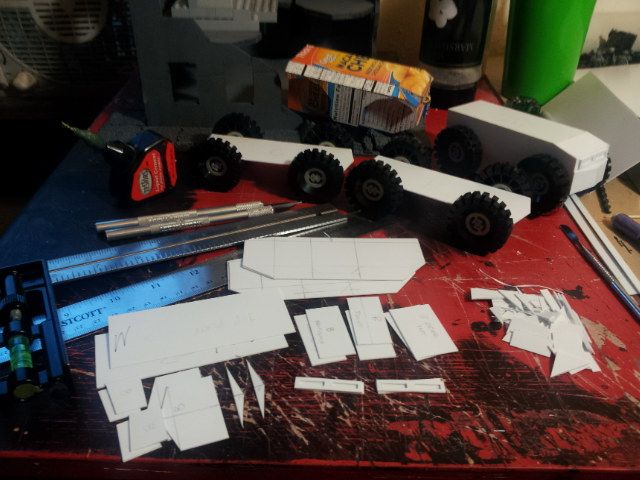
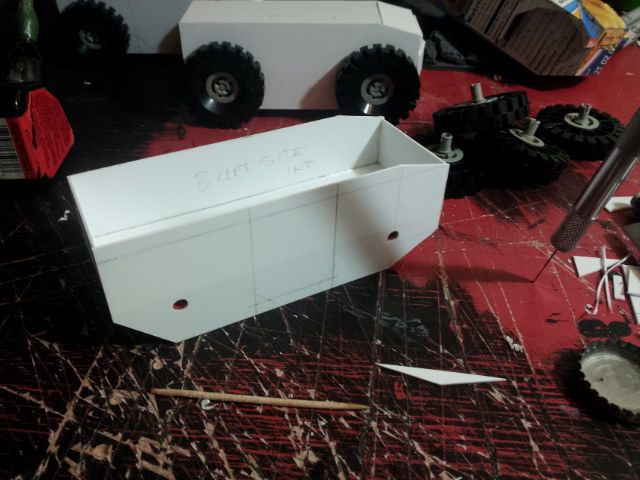
Here they are, three Suppressor pattern Taurox hulls ready for the next stage of assembly. The bits on the top of the forward and middle hulls are the forward view ports. I'll leave them separate from the hull until I am ready to start adding details.

Next step: finish the armour.

Cheers,

CJ

Friday, September 19, 2014

Suppressor: Building a better Taurox 001


Last week I showed off my mac & cheese taurox proxy prototype. This week I am excited to tell you that my order from Plankystone via Bricklink.com came in, and I was able to begin construction of my variant pattern as my continued commitment to the 6MMRPC..

Supply drop!
Here is roughly what I'm looking for from my Suppressor pattern Taurox. I did up a bunch of 1:1 drawings, then built the card version to see what it looks like, and I was happy then. Now that the wheels are here, I'm very happy.

Before I started cutting into the plasticard shown above, I built a jig out of the LEGO bricks I had on hand.

This piece of plasticard is the base I'll build on. Using the jig allows the placement of all bricks to be the same across all three builds.
I repeated this process for all three models. It was rather easy with the jig to help keep everything in line.

Three Suppressor pattern chassis ready for continued construction.

Cheers,

CJ