Thursday, August 8, 2013

Tidying Up the Imperial Guard

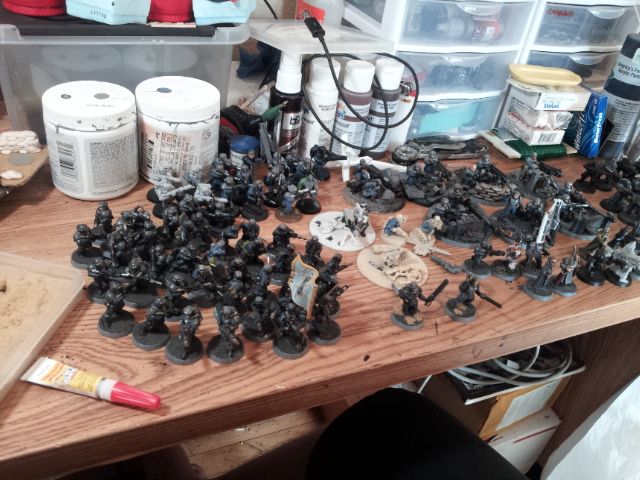
Here is my Imperial Guard force.  Tidying them up involves finishing units, finishing the little details, and basing the force coherently.  Laying everything out like this lets me see what I need to complete.

Basing is one of the things that can make or break an otherwise well painted army.  We've all seen it: some one in the FLGS with an army that has been growing for years, and the bases show the evolution of their vision.  Hell, even I did it with my first Space Marine army.

With my Imperial Guard force, I decided on urban style bases, as showcased in the Azog Treadbike project.  My army has been mostly painted and for a while, but some models still needed their bases finished.  The bases I'm using include some Epicast bases and some custom bases I produced.  The rest just get the usual treatment of sand and dead grass.

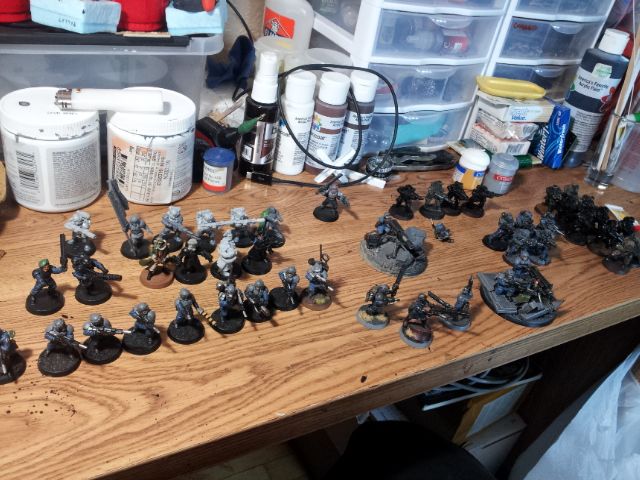
From the above blob, I separated these models out as needing completion in some form or another.  For now I'm concentrating on the bases.  Most of the models just needed a daub of glue and a bit of static grass.  These immediately above needed a bit more work... not including the wholly unpainted command section there.

I started by using PVA glue to attach sand to all the bases that needed it.  Then I waited for it to dry and did some work on my Storm Troopers.  Once the bases were ready ready for paint, I quickly added their first layers of flat black, then codex grey, and a wash of black.  Then back to the Storm Troopers until that dried.  Once the wash dried, the bases were drybrushed with codex grey, fortress grey, and finally kommndo khaki.  They were finished up with static grass.

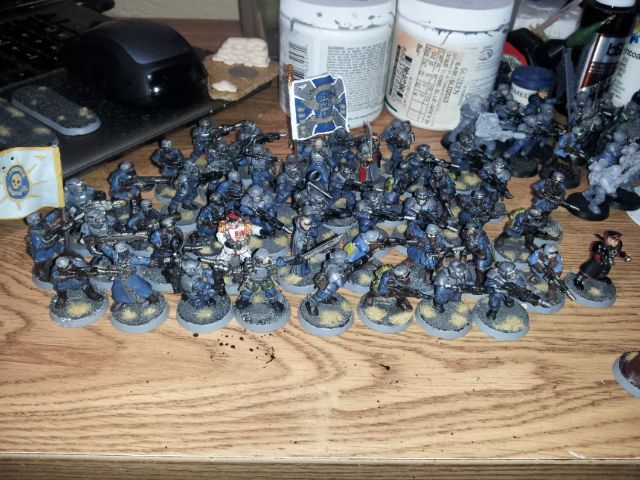
Here is most of the lot.  I'll have to post a picture of the army in rank and file.  I'm thinking of picking up a Sack o' Skulls from Secret Weapon Miniatures and sprinkling them out across the bases for some more colour.

Here are the bases I plan to use for my Mechanicus Marine force.  I plan to pour a mould and make casts of these.  I'll make sure to post the results.

Cheers,
Xi

Wednesday, July 31, 2013

Adeptus Mechanicus Update

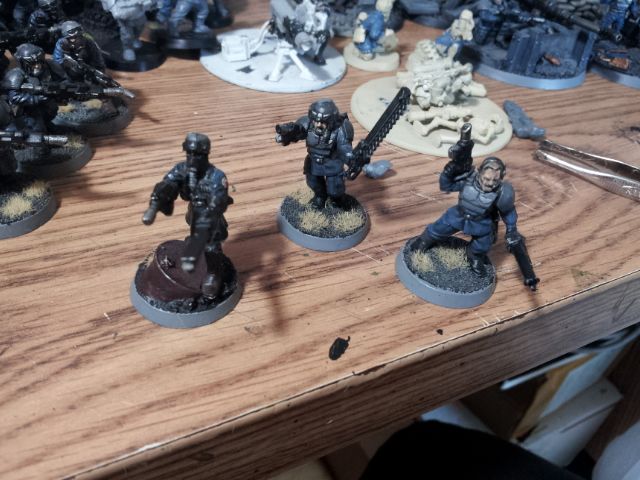
I've been working on a few things since I finished the Azogs, mostly basing my army.  I've also been working on building servo arms for my Ad Mech Space Marines.  Here is a shot of the three marines that I've painted so far.

Thursday, July 25, 2013

Terrain: Heavy Gun Nest 002

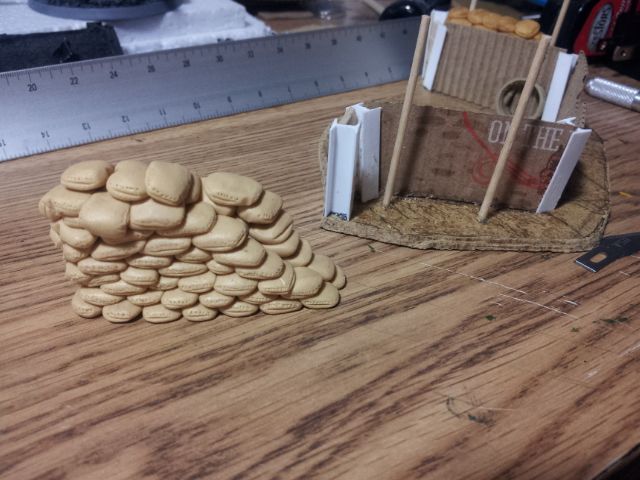
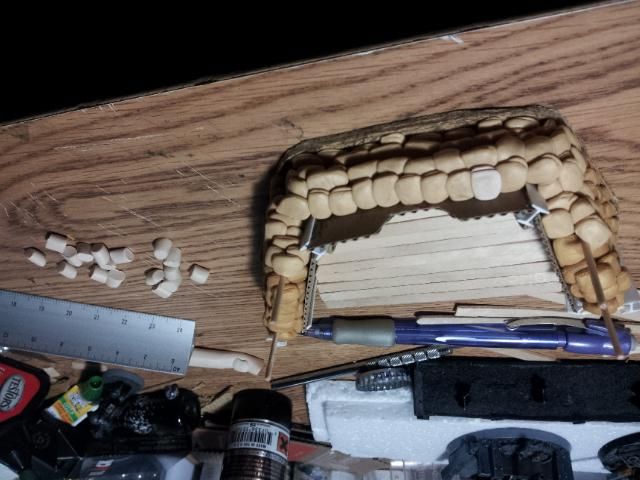
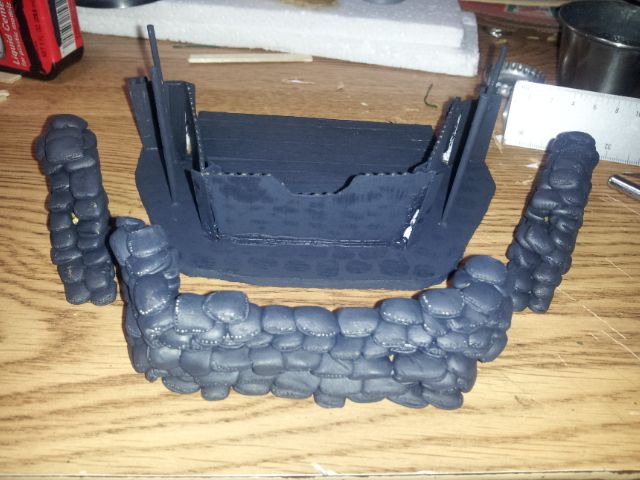
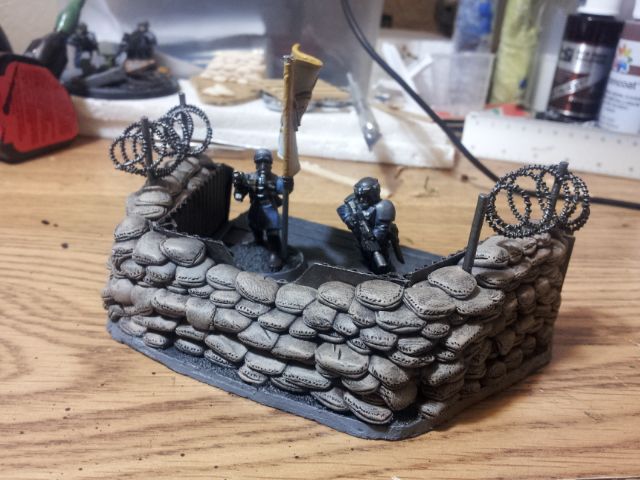
With the base all set, its time to add sandbags.  I use Sculpey polymer clay for my sandbags, rolling it into a 1/4" dia. sausage and then cutting it into roughly 3/8" lengths.  Once cut, I shape the segments and place them.

It is a time consuming task, but the results are worth it.  I built up the sandbags in three sections, baking each separately.  


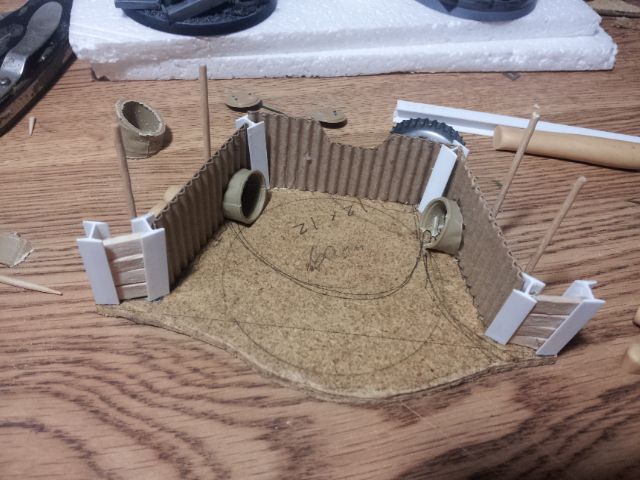
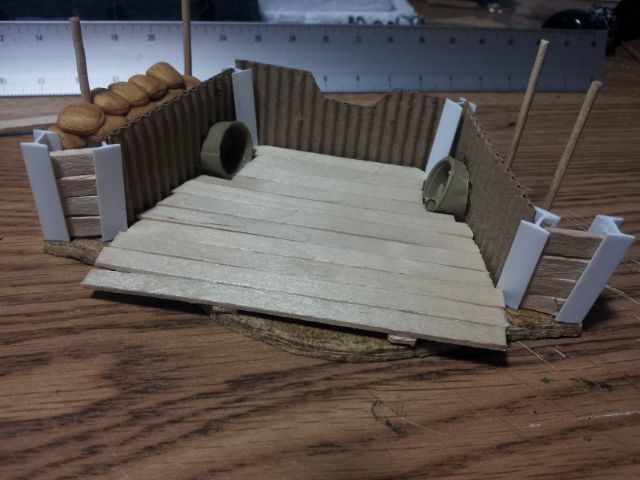
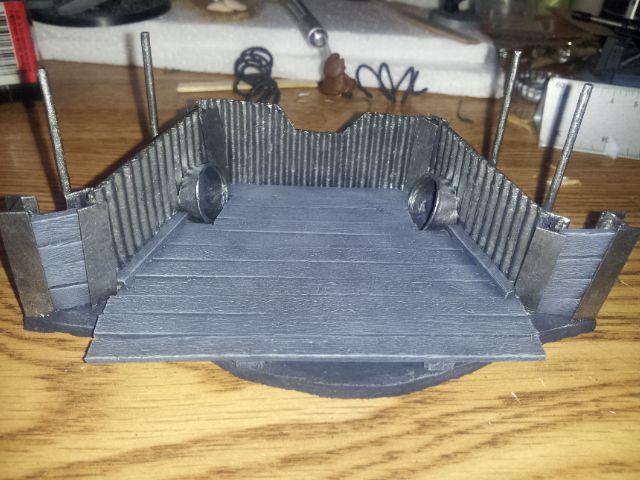
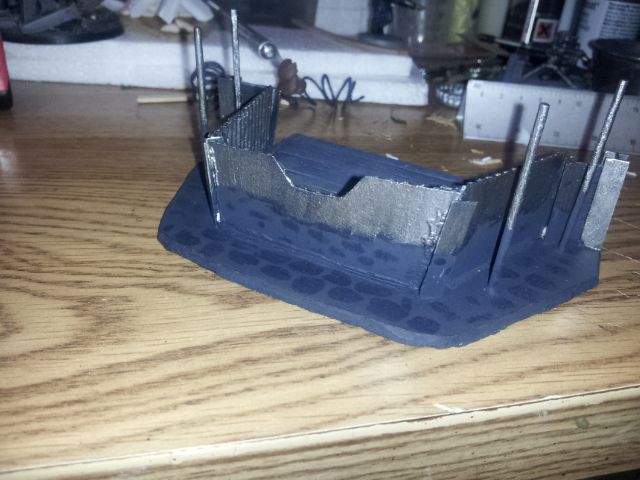
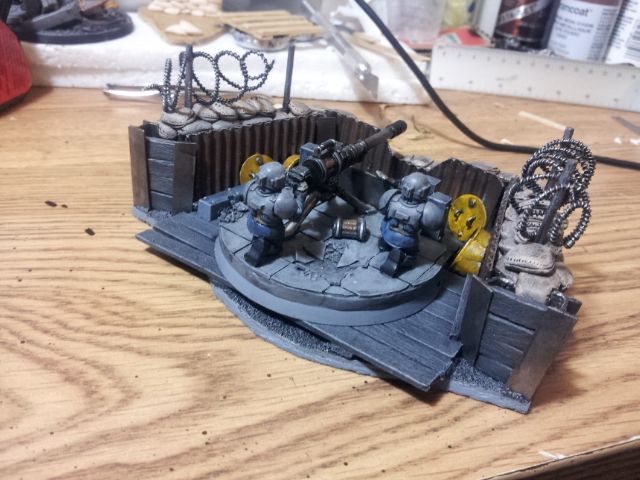
The pictures are a bit out of sequence since I ran out of Sculpey while working on the front section of the sandbags.  The grenade sumps are made from a Tamiya 1/35th scale barrel.  After the barrel ends were installed, I put down some duck board, using coffee stirrers.

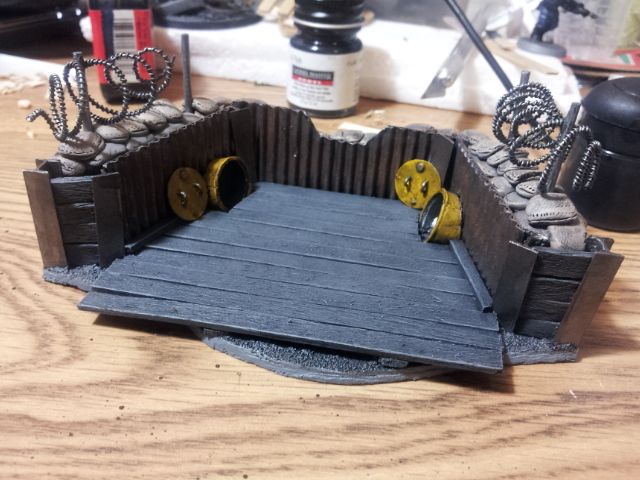
Everything got coated with Delta black, and then base colours and initial drybrushing.  The metal parts were all painted with Game Colour Gunmetal Metal.  The decking and wood retaining walls were painted with Codex Grey and then drybrushed with Fortress Grey.  The sandbags were painted with Delta Brown Iron Oxide, then overbrushed with Graveyard Earth and Kommando Khaki.  Finally, everything was given a healthy black ink wash. The last picture up there shows some spots in the black basecoat; these are from the uncured sandbags sitting there.  That's right, Sculpey sweats; so beware.  Those little spots haven't bothered me before, but your mileage may vary.

I weathered the corrugated metal by stippling using Delta Burnt Umber and Delta Brown Iron Oxide.  Once that dried, I gave it a drybrush of Gunmetal Metal.  The grenade sumps were painted with Tausept Ochre, then Golden Yellow.  The sandbags were finished with another heavy drybrush of Kommando Khaki. The few spots with sand on the base is Citadel Astrogranite textured paint.  This stuff has its uses, even if it is a pain to get out of the pot.

The completed gun nest.  It fits the 60mm base comfortably.

Cheers,
Xi

Monday, July 22, 2013

Bandwidth Exceeded

So, I never thought this would be an issue.  Turns out I was incorrect.  Ah, c'est la vie, eh?  My Photobucket cap will reset shortly, and by then hopefully I'll have a plan how to proceed.

Cheers,
Xi

Friday, July 19, 2013

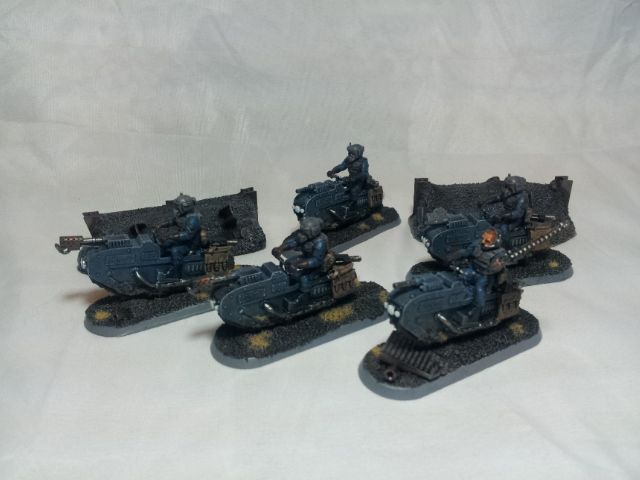
Azog Treadbikes Completed!

Building these models and painting them has been a blast.

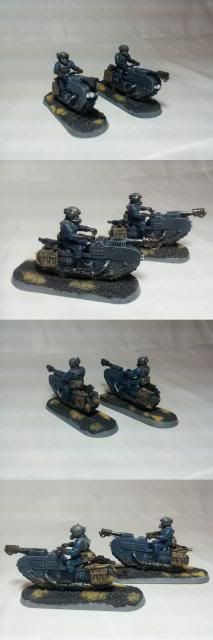
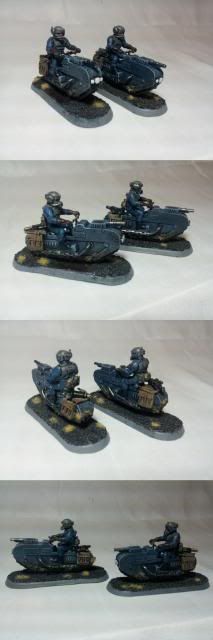
Without further delay, here they are.


I can't wait to get these guys on the table for my next game.


I'd like to thank the gentlemen over on the WIP forum that kicked around the ideas that birthed these beauties one more time, and also, a big thanks to Steve at Mad Robot Miniatures.

Cheers,
Xi

Wednesday, July 17, 2013

Azog Update 005

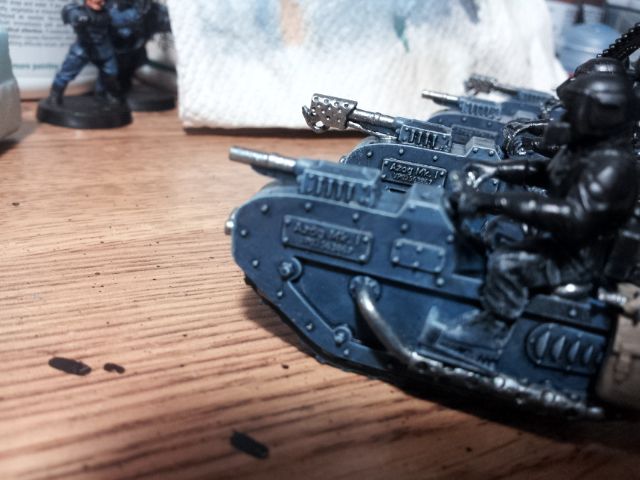
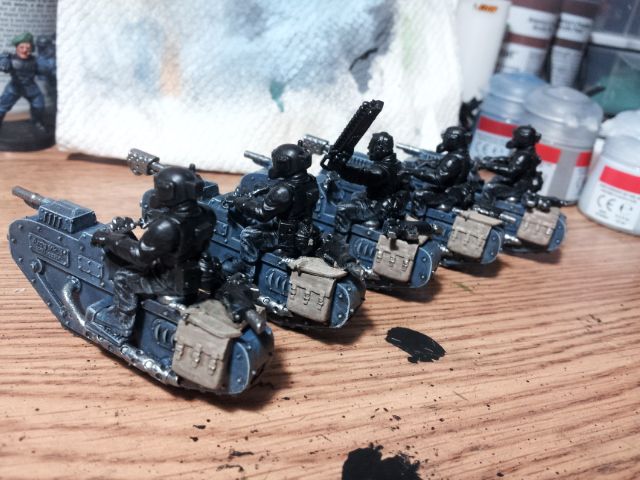
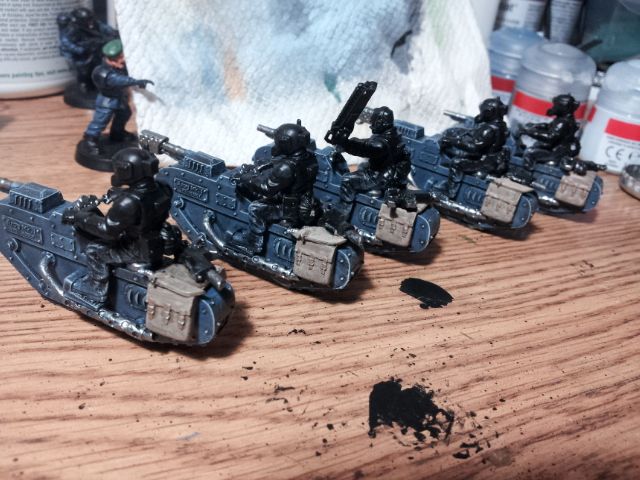
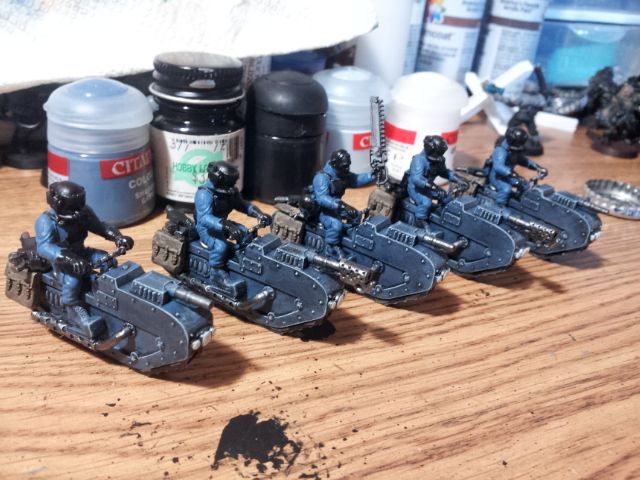
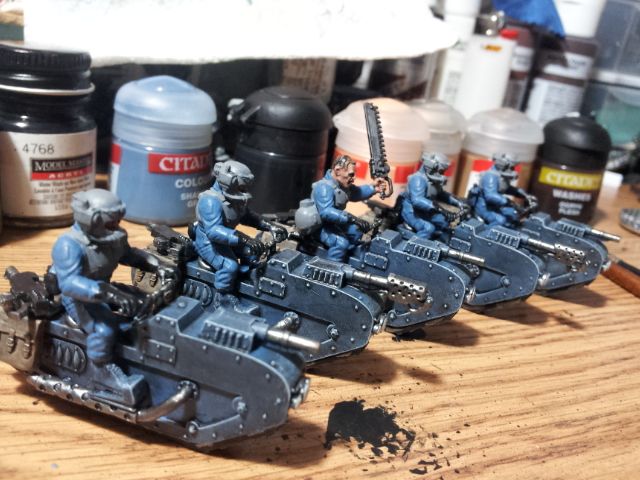
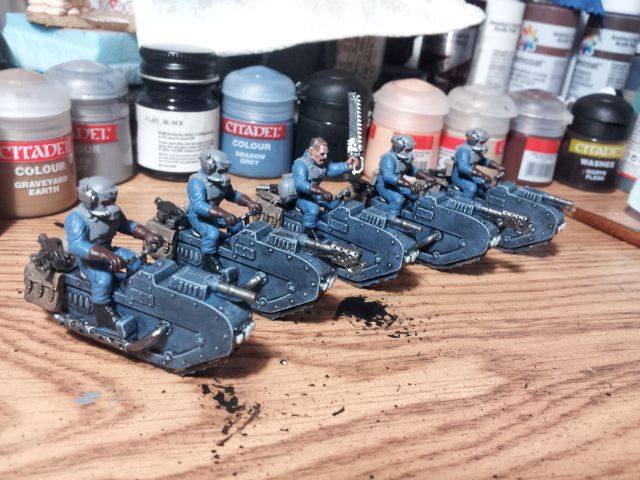
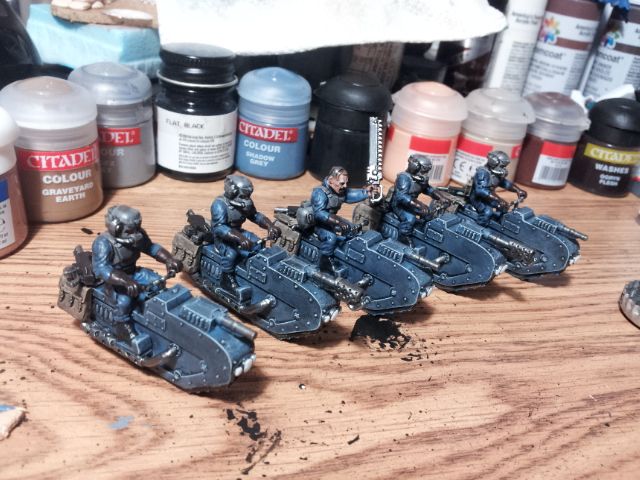
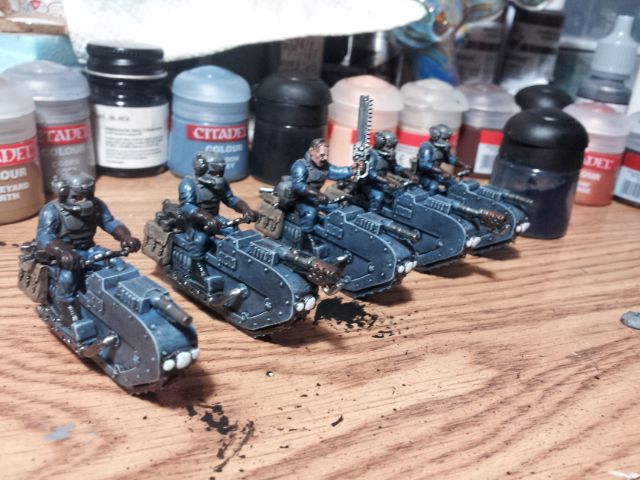
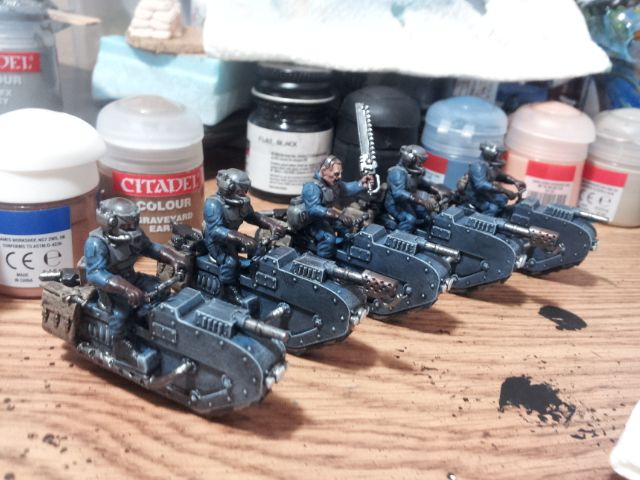
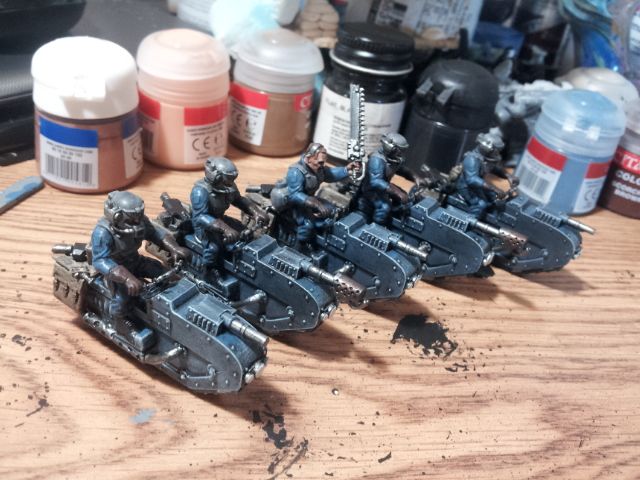
With the bases for my Rough Riders complete, it was time to turn my attention to the bikes themselves.  I painted them in the manner that I used to paint my armour.  Once upon a time it was a nice, clean shadow grey, and all the rivets picked out painstakingly.  That gave way to the scheme I currently use in 2009.  It has really lent itself to a more grim dark feel for my army as opposed to the fresh from founding look they had.

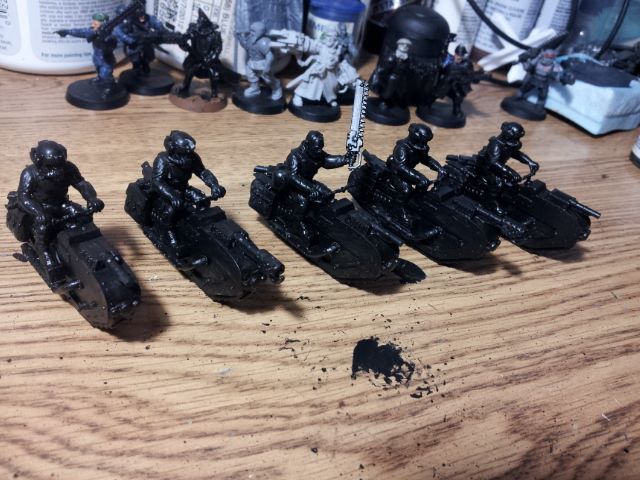
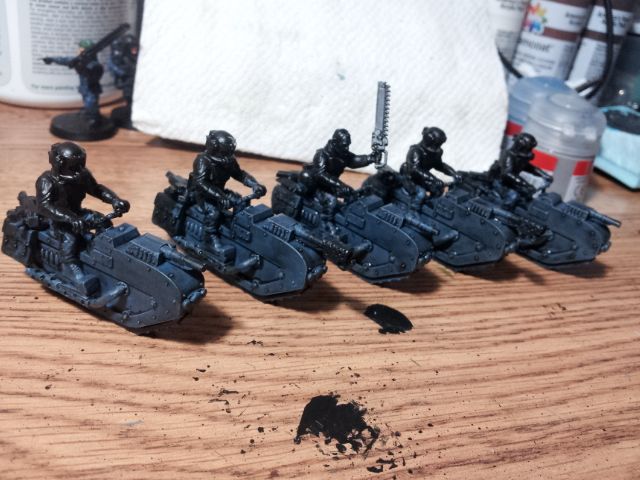
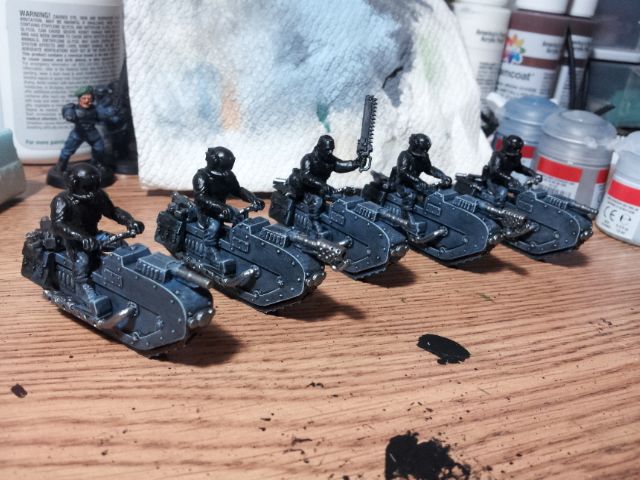
I started by first washing the models in warm soapy water.  This will remove any leftover release oil from the resin parts.  I didn't do this when working with my first ever resin miniatures, and ended up having to strip the model and start over.  The painting process begins with a coat of flat black, followed thin coats of Shadow Grey.  This allows for the coverage to be smooth and even, keeping brushstrokes from showing through.  Then the models were drybrushed with Codex Grey, and washed with black wash.  This is a custom mix, made from Delta black and a 1:4 mix of Future to water.  It acts a lot like the Badab Black wash from Citadel's old line up.  The bikes were then given a drybrush of Space Wolves Grey, and the metallic areas painted with Gunmetal Metal.

The ID plates really pop on these models.  Hell, everything really pops about these models.

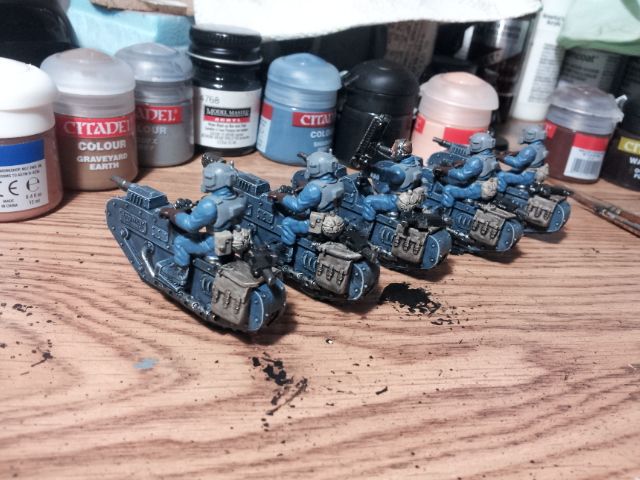
Once the bike bodies were complete, I set to the saddlebags.  These began with a coat of Graveyard Earth, then an overbrush of Kommando Khaki.  This is followed by the picking out the straps and buckles with Graveyard Earth and Gunmetal Metal respectively.  A black wash over the saddlebags and they are complete.  The headlights got a coat of Space Wolves Grey followed by a coat of Skull White.

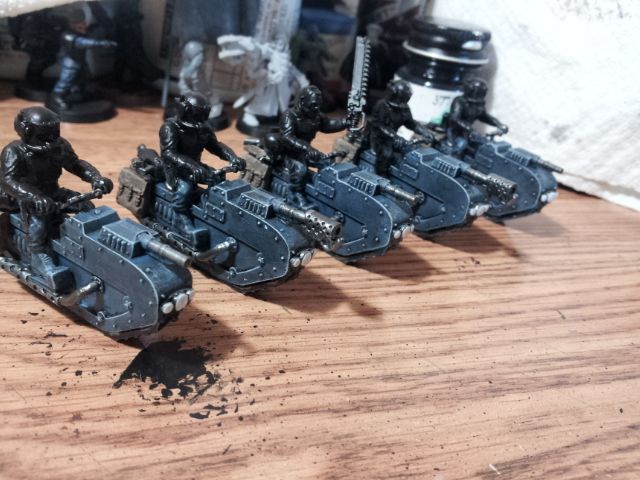
I begin the riders by blocking in all the base colours: Shadow Grey, Codex Grey, Scorched Brown for the gloves.  Then the faces were painted Tallarn Flesh, washed with Ogryn Flesh, and drybrushed Elf Flesh.  The web gear was painted in the same formula as the saddlebags.  Finally, the boots were painted black, and I cleaned up any mistakes.

The riders were next given an overall black wash.  The Shadow Grey and Codex Grey areas were then given drybrushes of the same colours.  The gloves were drybrushed with a mixture of 1:1 Scorched Brown to Graveyard Earth.  The flamer muzzles were drybrushed with Beaten Copper for two thirds the length, and then Tin Bitz for one third.  The whole area was then given a wash of Asurmen Blue, which makes the burnt metal effect look that much better.

The next installment of these boys will see them added to their bases and weathered.

Cheers,
Xi