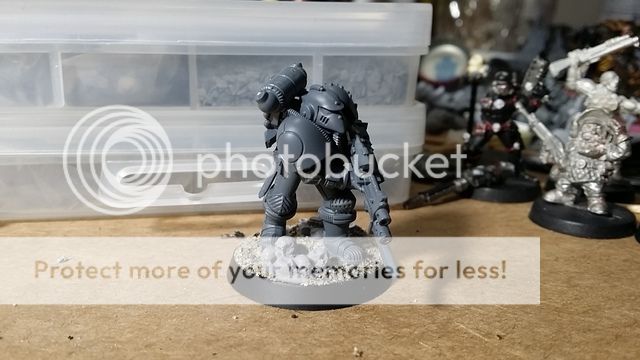
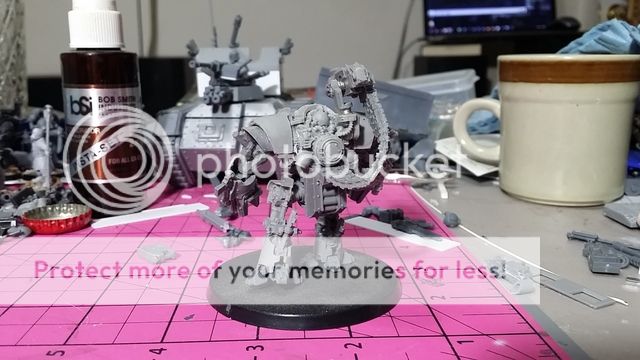
A couple of days ago I posted my completed Not Quite Creed model. Featuring prominently was the model's base; stylized tarmac with dividing line. Along with the photos of the complete figure, I included a photo with both my versions of Creed and Kell. Almost immediately, Redditor
/u/bobbothegobbo called me out on the disparity in bases between the two heroes of Cadia.
He was right.
Tonight I set out to set the difference right.
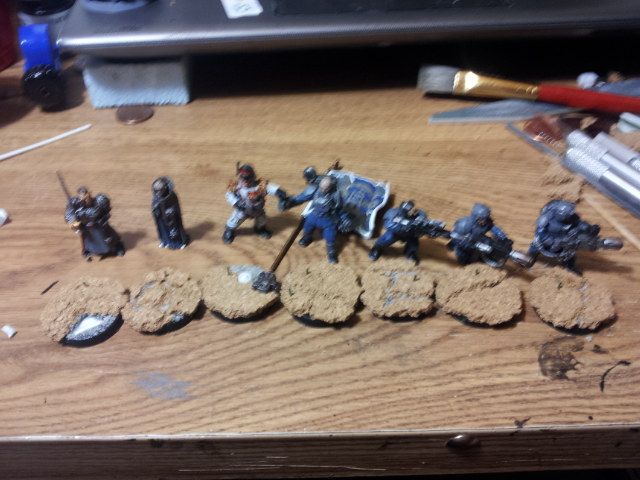
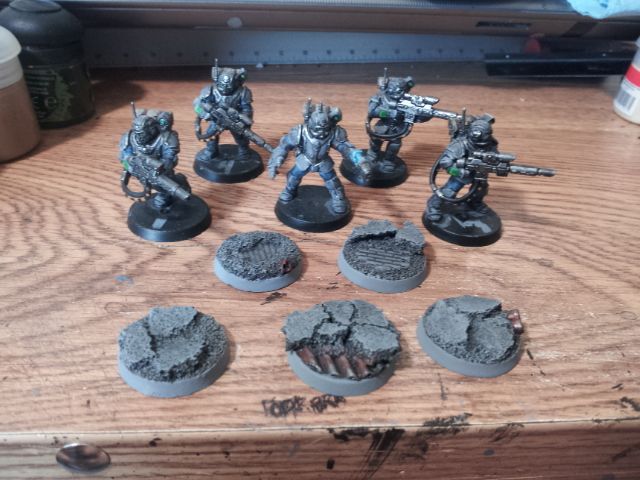
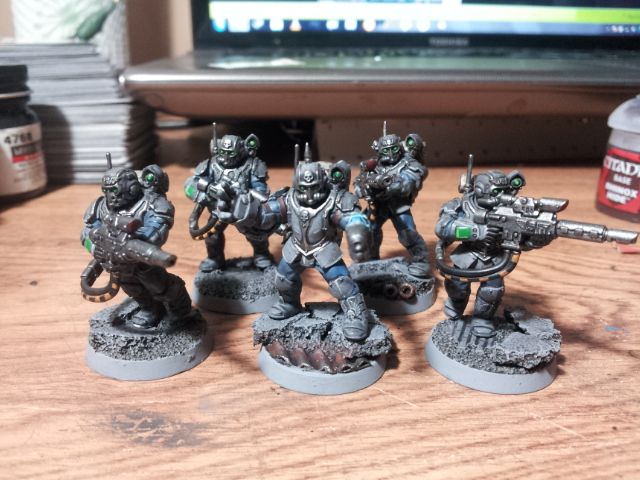
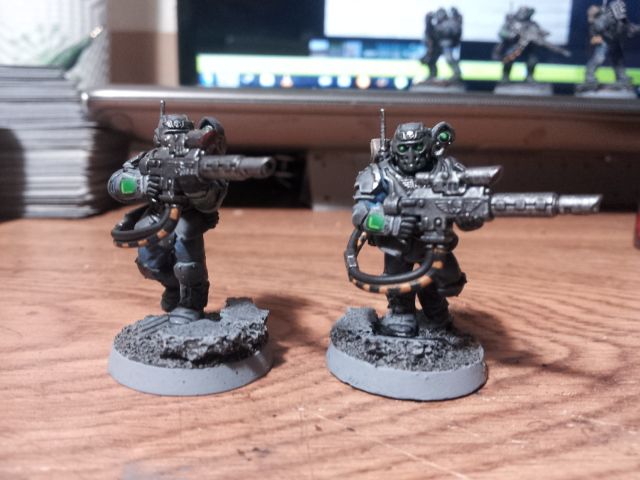
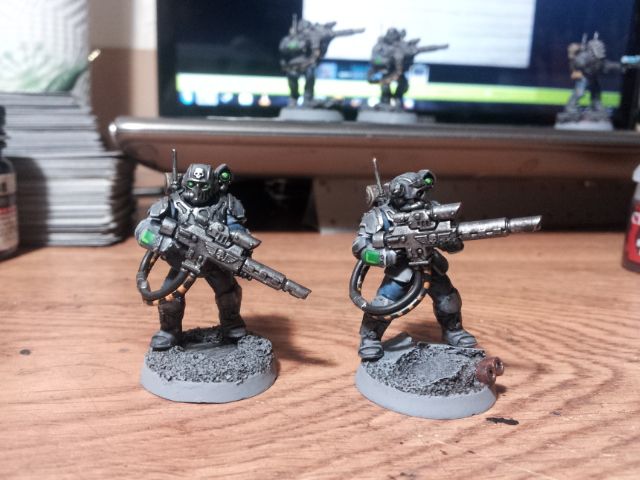
Having established that Not Quite Creed would be in the relative center of this unit when on the display shelf (someday...), I then loosely based the rest of the scene around him: the liaison officers behind, the special weapons and lasgunner to the fore, and Kell of course at Creed's shoulder.
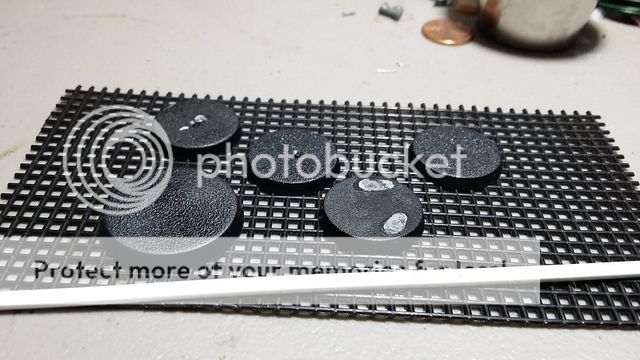
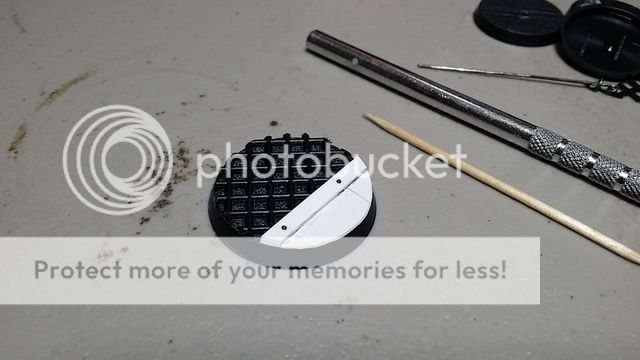
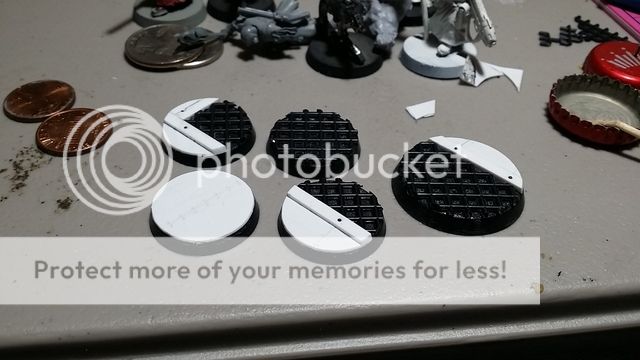
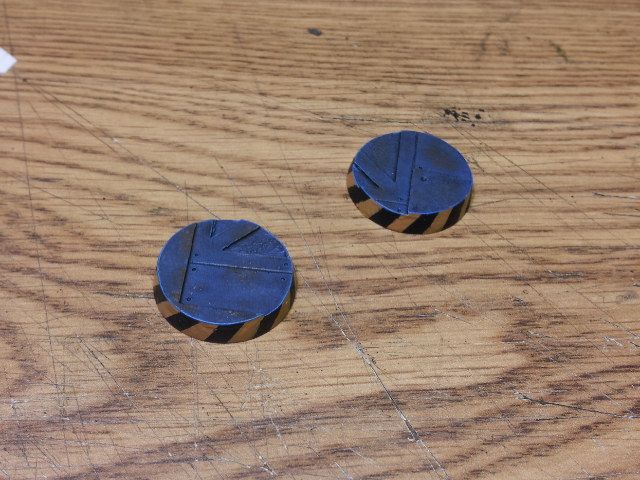
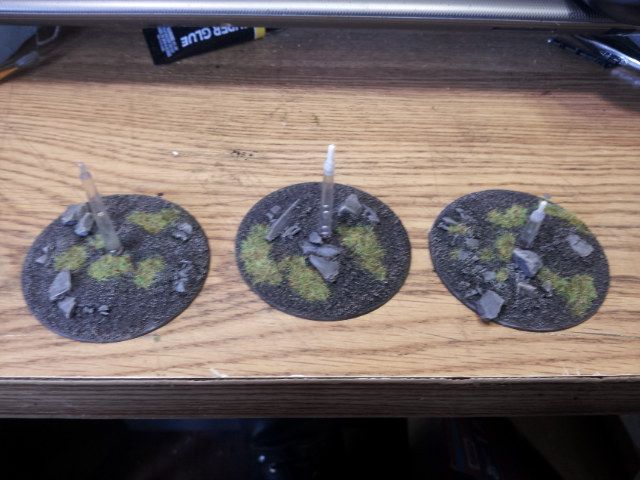
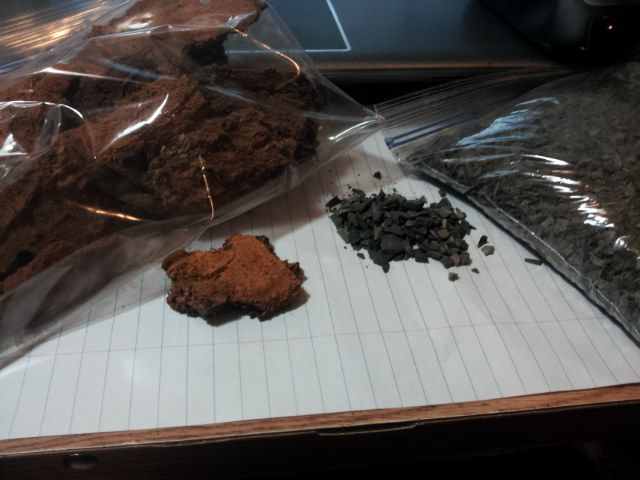
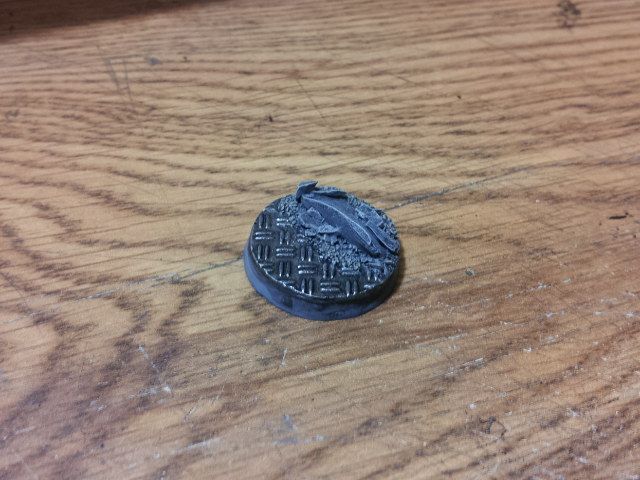
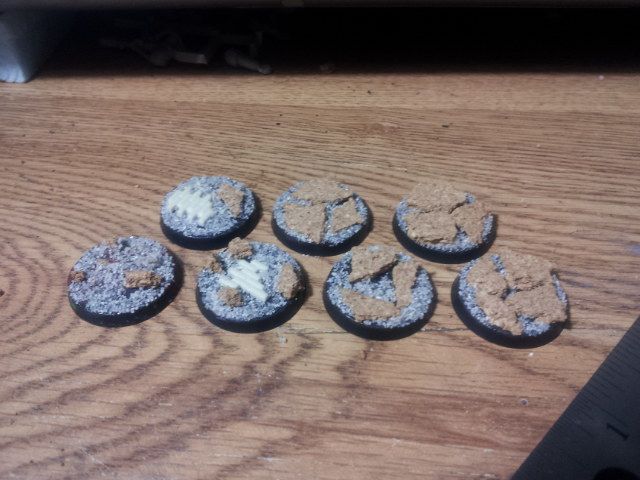
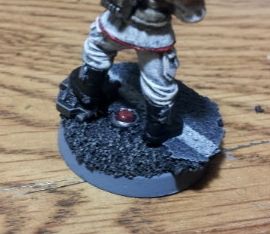
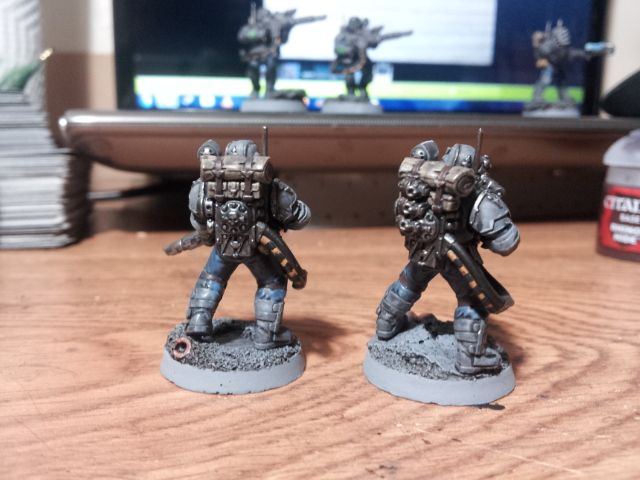
After whipping up three simple bases, I started trying to vary the bases just a bit. On two of them I added wider cracks, another I cut through the base and then glued some half round plasticard in place as exposed lines. On the final base, I remembered a detail from the old Forge World roads, beacon lights in the center of the roads of the Imperium.
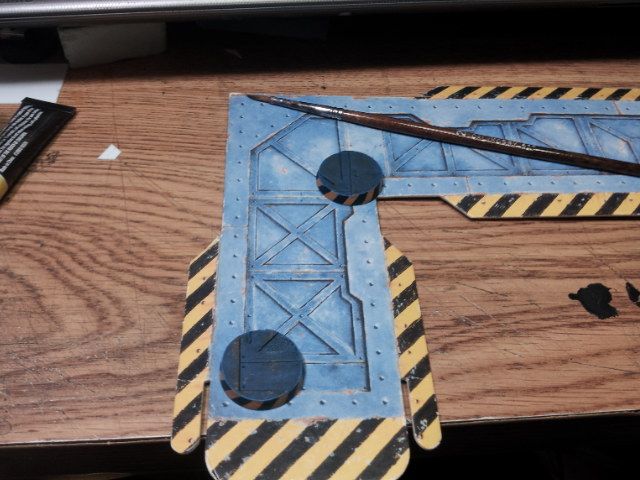
I set to make a border light for the tarmac the Company Command are standing on. I decided that the unit might be moving across an Imperial air strip or landing area, ringed with these beacons.
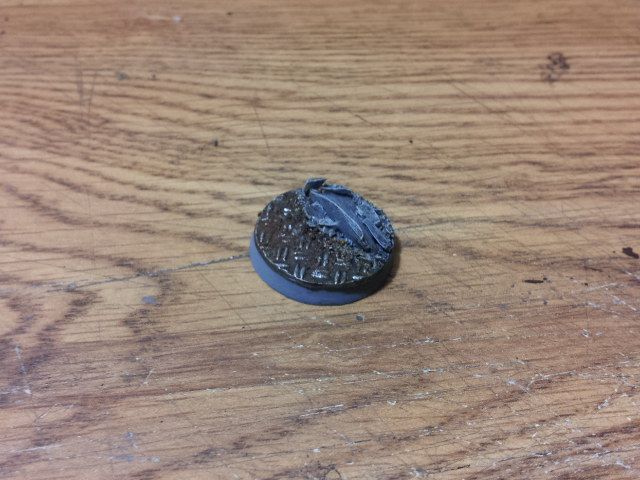
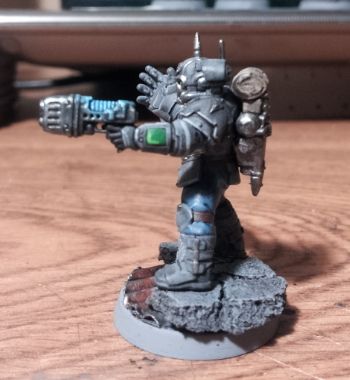
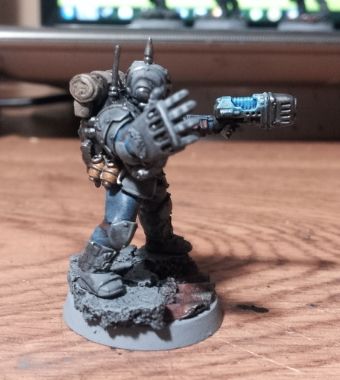
I think I pulled it off. I kept the tank tread from the original base in a small homage to this model's original purpose: Armoured Company commander on foot. Way back there were a set of rules which allowed for your tank crew to bail out in the event of vehicle kill. If you didn't get the crew, you only earned half points for the vehicle.
And here is the lot. In the end I have to thank /u/boobothegobbo for giving me the push I needed to get these models truly finished.
Cheers,
CJ