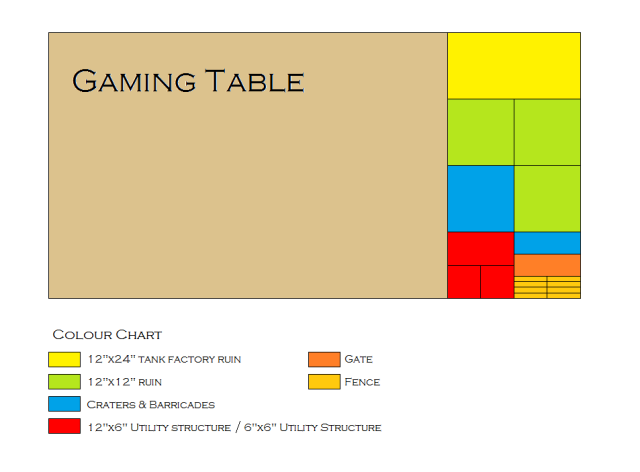
So here is what I'm working on currently in regard to my board. I'll get it all built, then mix one batch of base coat colour, and apply it all at once. I'm currently working on a set of fences, a gate to go with, a couple craters, and some foam and DAP ruins. These are all based on MDF that I got at Home Depot. I had them cut off 2' of a 4'x8' panel, giving me a 4'x6' table top and 2'x4' section to divide up into terrain. I then measured out all I needed and it came out something like this...
Now I'm working with the Gate, Fences, and Craters & Barricades right now. Here are some pictures of what I'm working on; but first a list of tools and materials.
Tools and Materials
xacto knife
Xuron cutters
box cutter
drill
superglue
accelerator
floral wire
MDF
aluminium mesh
sharpie pen
DAP wall filler
styrofoam
terrain tiles
H bar styrene
hot glue gun
DISCLAIMER: I cut myself all the time. Don't do that. It hurts, you can end up in the emergency room at 0130, or you can kill the nerve connection to a fingertip. Cut away from yourself and wear safety glasses. You only get two eyes and depth perception means a lot more to you than you think... Oh and superglue and accelerator can cause chemical burns if you aren't careful with your chemicals.
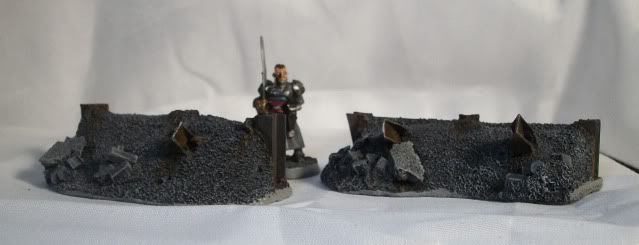
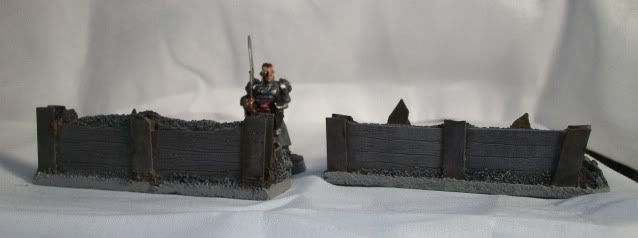
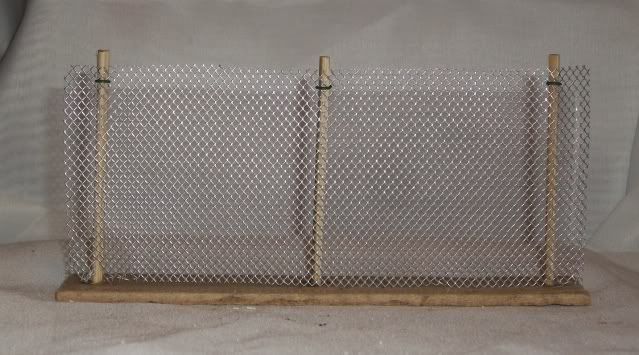
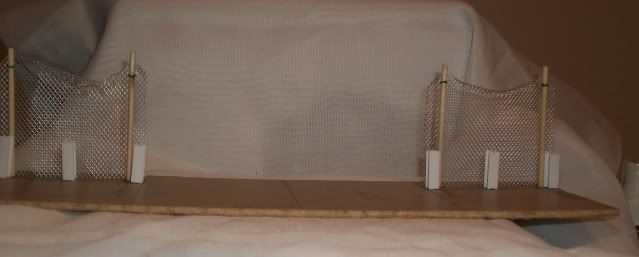
Fences
I based everything on the MDF as its sectioned up. I've got to tell you, I've worked on most of this before, so this is a second run. I made the fence posts out of bamboo skewers, and the fence itself out of aluminium craft mesh, attached with floral wire.
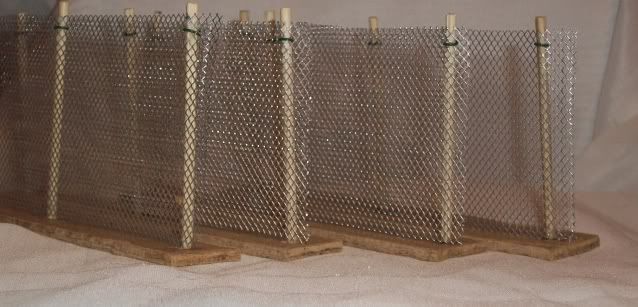
I've got four done, and four more in the works. I'm also putting together a gate section that I can add to seclude access to parts of the board or just an ECP for an enclosure.
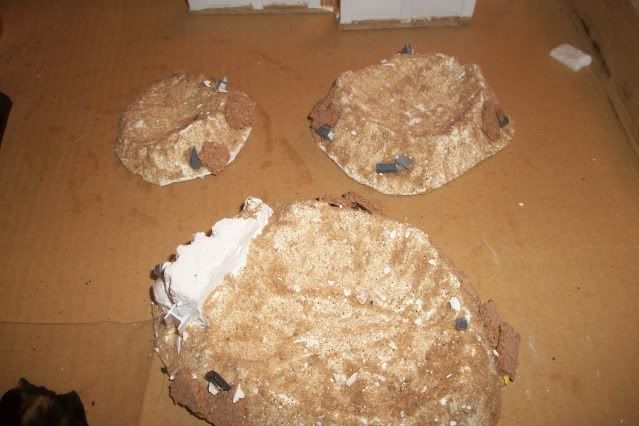
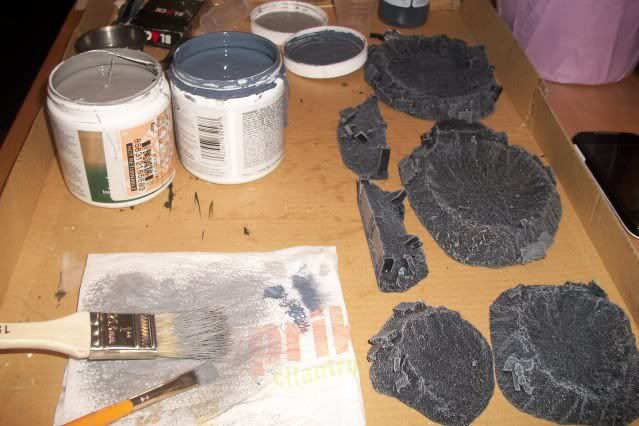
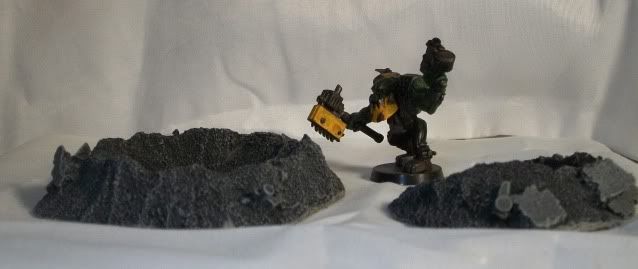
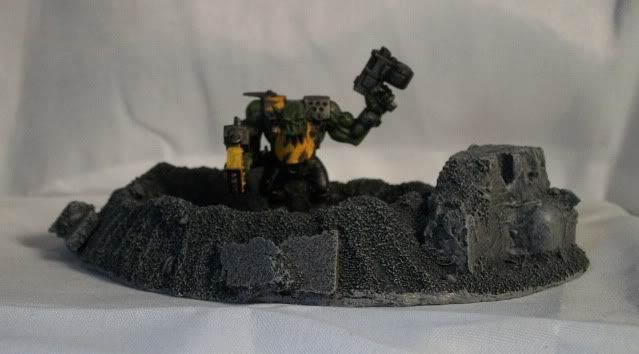
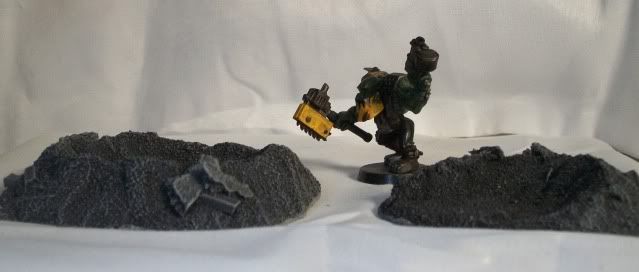
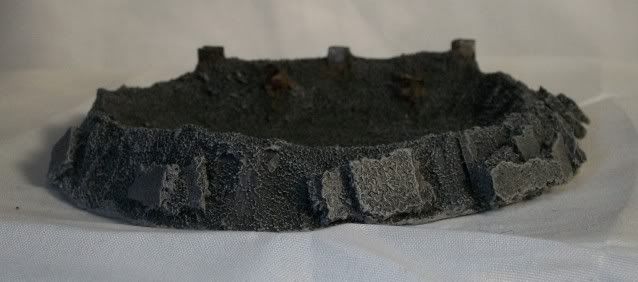
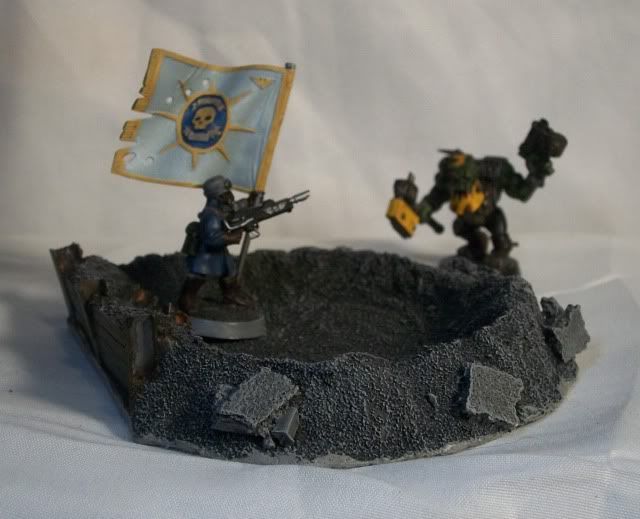
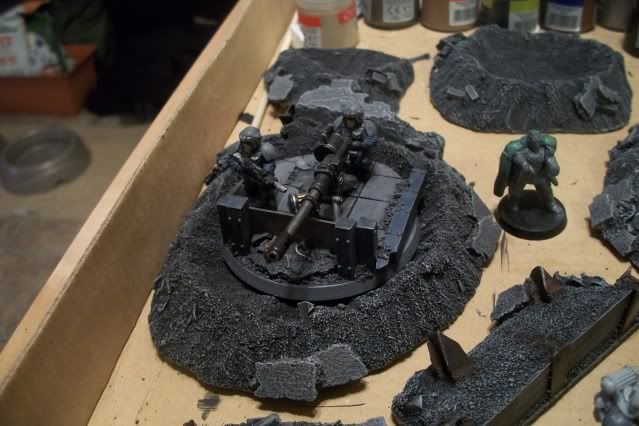
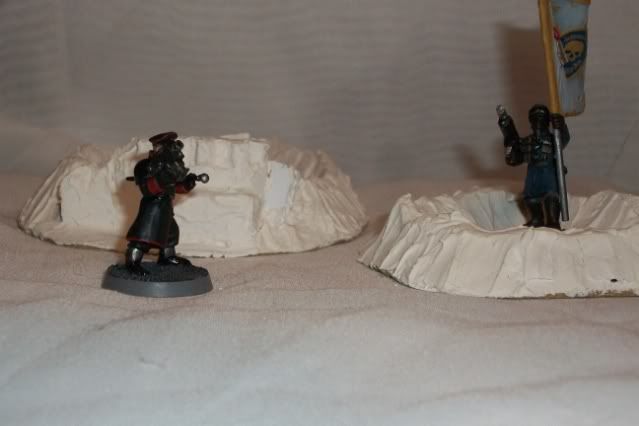
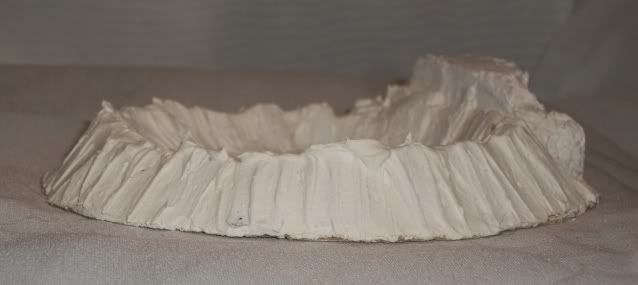
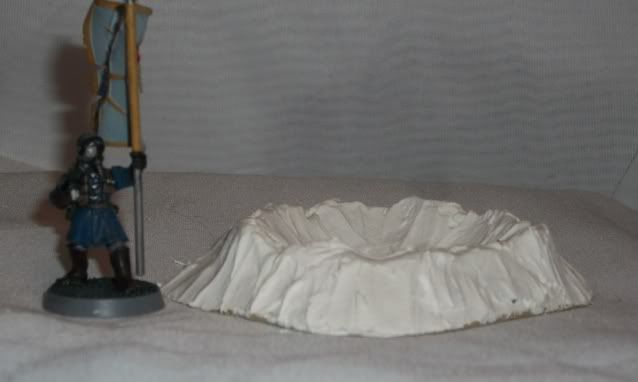
Craters and Barricades
Here again everything is based on MDF. I cut the shapes out of the board using my xacto. I don't use a Dremel since the material is so soft; the rotary tool abrades it away to rapidly. I cut out triangles of various geometry and hot glued them onto bases roughly sized to the 3" template and the 5" template. The irregular triangles are then coated with a heavy layer of DAP which can then be shaped, to an extent. The larger crater has a section of ruin that is made from foam shaped with an xacto and then coated thinly with DAP.
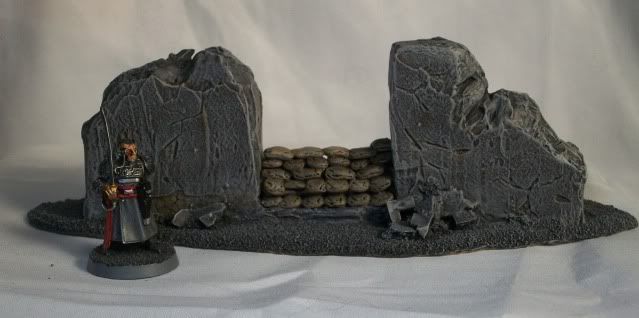
The ruins here are much the same, styrofoam coated thinly with DAP. I plan to fill the center of the wall section with a pile of sand bags.
The final section is the most involved, it includes foam shaped and coated again, as well as some carefully distressed resin terrain tile pieces.
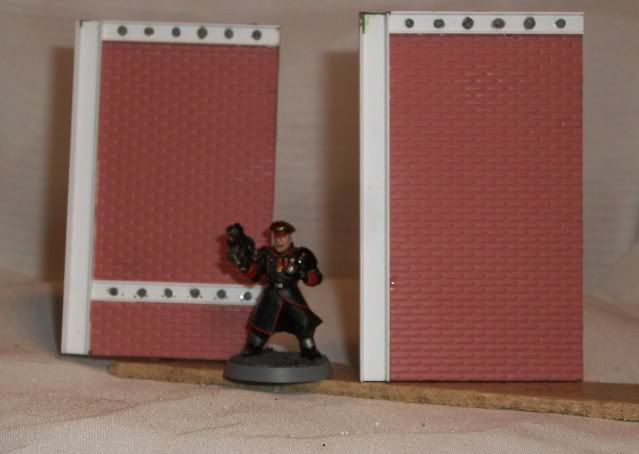
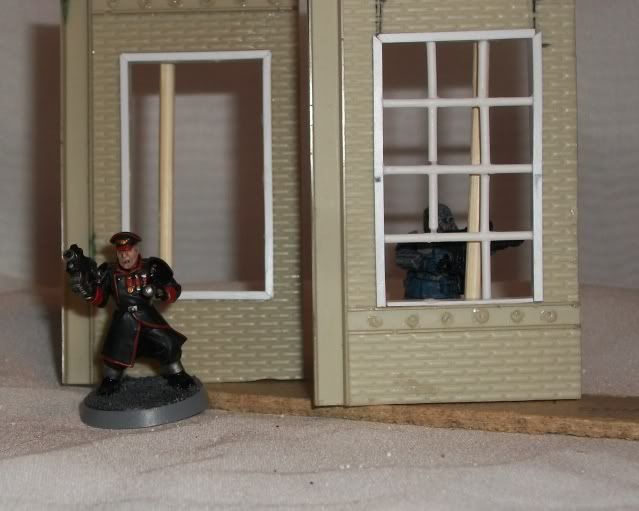
Terrain Tile Project
This is one of my most ambitious projects to date, I won't lie. This is something that I hope will turn resin into gold, so to speak. I'm working on a set of custom resin terrain tiles that are compatible with some current manufacturers ranges.
Here are the masters.
Here are the first reproductions, that are being transformed into window sections for further reproduction.
And that is that, for now. I'm glad I've gotten up a nice post with some serious hobby content. I'm going to be pushing ahead on finishing these pieces, then move on to the terrain tile project. I will also be exploring resin bases for my army, as well as a display board, as well as the army itself.
Cheers,
Xi