Showing posts with label Imperial Guard. Show all posts

Thursday, April 12, 2018

Throwback Thursday: Cadian Valkyrie

This edition of Throwback Thursday is brought to you by the old GW black boxes! These were sent out with the hottest new items for a codex release back when those happened very sparingly.

In 2009 I was lucky enough to get to paint up the 5th edition IG black box. The new Cadian command squad and Valkyrie were the contents. It was a trick to assesmble the Valkyrie since there were no instructions with the box... total bummer, there was no flying stand either.


This was one of the most complex models GW had released at this point, and a lot of fun to build and paint. The interior and cockpit are really well detailed, even though I opted to leave out the door gunners.

The plastic Valkyrie was one of the most anticipated kits ever after the plastic droppod when it was released. I really had to work to get my paint job to pop on this one since the model would be on display. I used the following recipe:

Prime with Armoury Black PrimerShadow GreyCodex Grey drybrushBadab Black washSpace Wolves Grey drybrush
The metallics are as follows:
Prime with Armoury Black PrimerBoltgun Metalcustom mixed black ink washBoltgun Metal drybrushChainmail drybrush (very light)

This is the same recipe I use to this day, just with the current versions of the GW paint. I also tend to use Rustoleum spray cans to prime everything.

Cheers!

CJ


Tuesday, January 10, 2017

Leman Russ Salvage 003


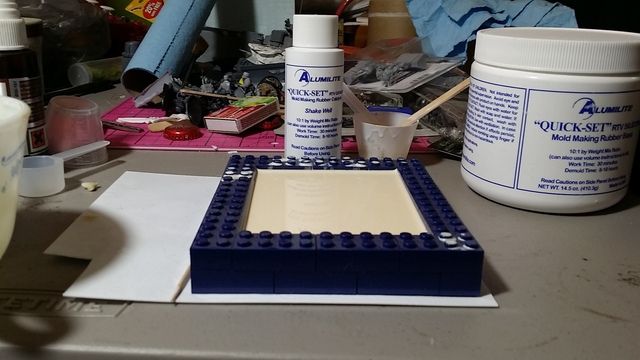
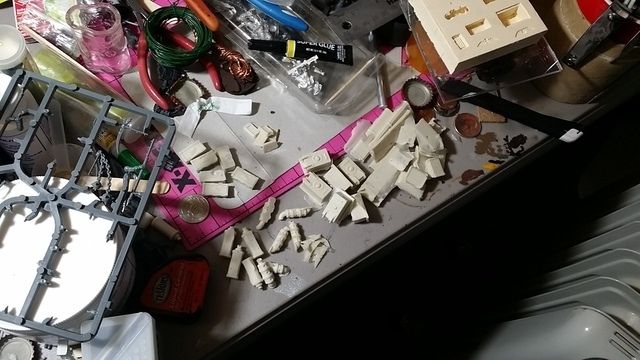
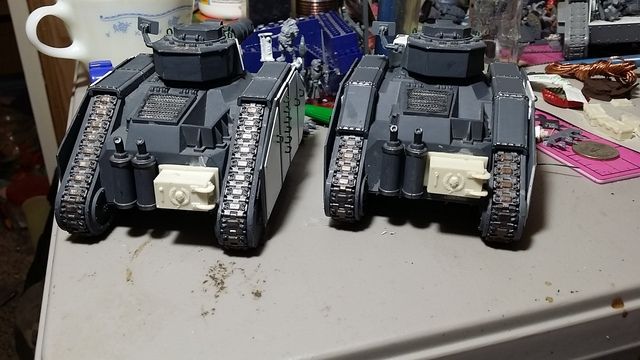
Build phase continues this month with the second to last bit of the Leman Russ salvage project before paint. I poured a mound of some essential pieces not so readily available. Before anyone asks, these aren't up for sale at all.

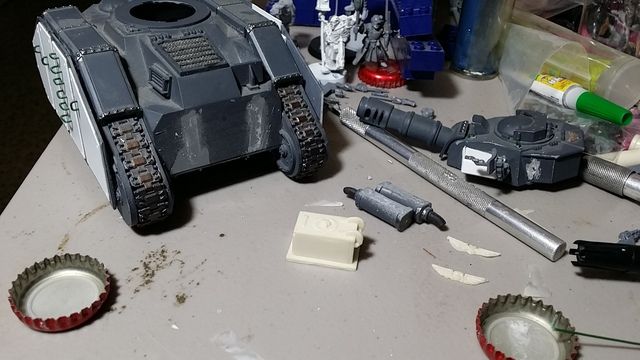
The last thing to do on both of these models is some greenstuff in the form of lenses on the turret targeting array and gap filling. I plan to get greenstuff work done on a few different projects all at once.

Cheers,

CJ
Thursday, September 22, 2016

Imperial Armour: Chimera Project v2 001

A couple months ago I posted about using one Chimera hull for many different vehicles. Courtney Hollyoake, who runs the Cadian127th blog, asked me about it and I decided to repeat the conversion and document it.

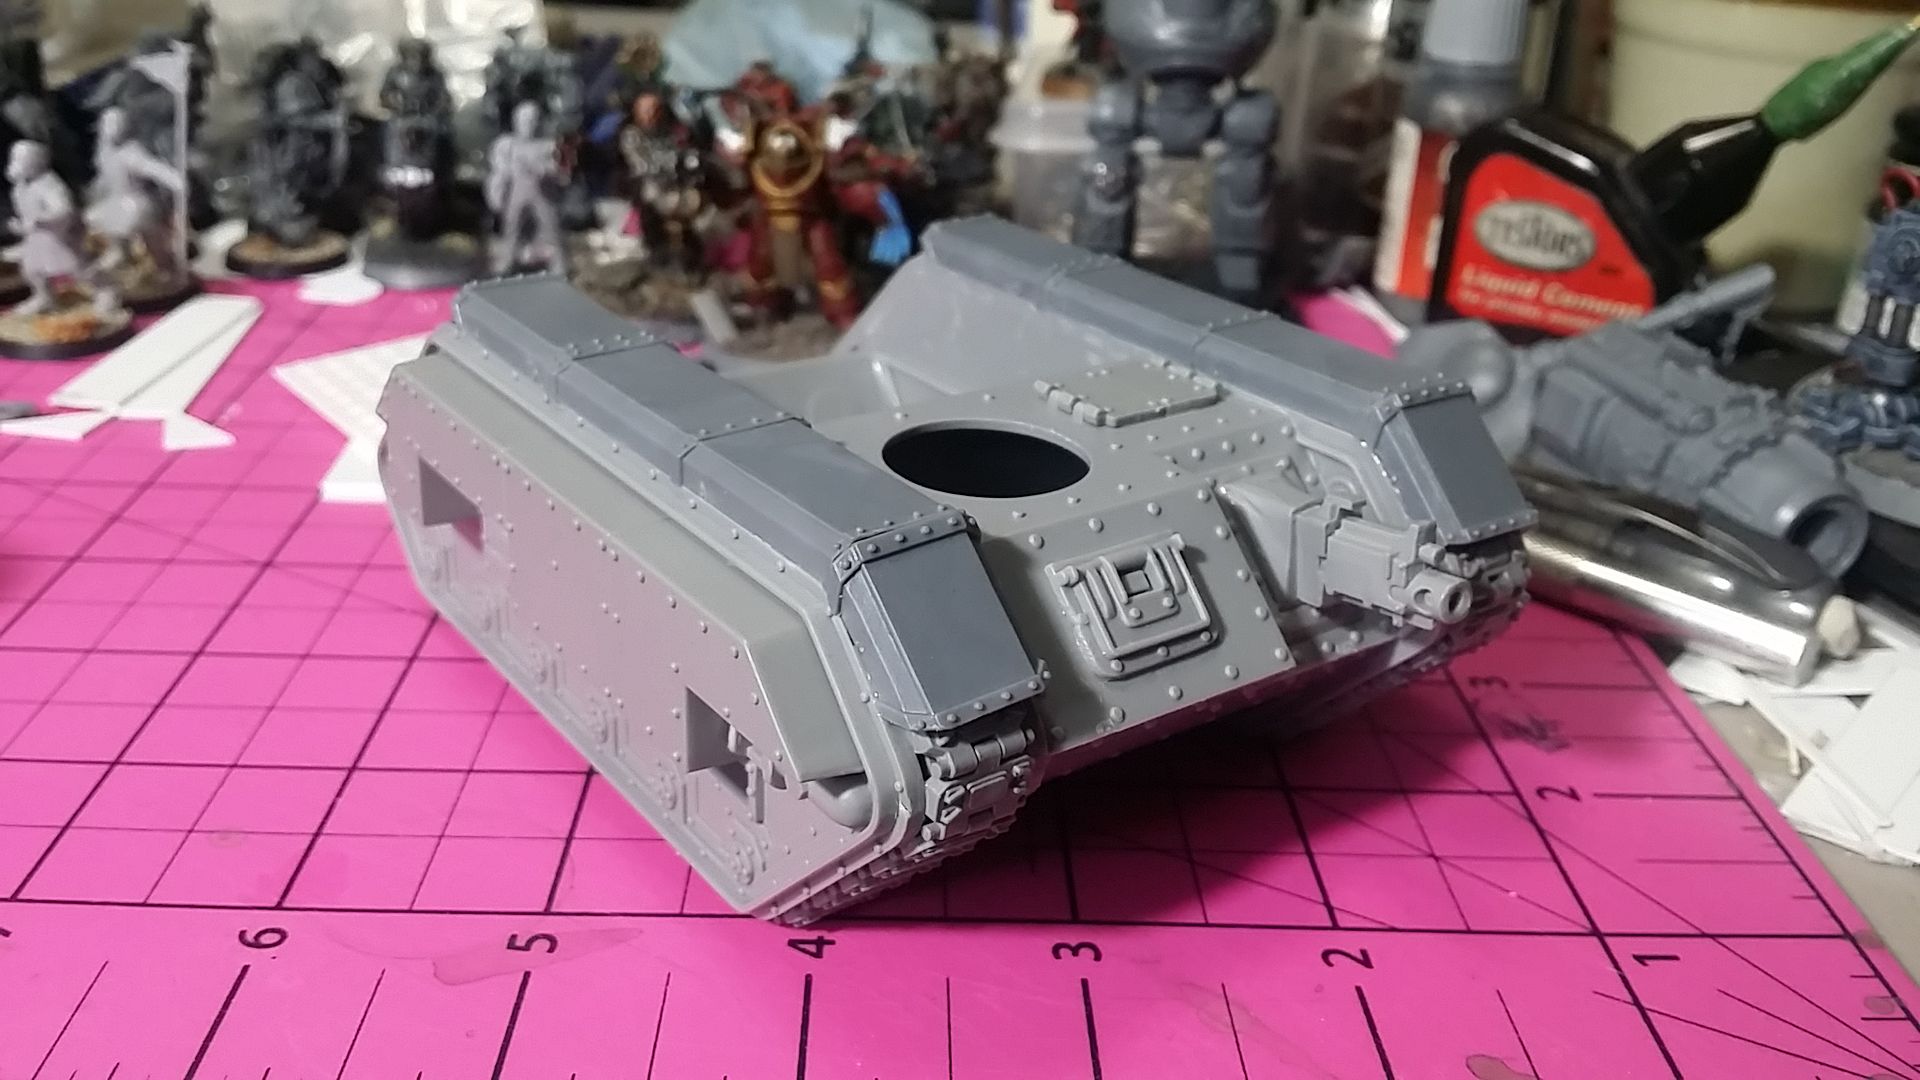
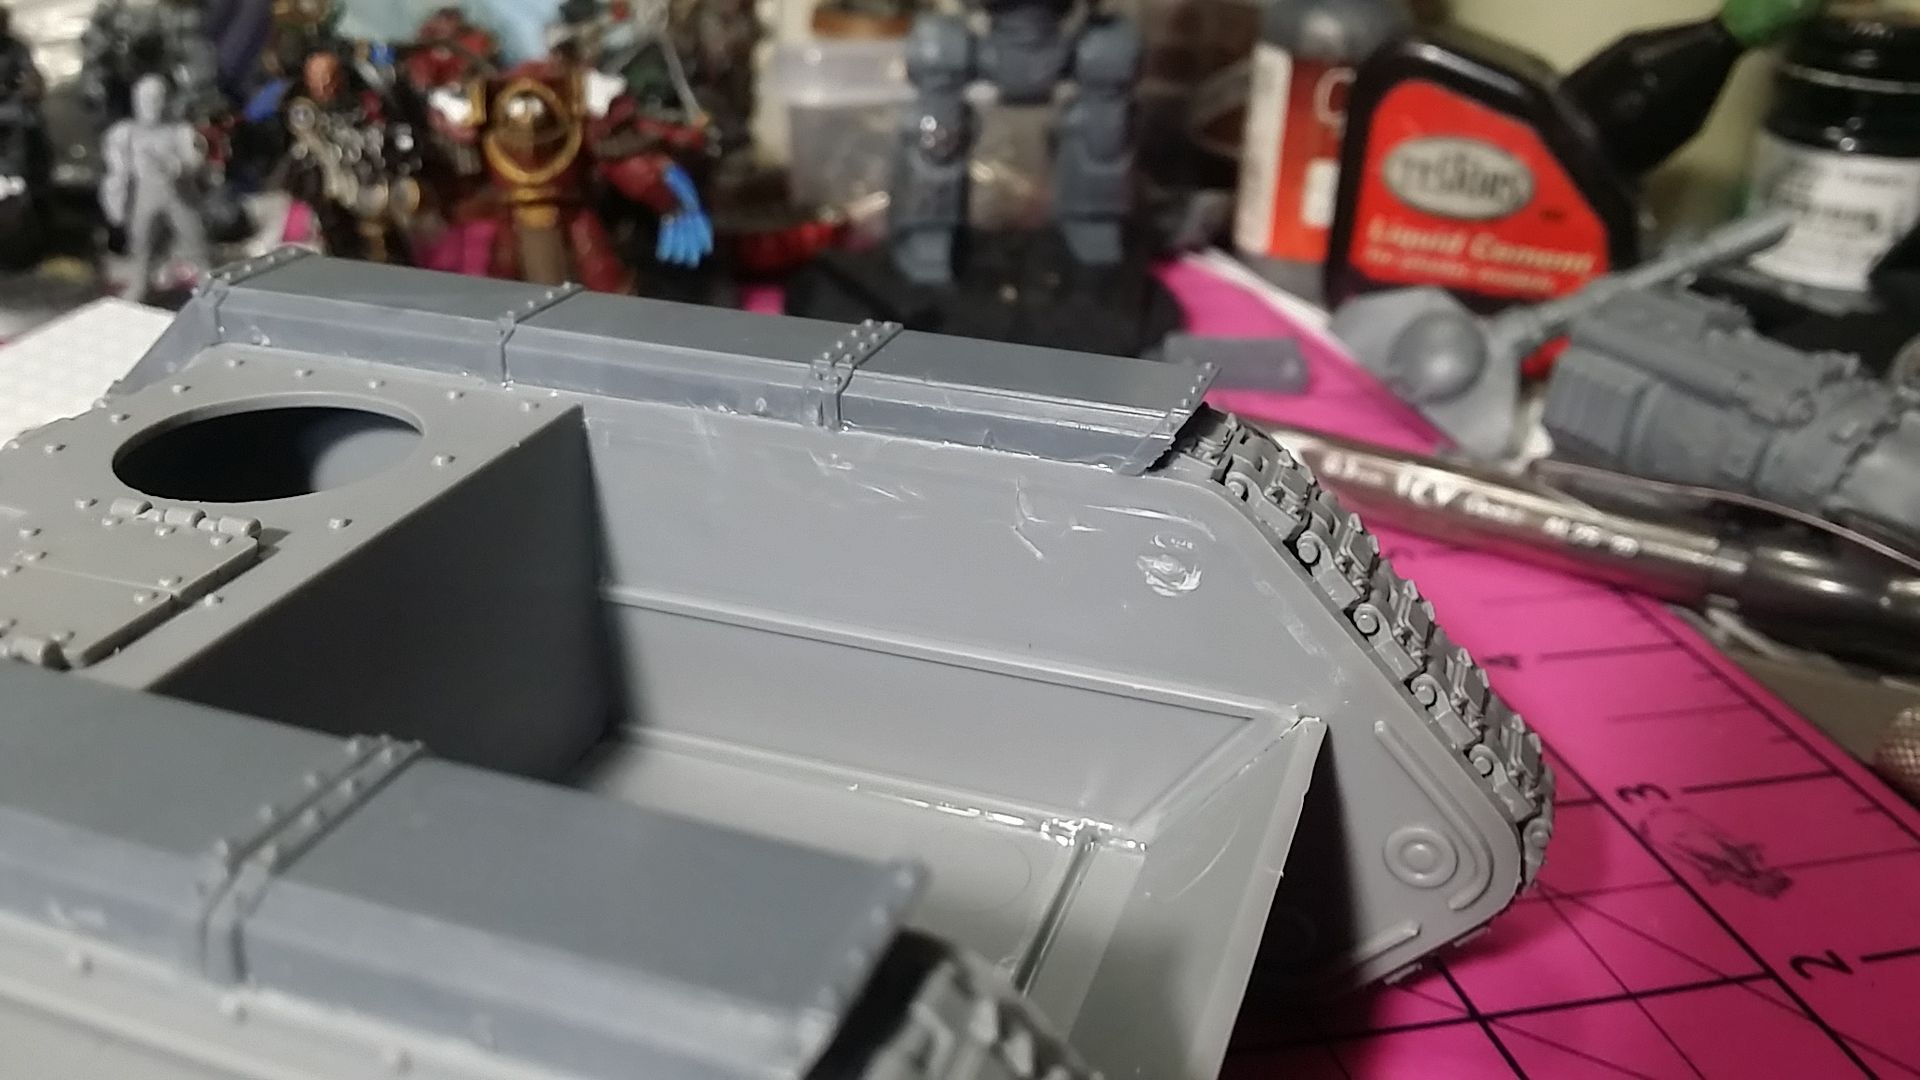
I started by assembling the main hull of the Chimera. Using a chisel blade, I scraped off the guide lines and drive hub that are exposed.

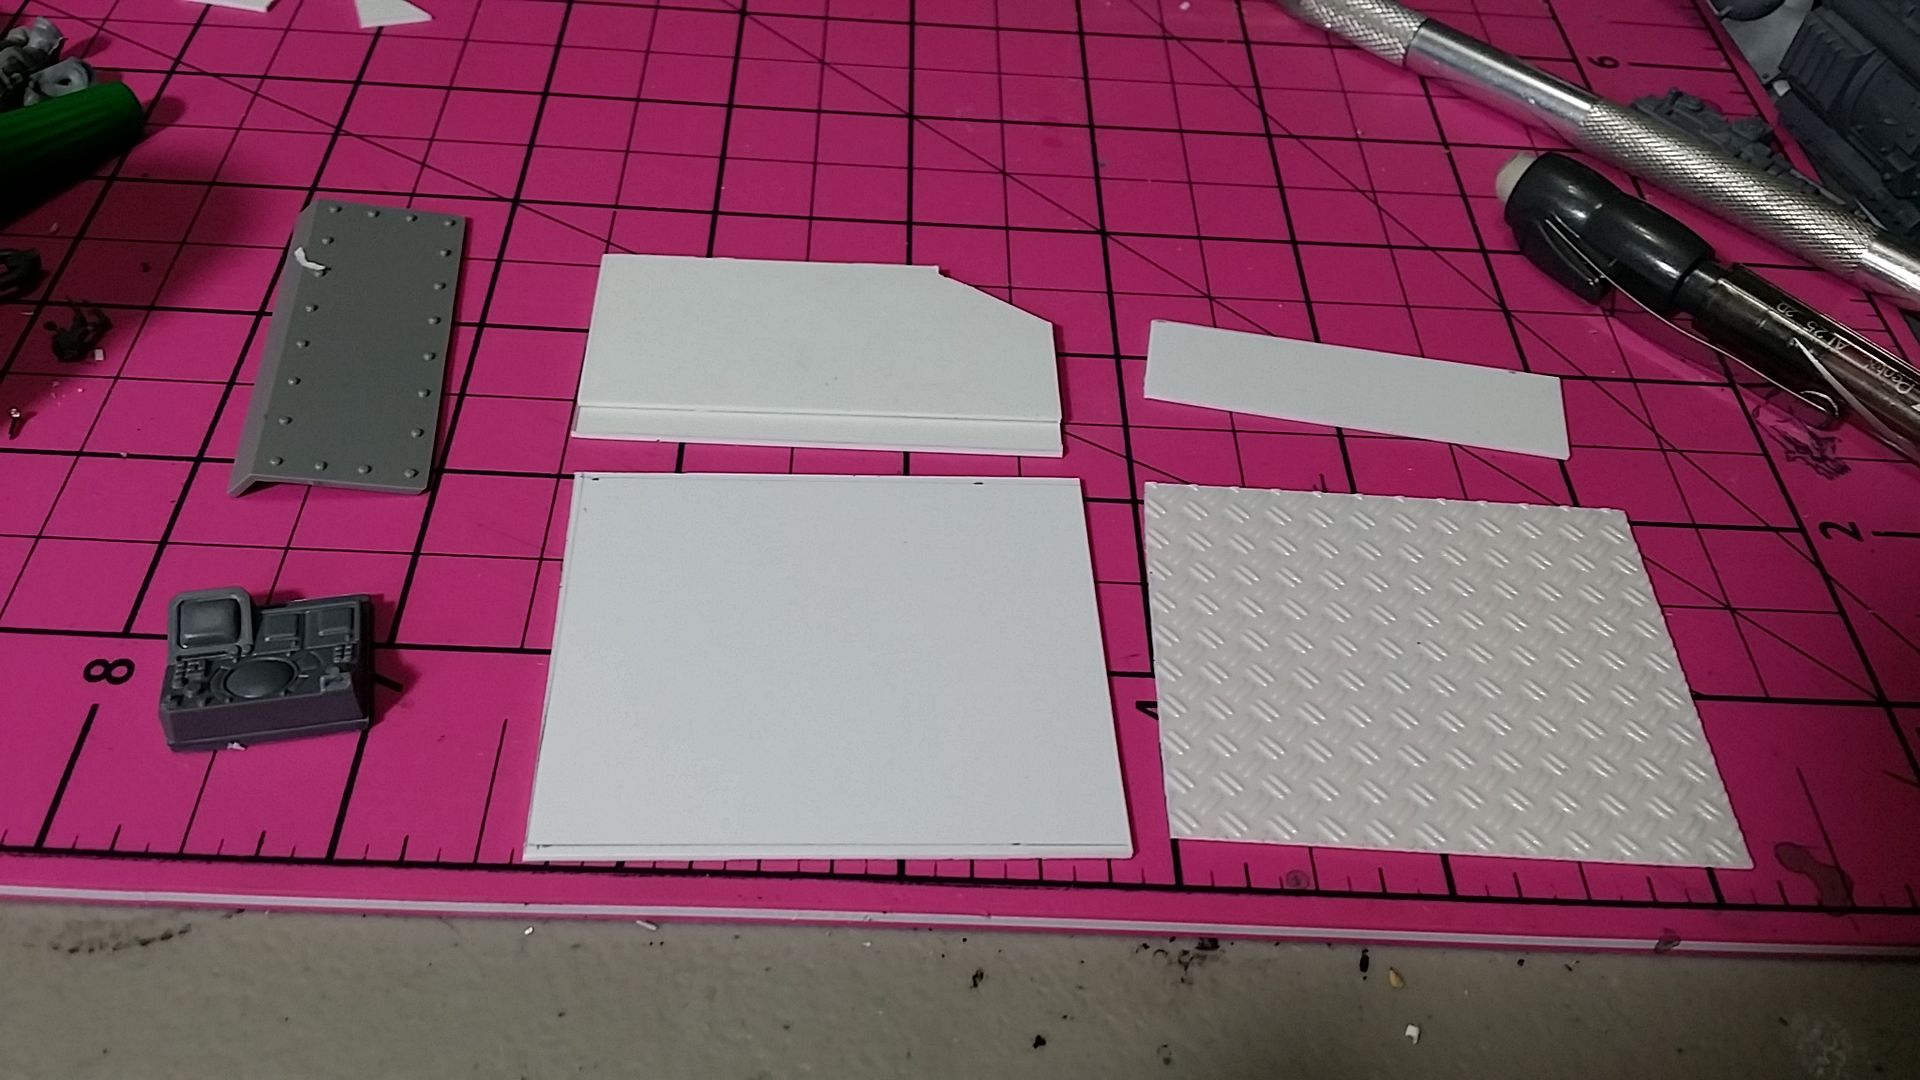
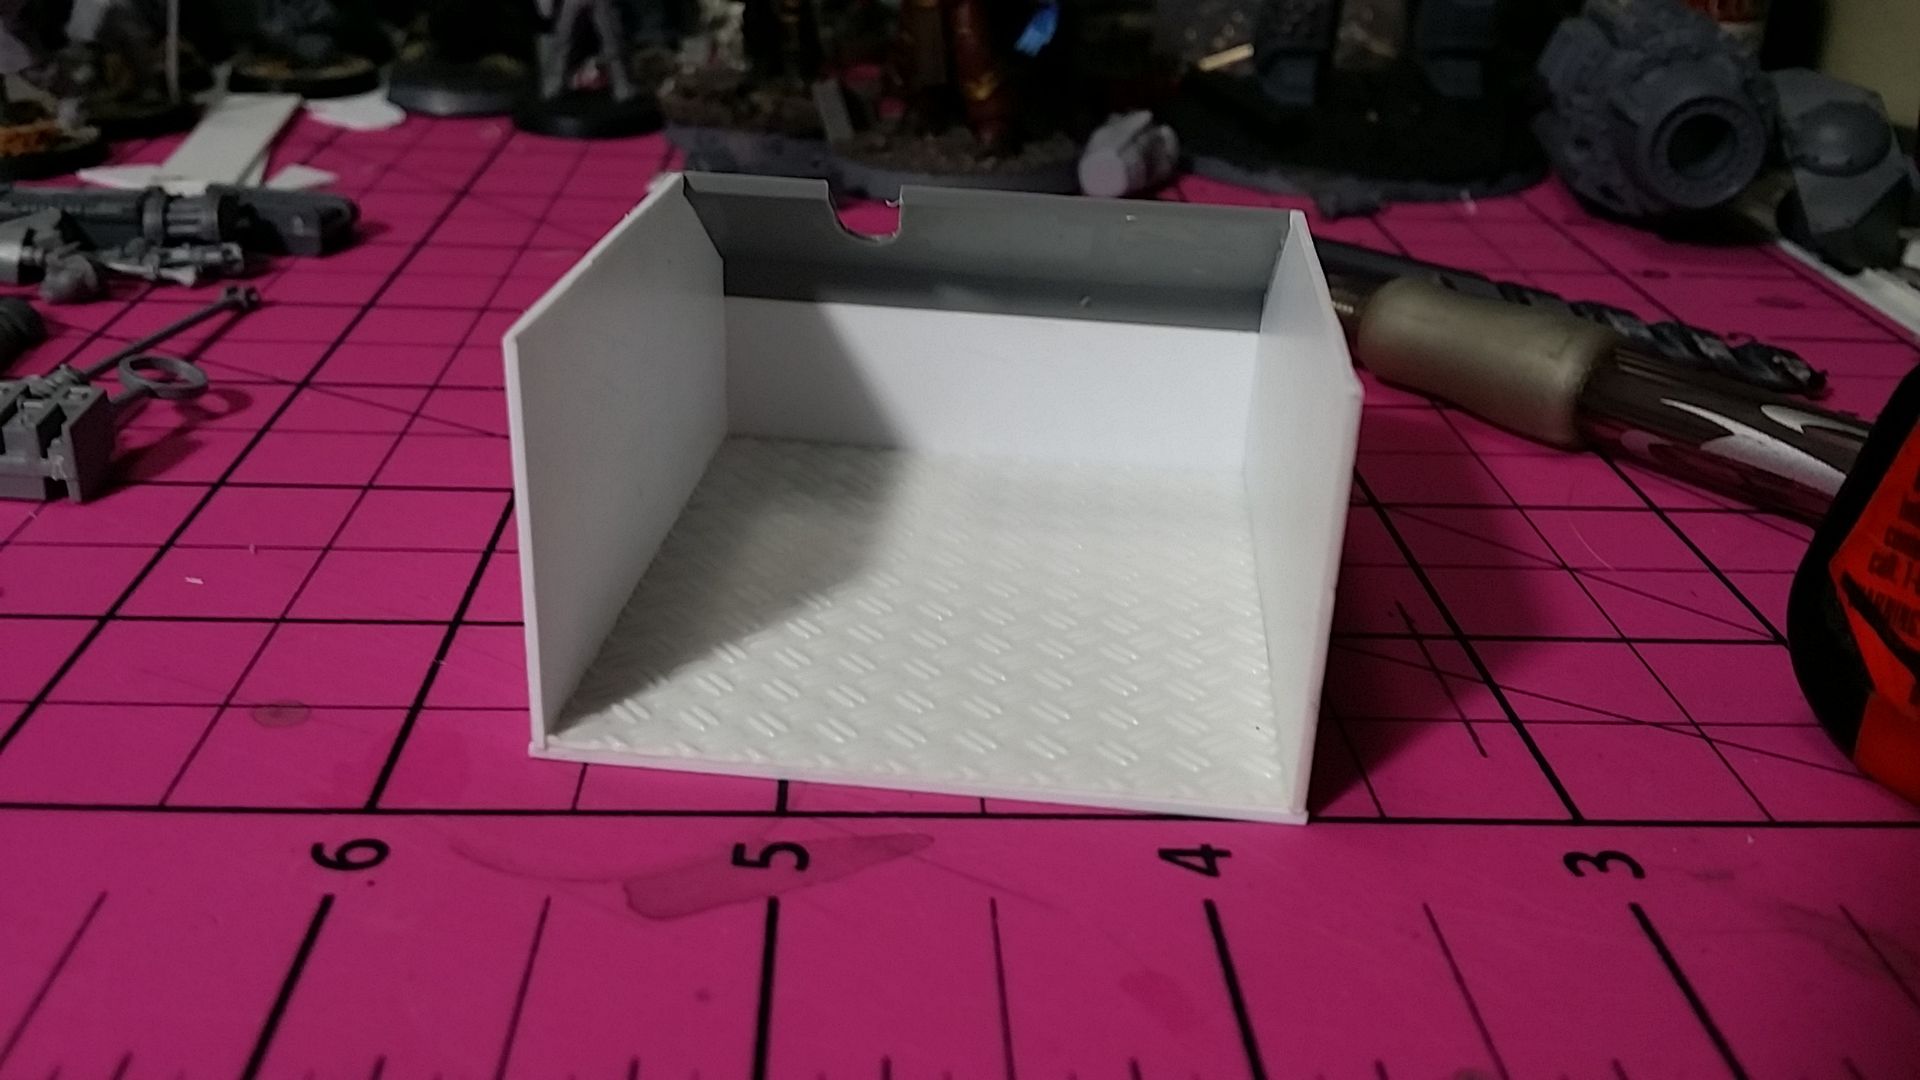
Next I got all the bits for the crew compartment ready. The compartment hull is made from .030 sheet styrene. The deck plate is a piece of double diamond plate sheet styrene from I don't remember what company. I know I got it on clearance at Hobby Lobby about 4 years back...

The deck is 50mm x 56mm, the diamond plate 48mm x 55mm. The sides are each 28mm x 55mm, and the front of the compartment is 14mm x 50mm. The slot for the Autocannon was cut before the compartment was assembled.

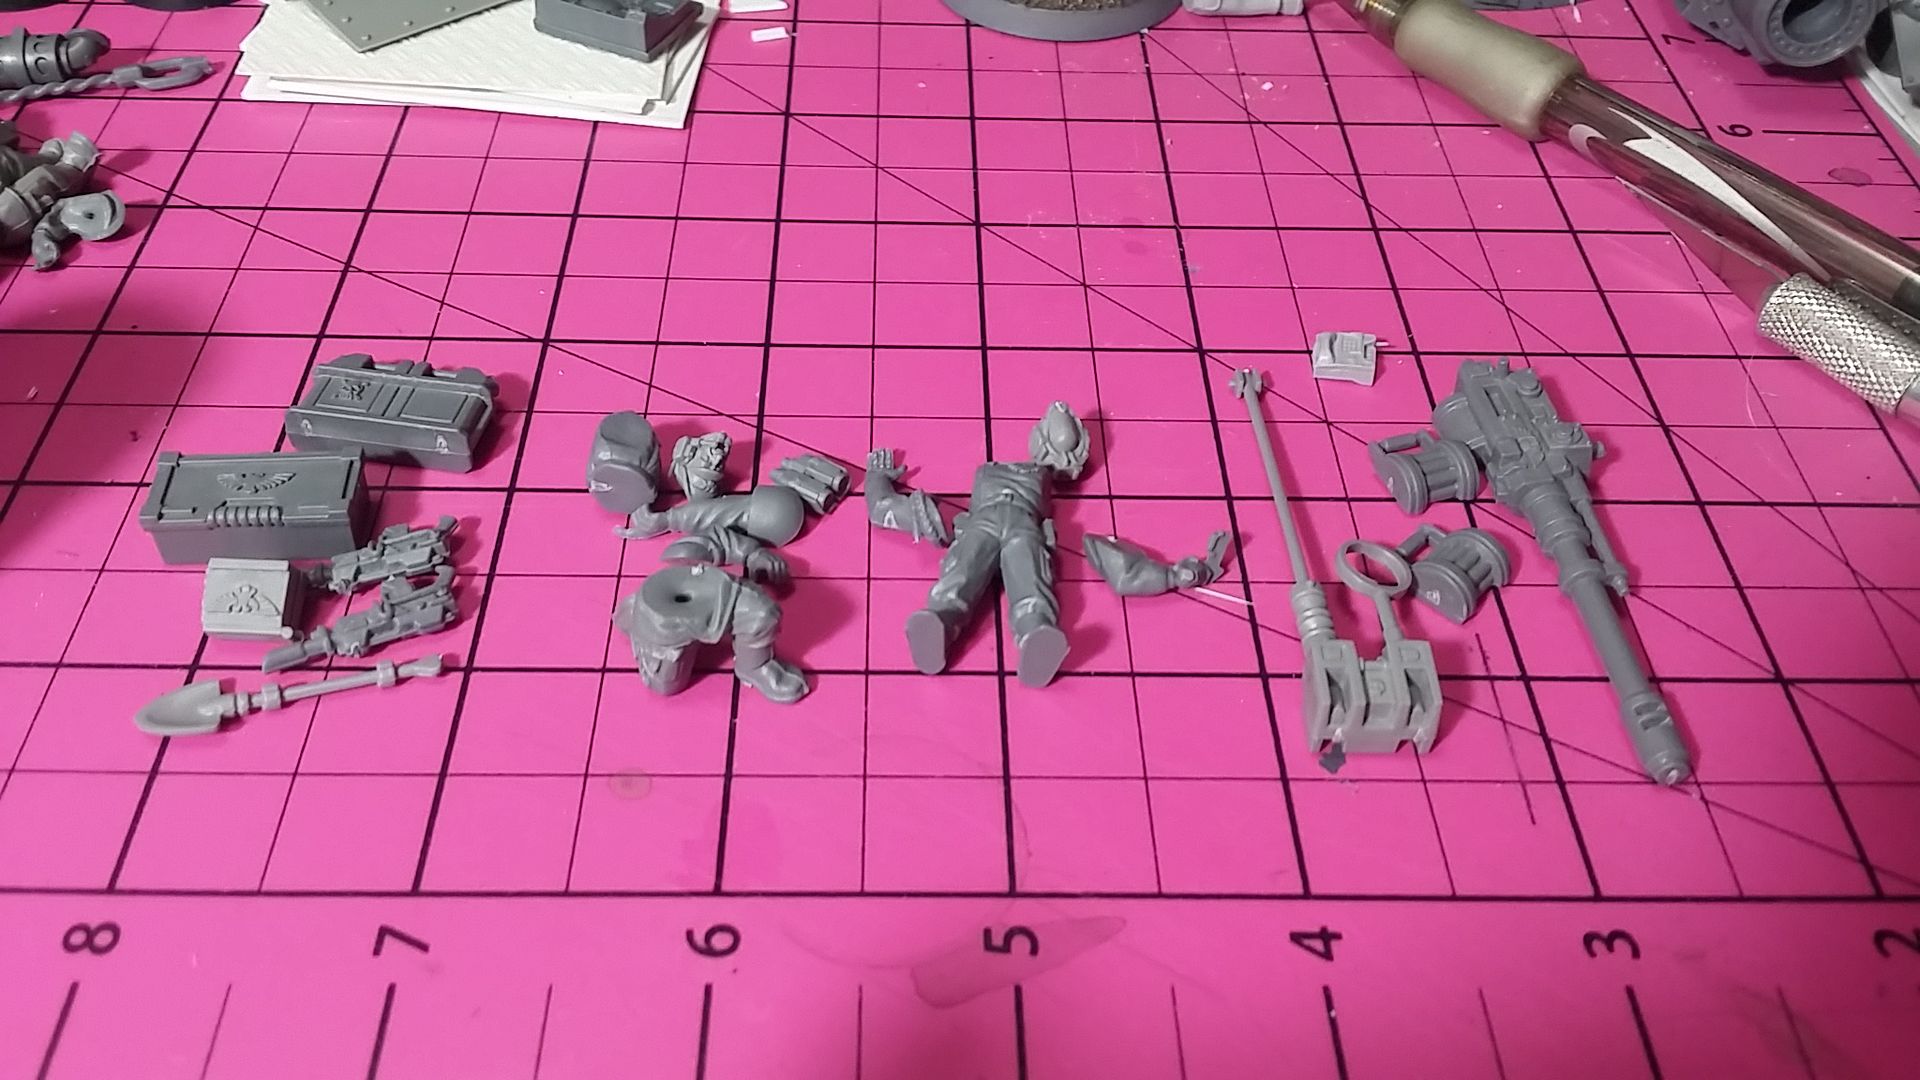
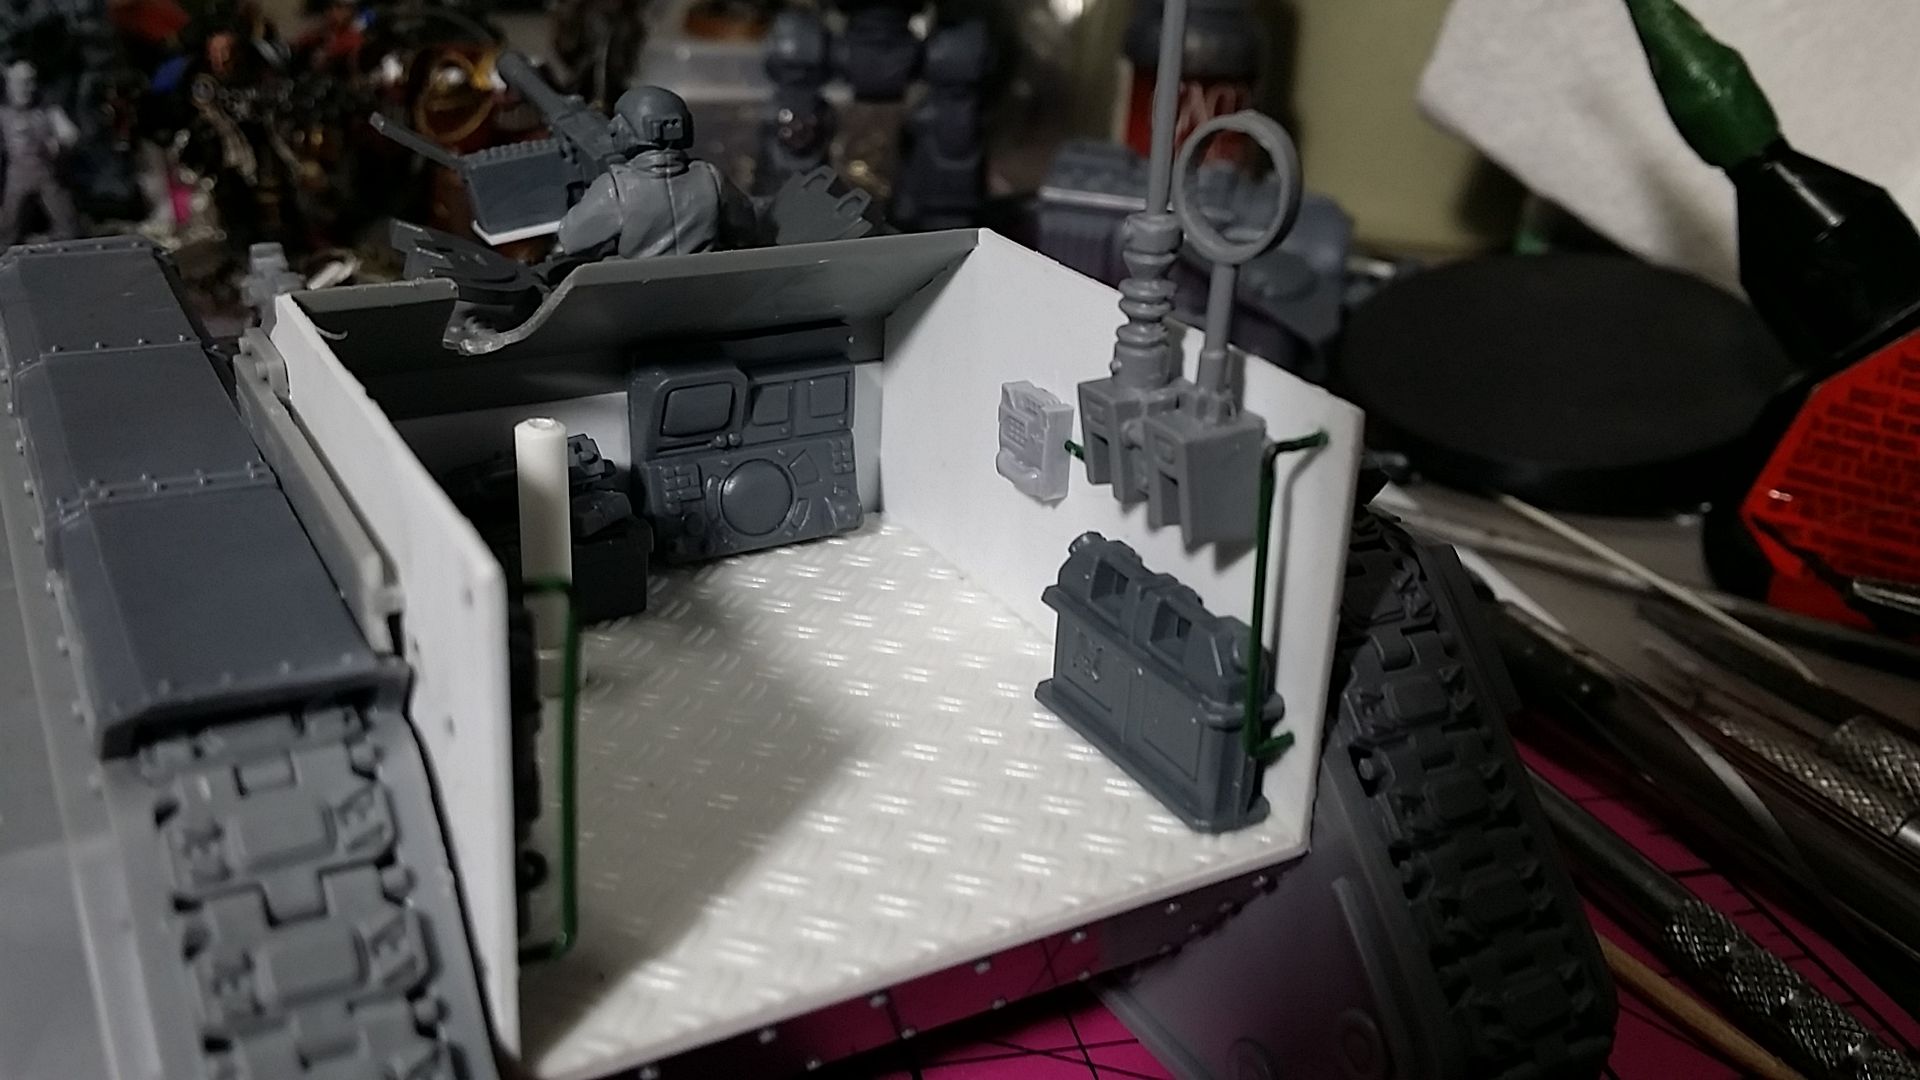
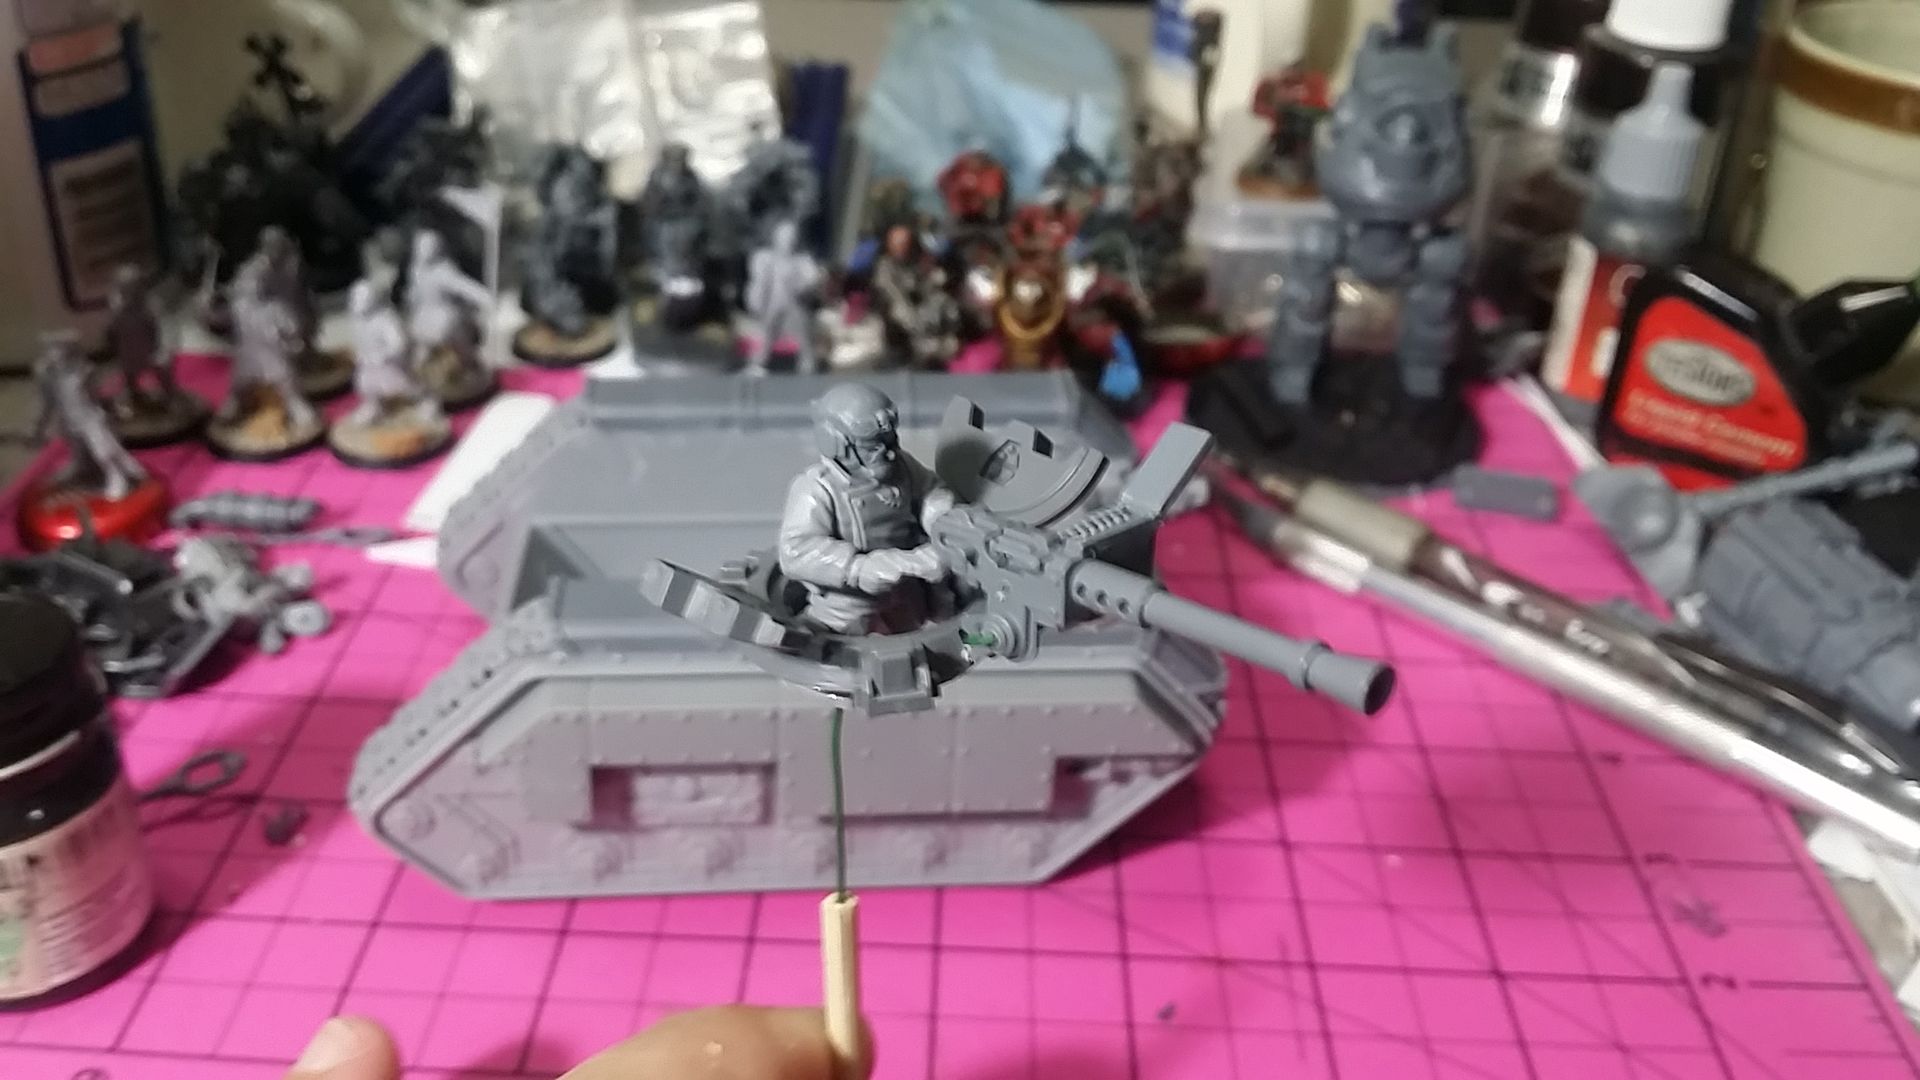
Detailing the compartment I used bits from the Razorback and Rhino kits, as well as from the Imperial vehicle accessory sprue. Floral wire bent to shape provided power lines and grab handles. The comm pack is from Mad Robot Miniatures. A lasccarbine hangs next to left of the Autocannon gunner, Each crewman has a couple frag grenades as well. In the dead space under the Autocannon I placed a toolbox. On top is a copy of the Imperial Infantryman's Uplifting Primer and another lascarbine. The Autocannon mount is 1/8" styrene rod.

Even with a few vehicle accessory sprues I didn't have a turret ring. I used an extra Rhino hatch and modified it so the Heavy Stubber fit.

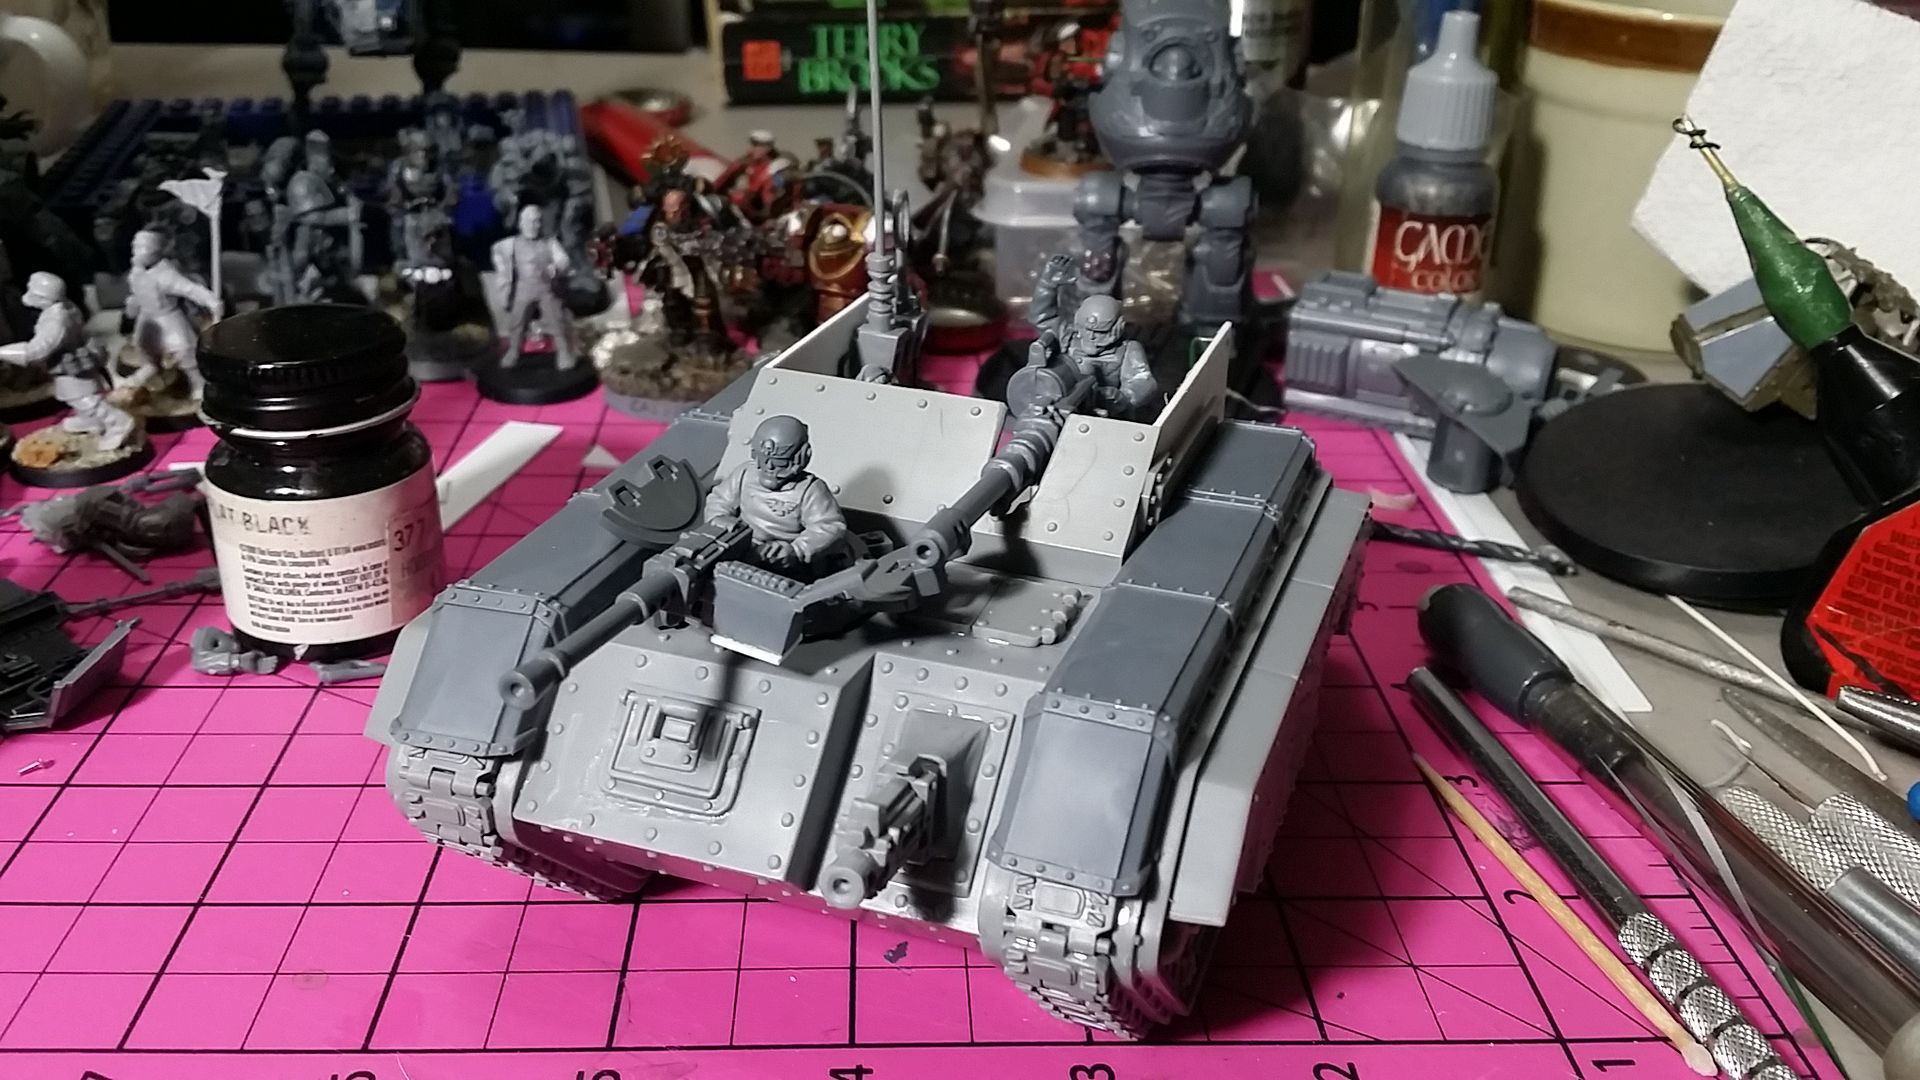
Here's the finished scout tank. The crew and Autocannon are all loose to facilitate painting the model easier.

Mr. Hollyoake also informed me that FW no longer produces the Salamander, so I hope this helps anyone who wants this tank in their army.

Cheers,

CJ
UPDATE: I forgot to include where I got the idea for this build: Black Gobbo. Remember that?

Tuesday, August 9, 2016

Leman Russ Salvage 002

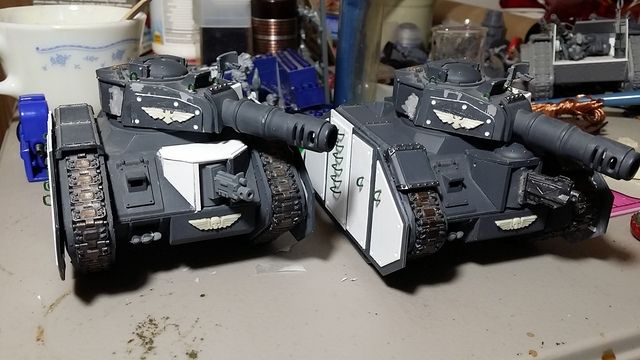
The refurbishment of these two Leman Russ tanks continues. With the side skirts basic construction finished I moved on to adding some details to them, as well as working out how they'd be mounted.

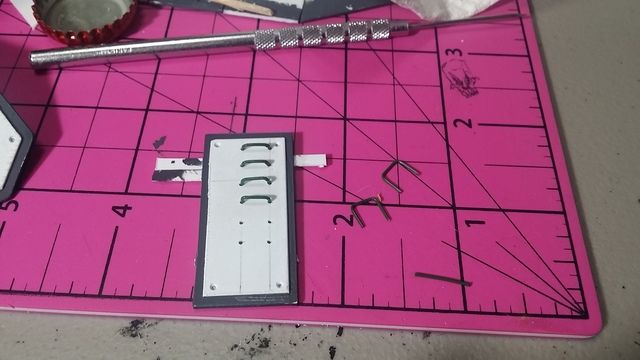
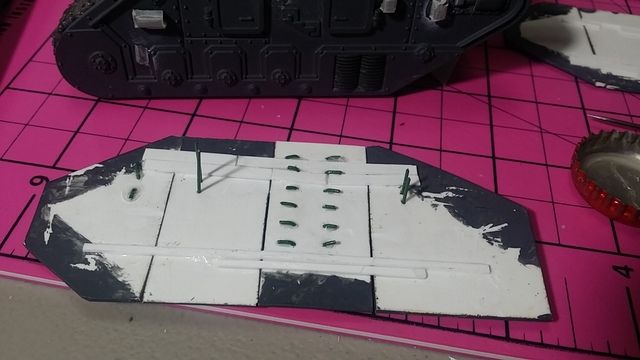
Using floral wire I added some lugs to the side skirts. These extend through holes drilled in the hull, allowing me to remove the skirts for painting. Not bad, but still a bit plain.

I added a ladder to each skirt with more wire. This gives it a bit more detail to break up the large flat panels.

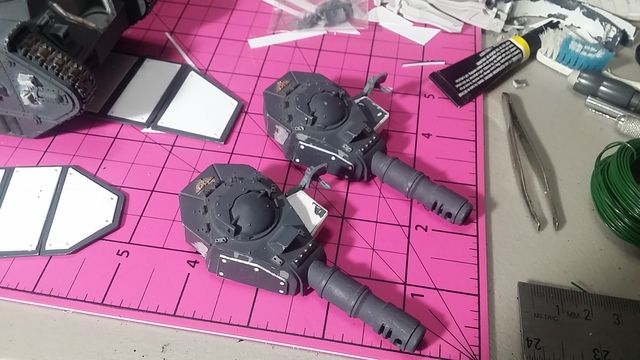
Finally, I clipped off all the stowage lugs from the older turrets and drilled holes to mount lugs made from wire loops.

All that's left on these two tanks is to rebuild the hull heavy bolter for the tank on the left. The one on the right is ready for paint. I'm beginning to think these Leman Russ will fill out a command squad. I've got a Vanquisher in the works to be used as Commander Pask.

Cheers,

CJ

Sunday, July 31, 2016

Leman Russ Salvage 001

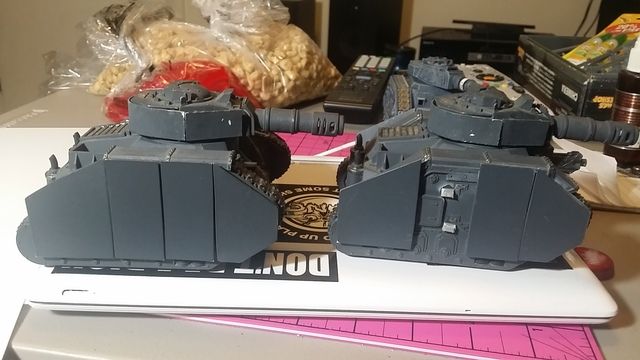
I scored a couple eBay wins in the form of Leman Russ tanks and 10 man squads of Steel Legionnaires complete with heavy weapon team. The Russes both came with extra armour in the form of plasticard spaced armour. One panel was missing, no big deal. One hull HB was missing and I think I lost it after it got here. Also no big deal I can make a new one...

Not bad for eBay, but I usually do alright. Bonus points they're painted in a similar colour to my scheme. This makes a repaint easier.

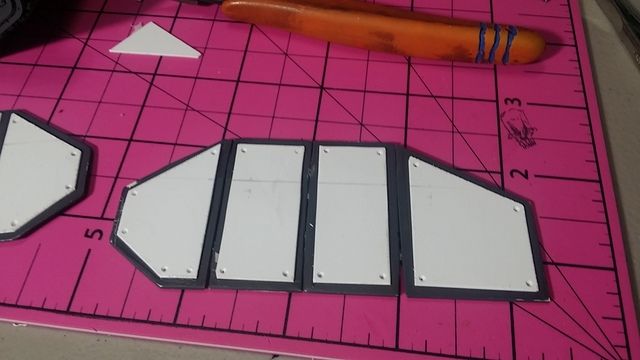
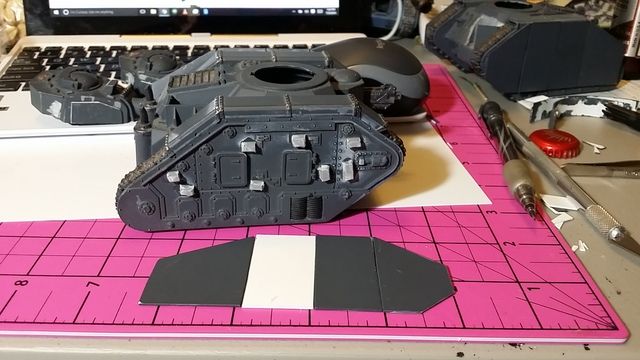
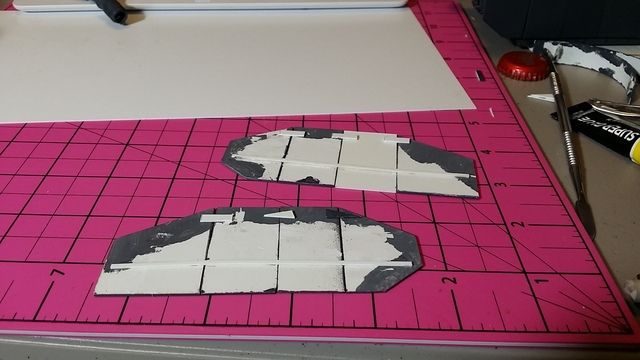
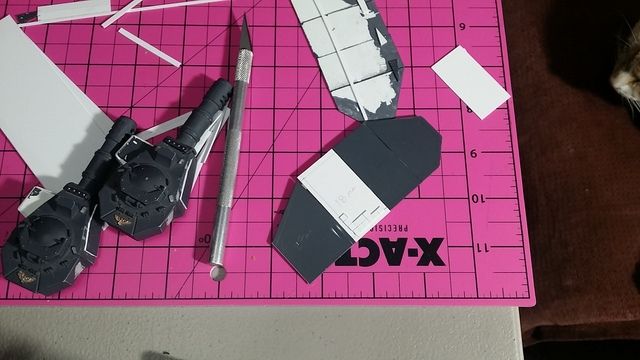
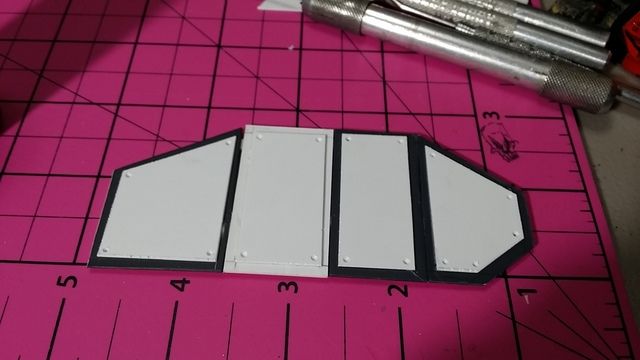
The first thing I did was to get the armour popped off the turret and hull. I cleaned off the glue from the panels and made some measurements. I made a replacement panel for the missing piece and then glued them all together, using a ruler to keep them aligned at the bottom. Some of the panels weren't straight on one edge or another so it gives it an in the field modification look.

After securing the panels together with more plasticard, I turned them over and began a labor intensive process of making a shitgob of 3mm squares to add to the armour. I got this far and decided that this wasn't the way I was going to get this done as I was rapidly losing motivation.

So I decided to just use whole panels. It worked out fine, and fits better with the field mod look of the armour.

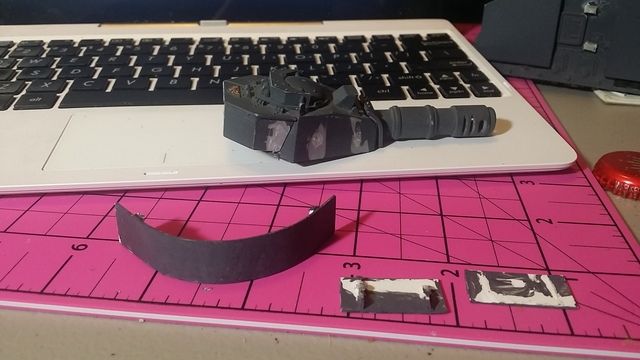
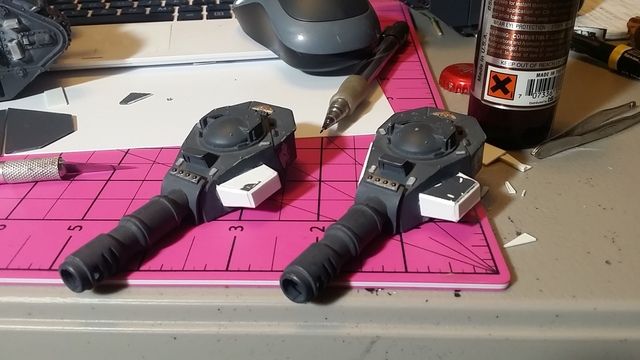
The turrets both lacked the little storage locker that sits to one side so I built one up from more plasticard. I'll add some lenses to each and call em targeters.

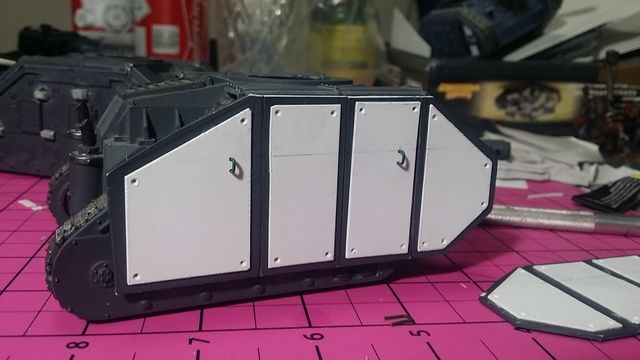
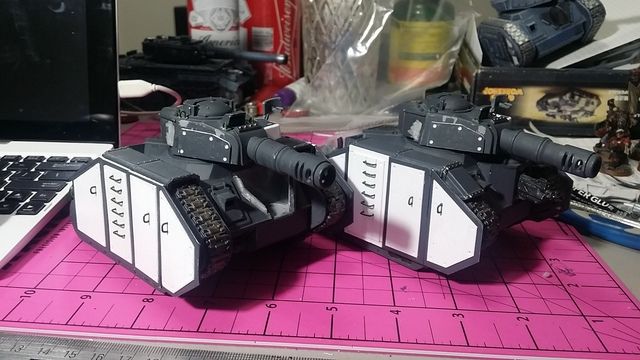
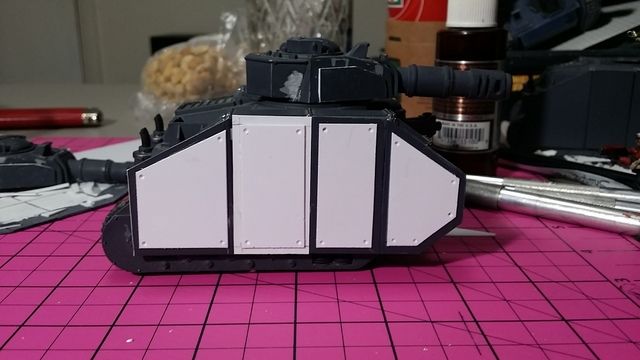
Here is the final result of the armour modification. After I rebuild the hull weapon on the one Leman Russ they'll be ready for paint.

Cheers,

CJ

Monday, September 22, 2014

Suppressor: Building a better Taurox 002

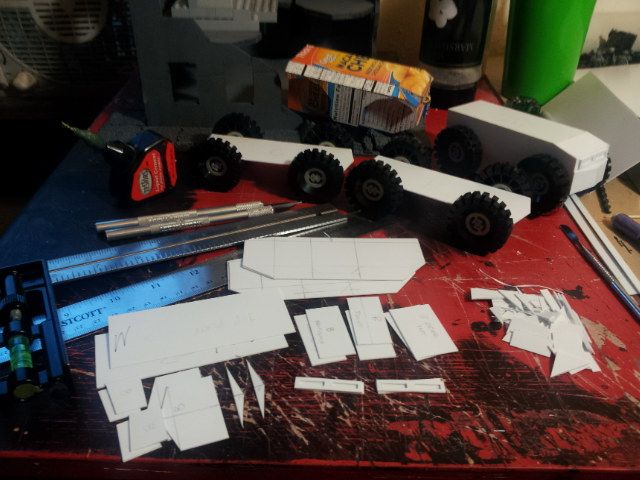
I'm back with more on how I'm building myself a better looking Taurox (in my opinion). For anyone who plans to do any sort of scratchbuilding I cannot stress enough the usefulness of having a good steel ruler on hand. I also keep a 12" adjustable square on hand. Together they are awesome.

Using my nice steel ruler and a mechanical pencil, I carefully marked out most of the parts I will need for this next step of construction. Before going too crazy with the cutting I made sure to mark any guide lines I might need later.
A steel ruler helps get all these guide lines right, too

After all the cutting I ended up with a couple piles of identical parts and a pile of offcuts. These can be used as braces for the project, or just added to my bucket of scraps. Either way they will find use later.

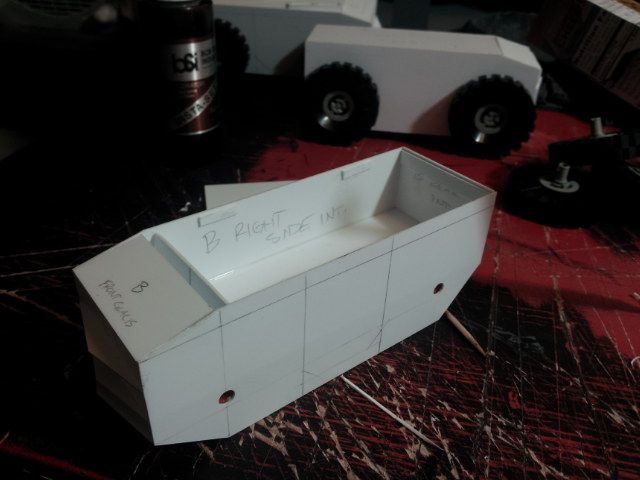
Watch me turn this pile of parts into a third hull
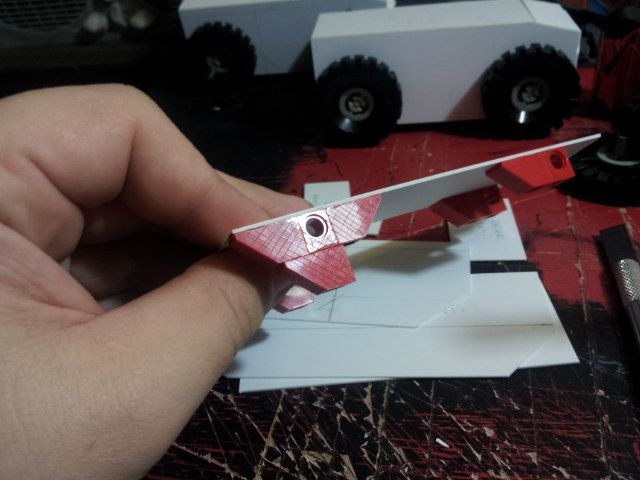
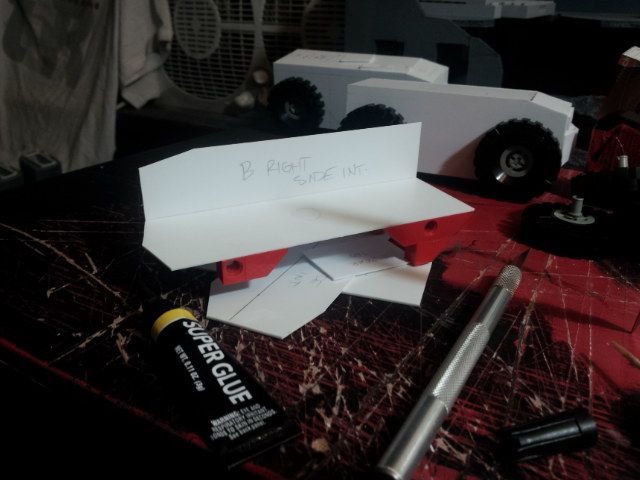
First I score the sides of the LEGO bricks with a stencil knife. This will help the superglue adhere to the surface better. The attach point between LEGO and sheet styrene will be the only place I use superglue on this model.
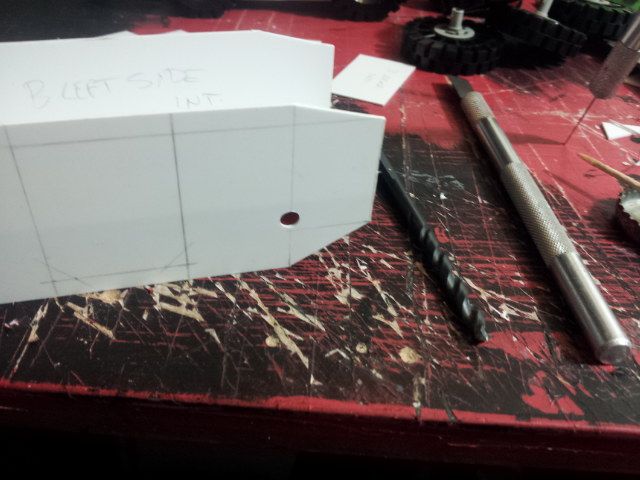
Once both sides are in place, I drill out holes for the LEGO axles to fit into
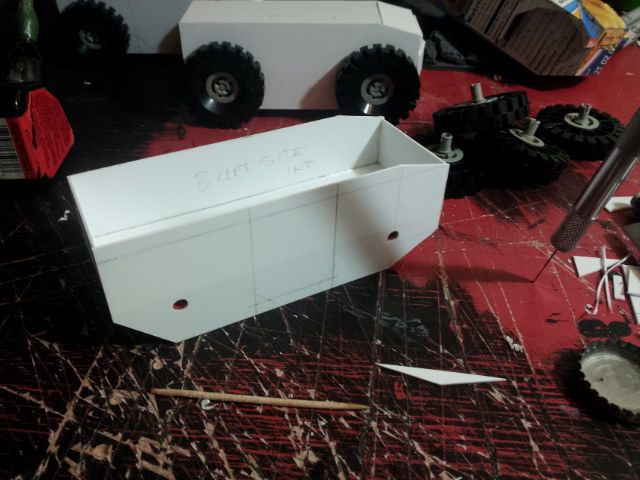
Examples of the braces I mentioned before
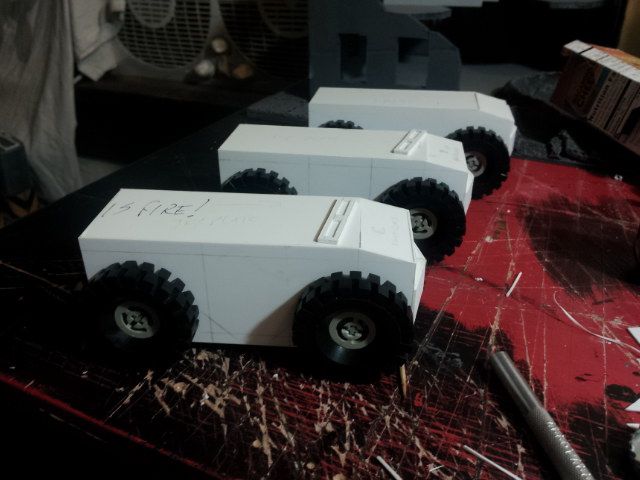
Here they are, three Suppressor pattern Taurox hulls ready for the next stage of assembly. The bits on the top of the forward and middle hulls are the forward view ports. I'll leave them separate from the hull until I am ready to start adding details.

Next step: finish the armour.

Cheers,

CJ