Showing posts with label Salamander Scout Vehicle. Show all posts

Sunday, April 22, 2018

Armour in April 3rd Update


The third week of #ArmourinApril is over. Not too much painting got done this week, but I did bring the Thunderer to life so I feel like it's a fair trade. I did get it and the second of my eBay rescue Leman Russ hulls painted up to the same point as the tanks last week.


So all four tanks are now ready for detail. That ought to occupy the rest of the month nicely.

The crew of the Salamander is also ready to be painted up. I also have been thinking about adding more stowage to the scout tank...

Nearly there!

Cheers,

CJ

Sunday, April 15, 2018

Armour in April 2nd Update

The end of the second week of the month is here and #armourinapril rolls on.


This week saw me get some rare morning painting done before work. I'm usually up quite a bit before I need to leave the house anyways so I may try and capitalize on this previously unrealized hobby time. The Salamander Scout got it's basecoat finished up and both tanks got a black wash so they'd be ready for drybrushing when I got back to my desk again.

Update: I got some progress photos from Pablo Daniele Mura, he is working on a trio of Leman Russ tanks.


In related projects I assembled some parts and set out on a conversion marathon... Stay tuned for more news there.

In only slightly related news Dave Taylor's Kickstarter has successfully funded all the stretch goals. I look forward to getting my book.

Cheers,

CJ

Sunday, April 8, 2018

Armour in April 1st Update


 I started with two tanks nearly complete so I have been focused on getting them done first. The LR Vanquisher is nearly done at this point. The Gideon pattern MBT I had painted half of the metallics and then stopped. I got the rest done and now they are both ready for some washes.

 I got all the Shadow Grey basecoat applied to one of my basic LR hulls as well. While I was working on the metallics for the Gideon I painted the tracks and grab handles on the armour skirt for this comparison picture. When I first started with my Imperial Guard, the tank on the left would have been fielded as is and considered done. I was completely chuffed with my paint job, too, since it was smooth, no brush strokes. That was about... oh iunno Eye of Terror? So In the interval I've made some progress.

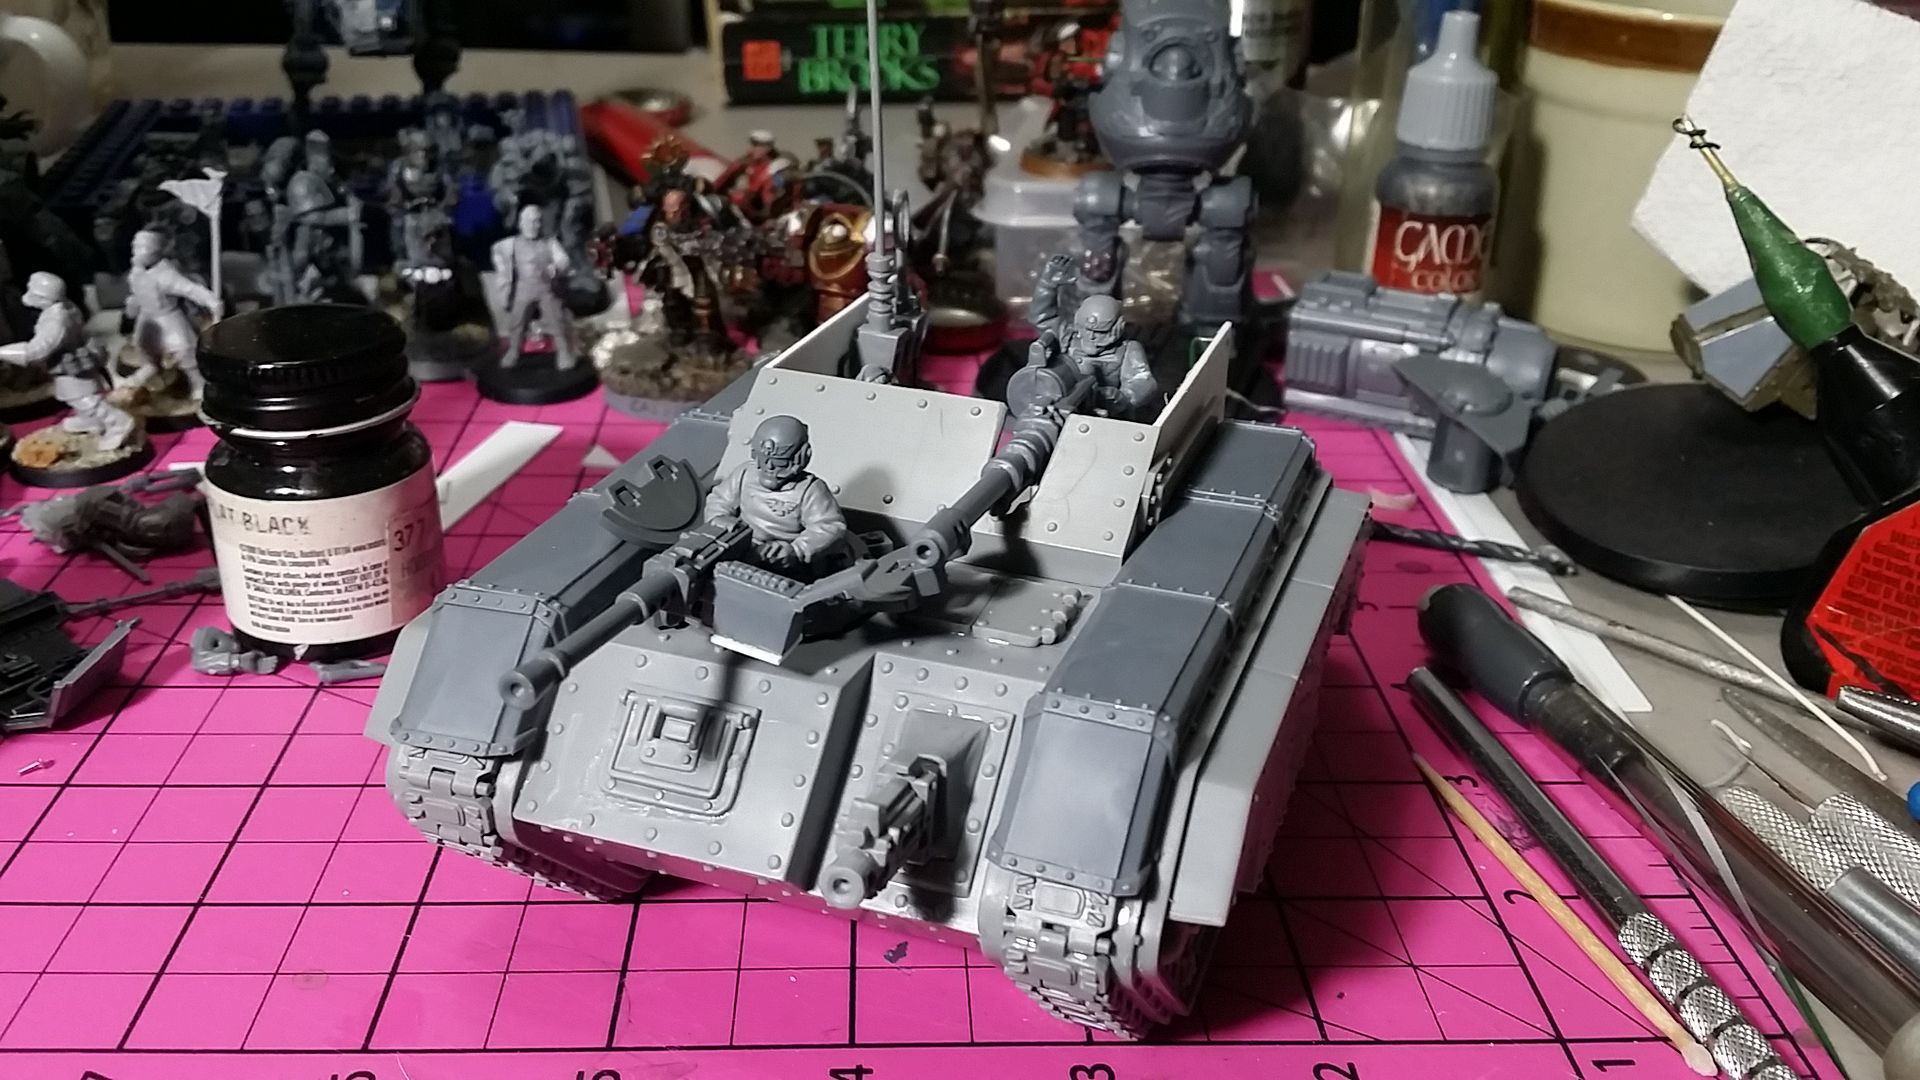
In the modeling side of things I made some changes to the Salamander. I've added a few extra track links and an old lasgun rack. I may add some more stowage to the vehicle at a later date.

I haven't gotten any progress updates from anyone else participating yet, but when I do I'll make sure to share them.

Cheers,

CJ

Thursday, September 22, 2016

Imperial Armour: Chimera Project v2 001

A couple months ago I posted about using one Chimera hull for many different vehicles. Courtney Hollyoake, who runs the Cadian127th blog, asked me about it and I decided to repeat the conversion and document it.

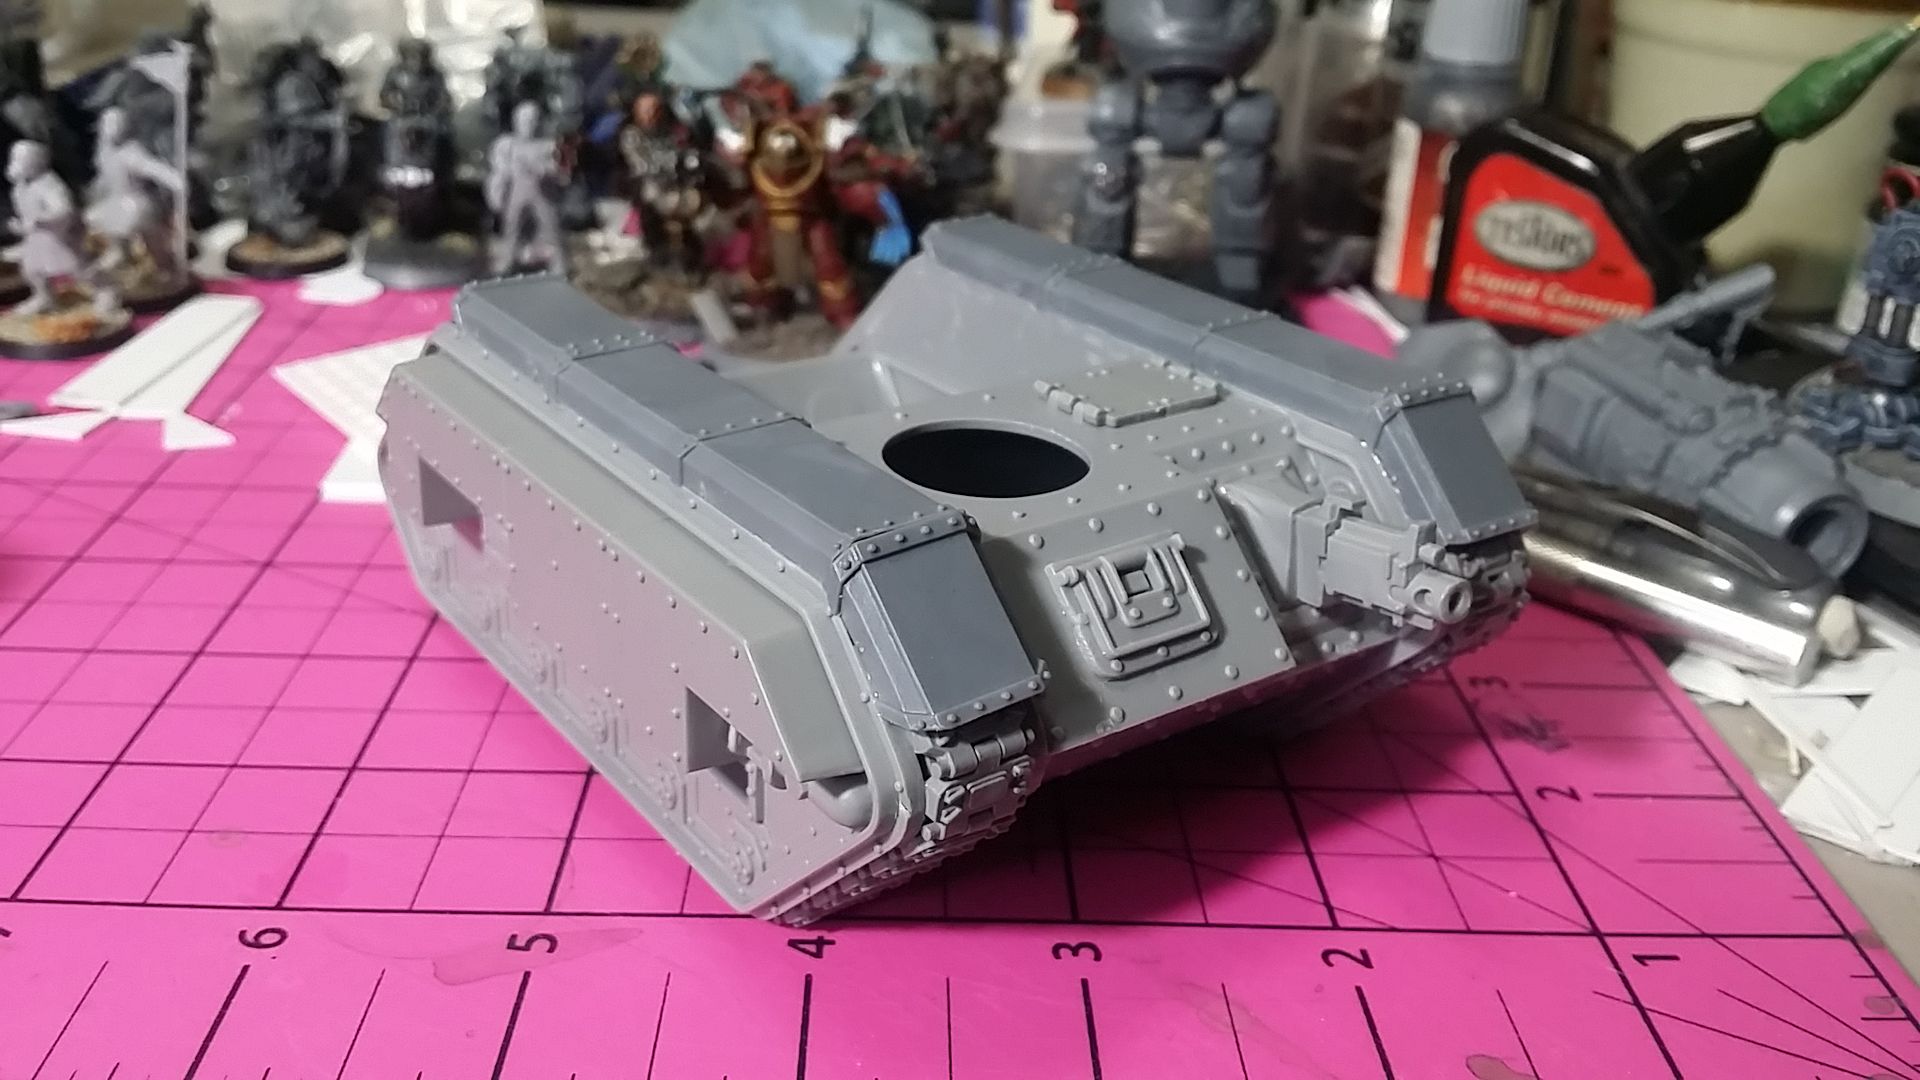
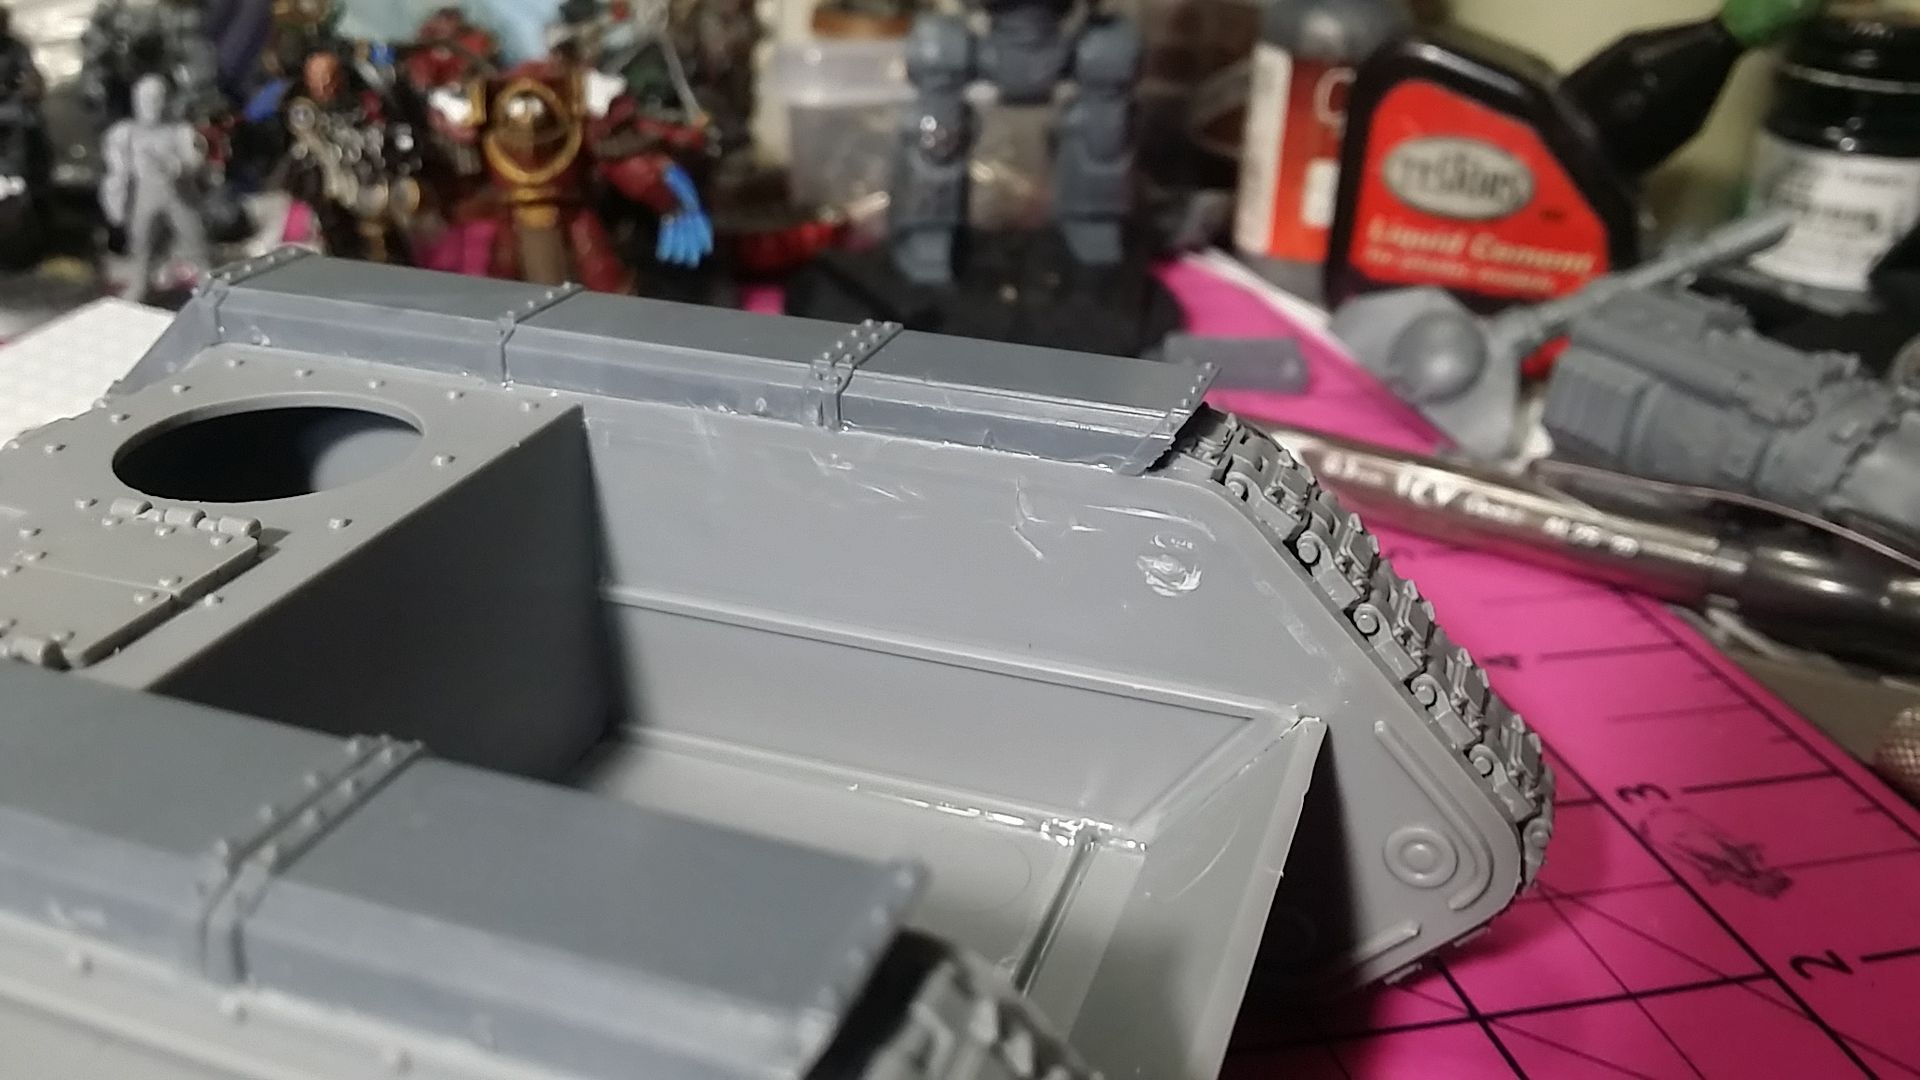
I started by assembling the main hull of the Chimera. Using a chisel blade, I scraped off the guide lines and drive hub that are exposed.

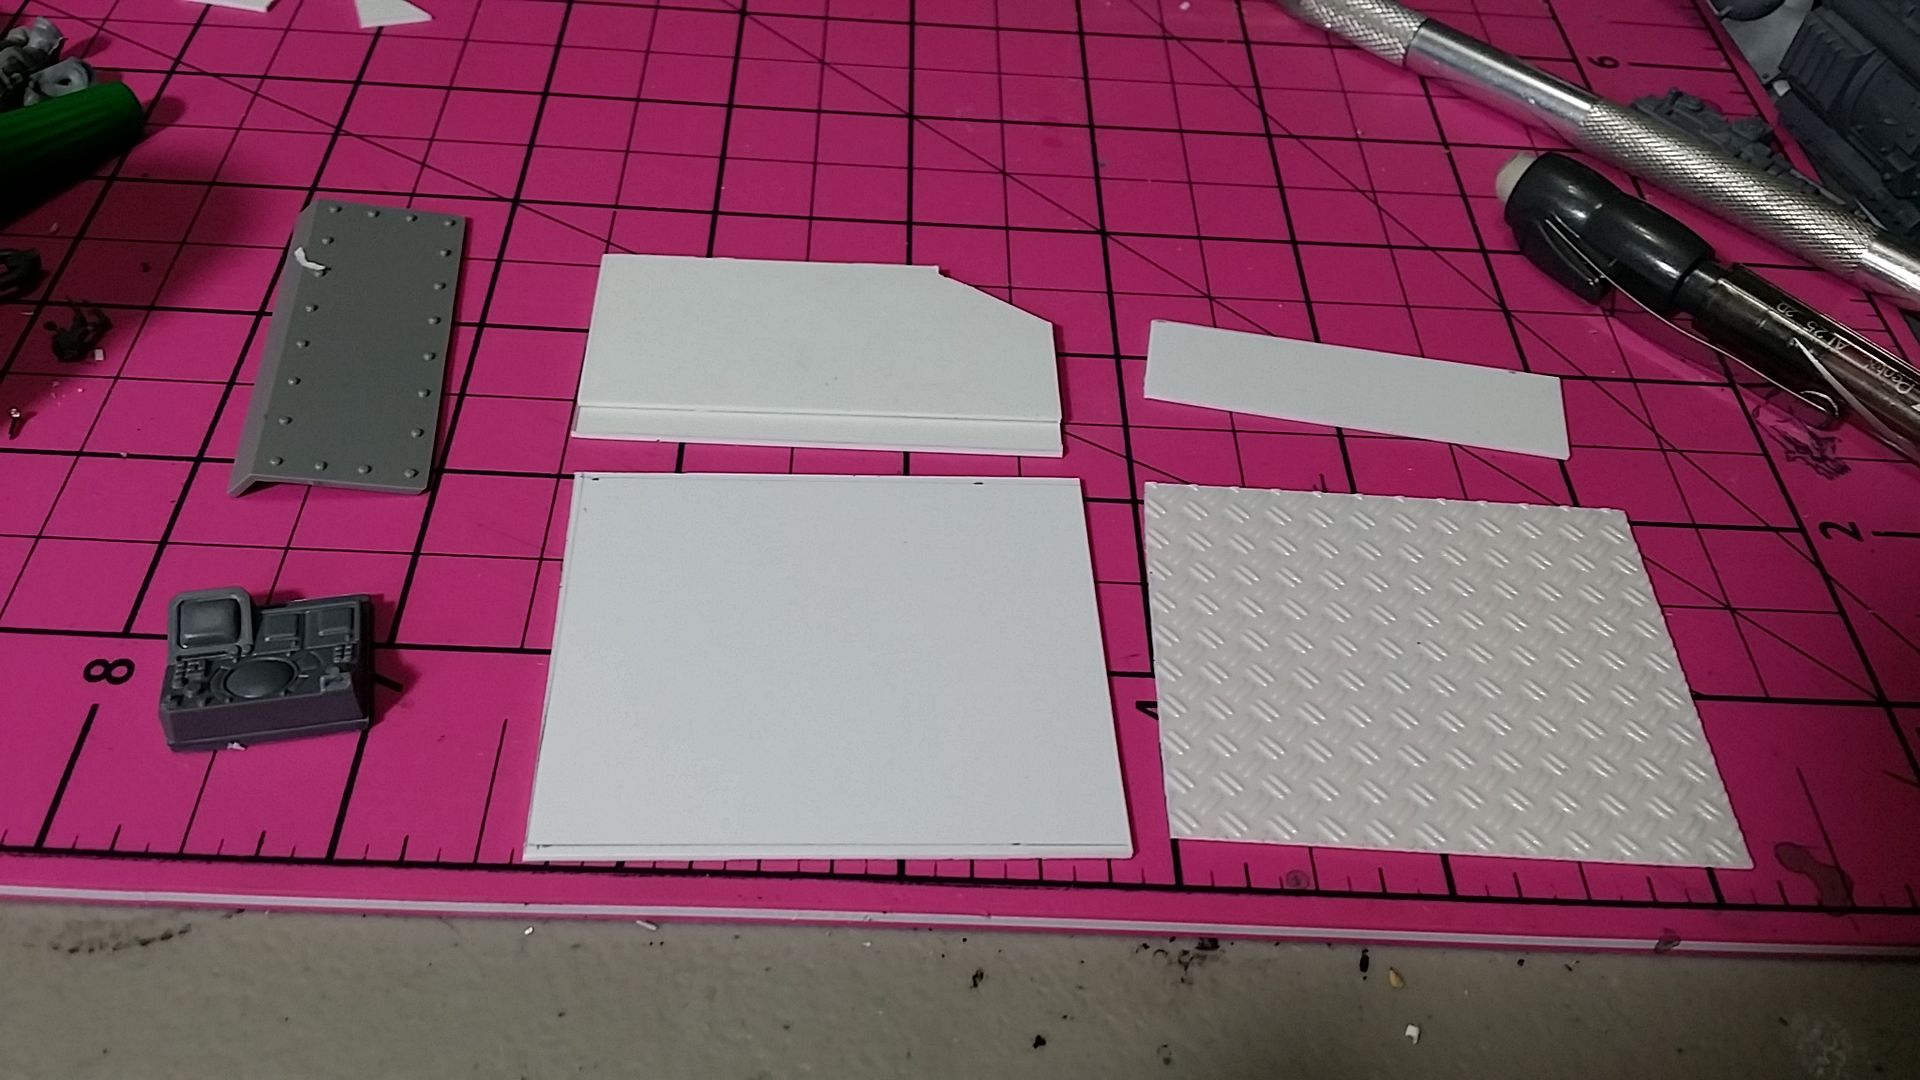
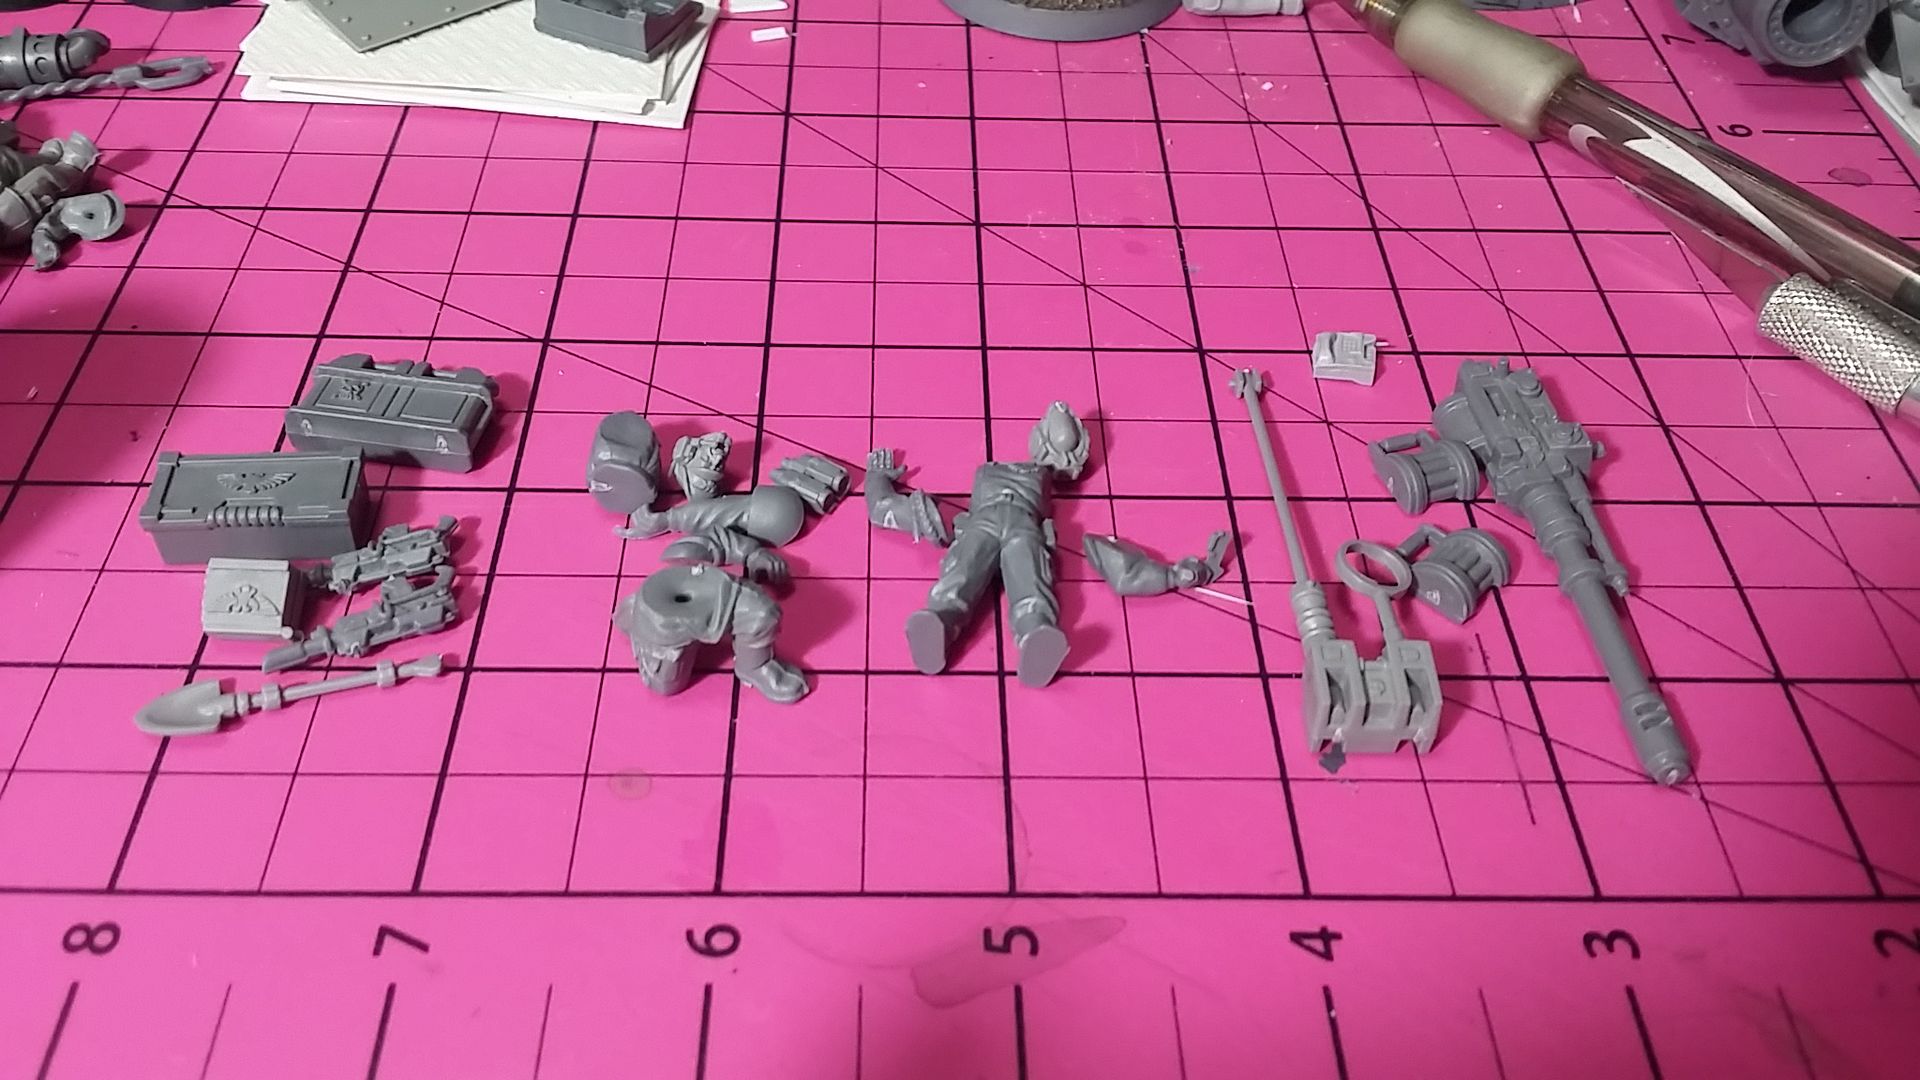
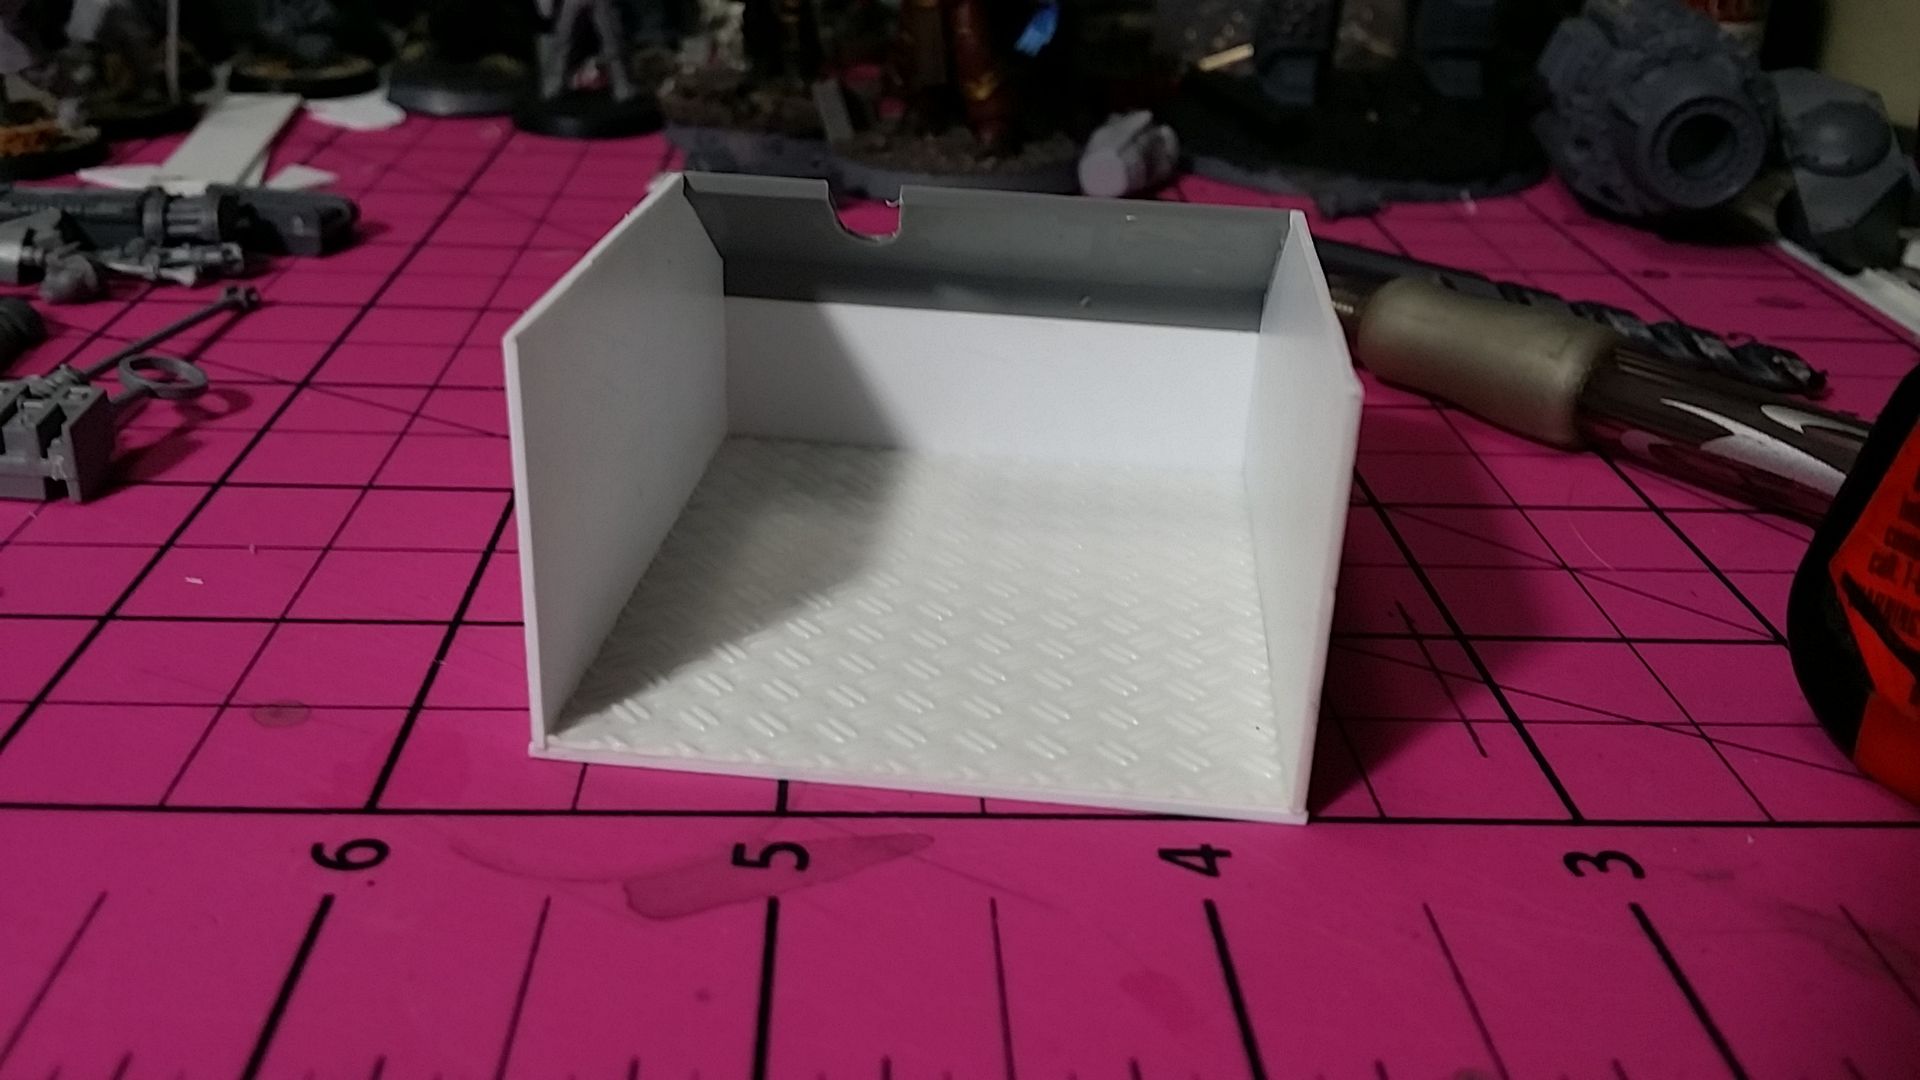
Next I got all the bits for the crew compartment ready. The compartment hull is made from .030 sheet styrene. The deck plate is a piece of double diamond plate sheet styrene from I don't remember what company. I know I got it on clearance at Hobby Lobby about 4 years back...

The deck is 50mm x 56mm, the diamond plate 48mm x 55mm. The sides are each 28mm x 55mm, and the front of the compartment is 14mm x 50mm. The slot for the Autocannon was cut before the compartment was assembled.

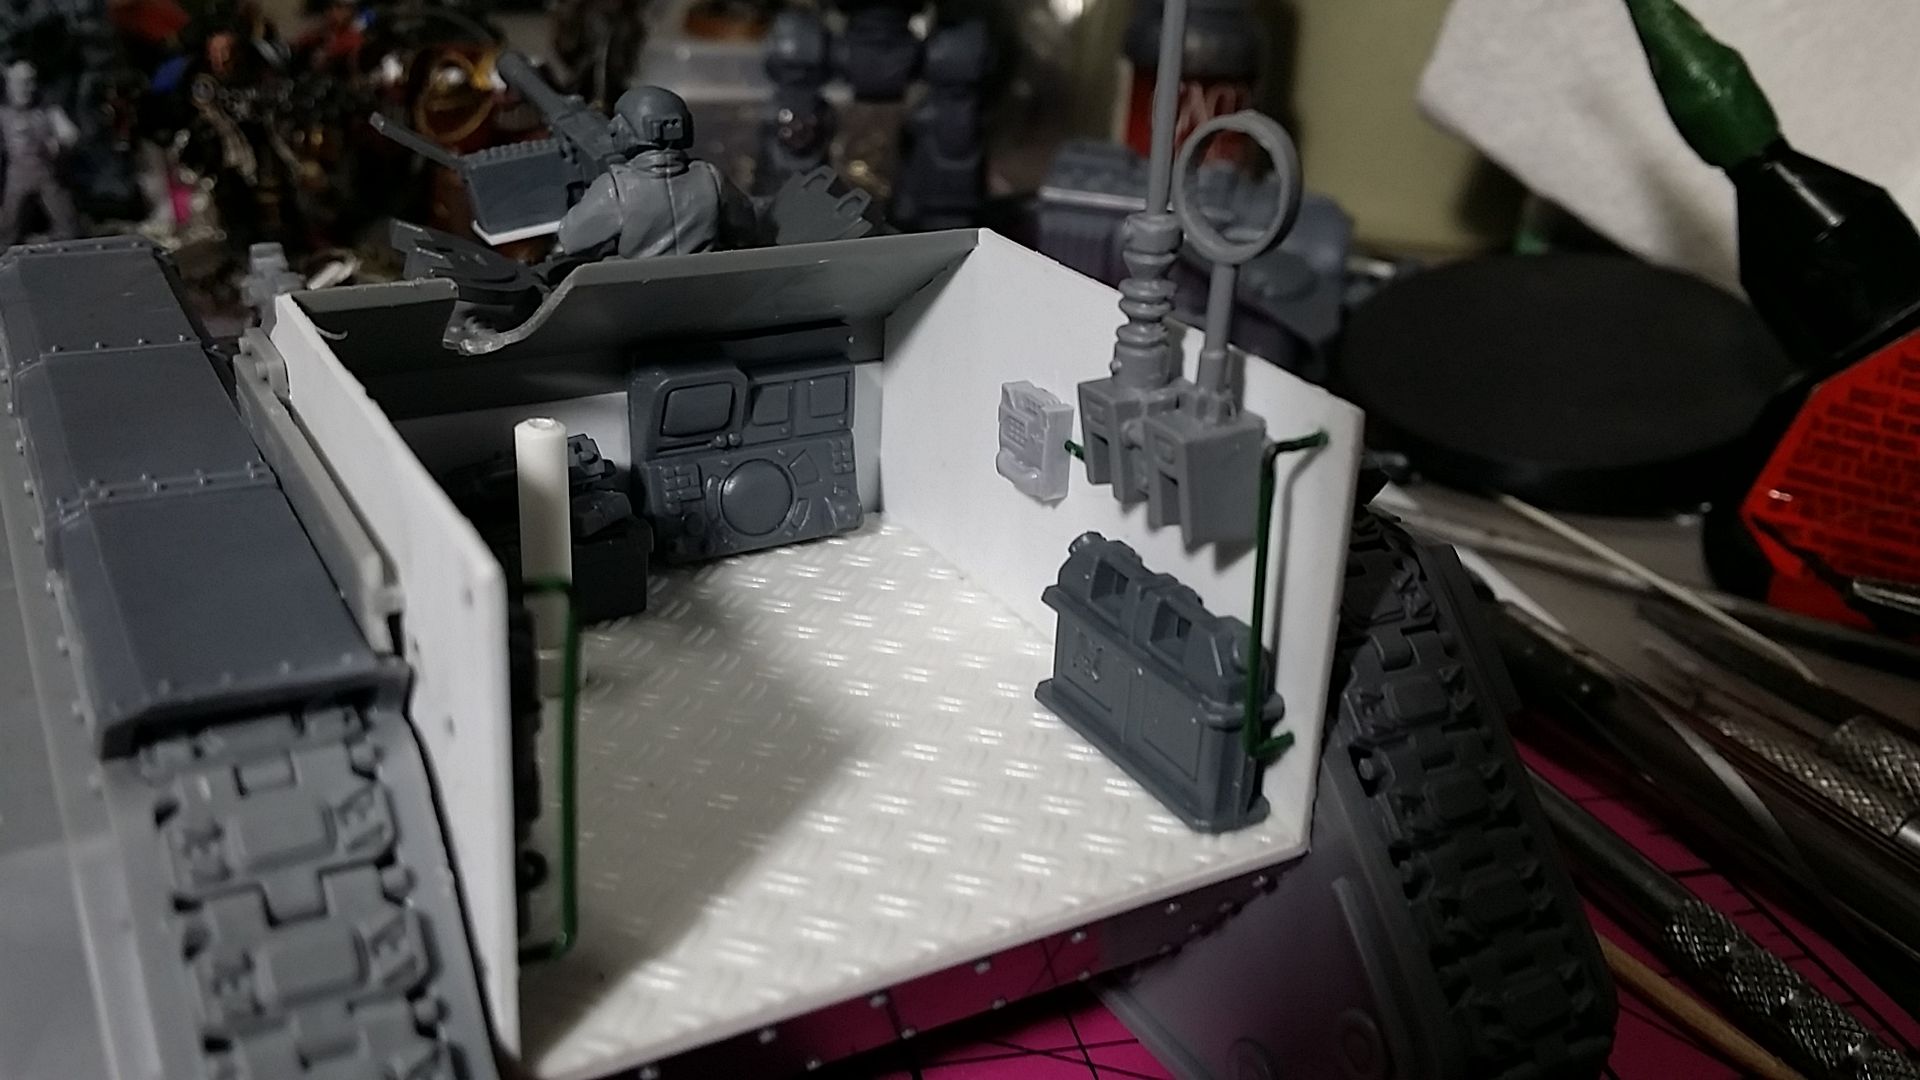
Detailing the compartment I used bits from the Razorback and Rhino kits, as well as from the Imperial vehicle accessory sprue. Floral wire bent to shape provided power lines and grab handles. The comm pack is from Mad Robot Miniatures. A lasccarbine hangs next to left of the Autocannon gunner, Each crewman has a couple frag grenades as well. In the dead space under the Autocannon I placed a toolbox. On top is a copy of the Imperial Infantryman's Uplifting Primer and another lascarbine. The Autocannon mount is 1/8" styrene rod.

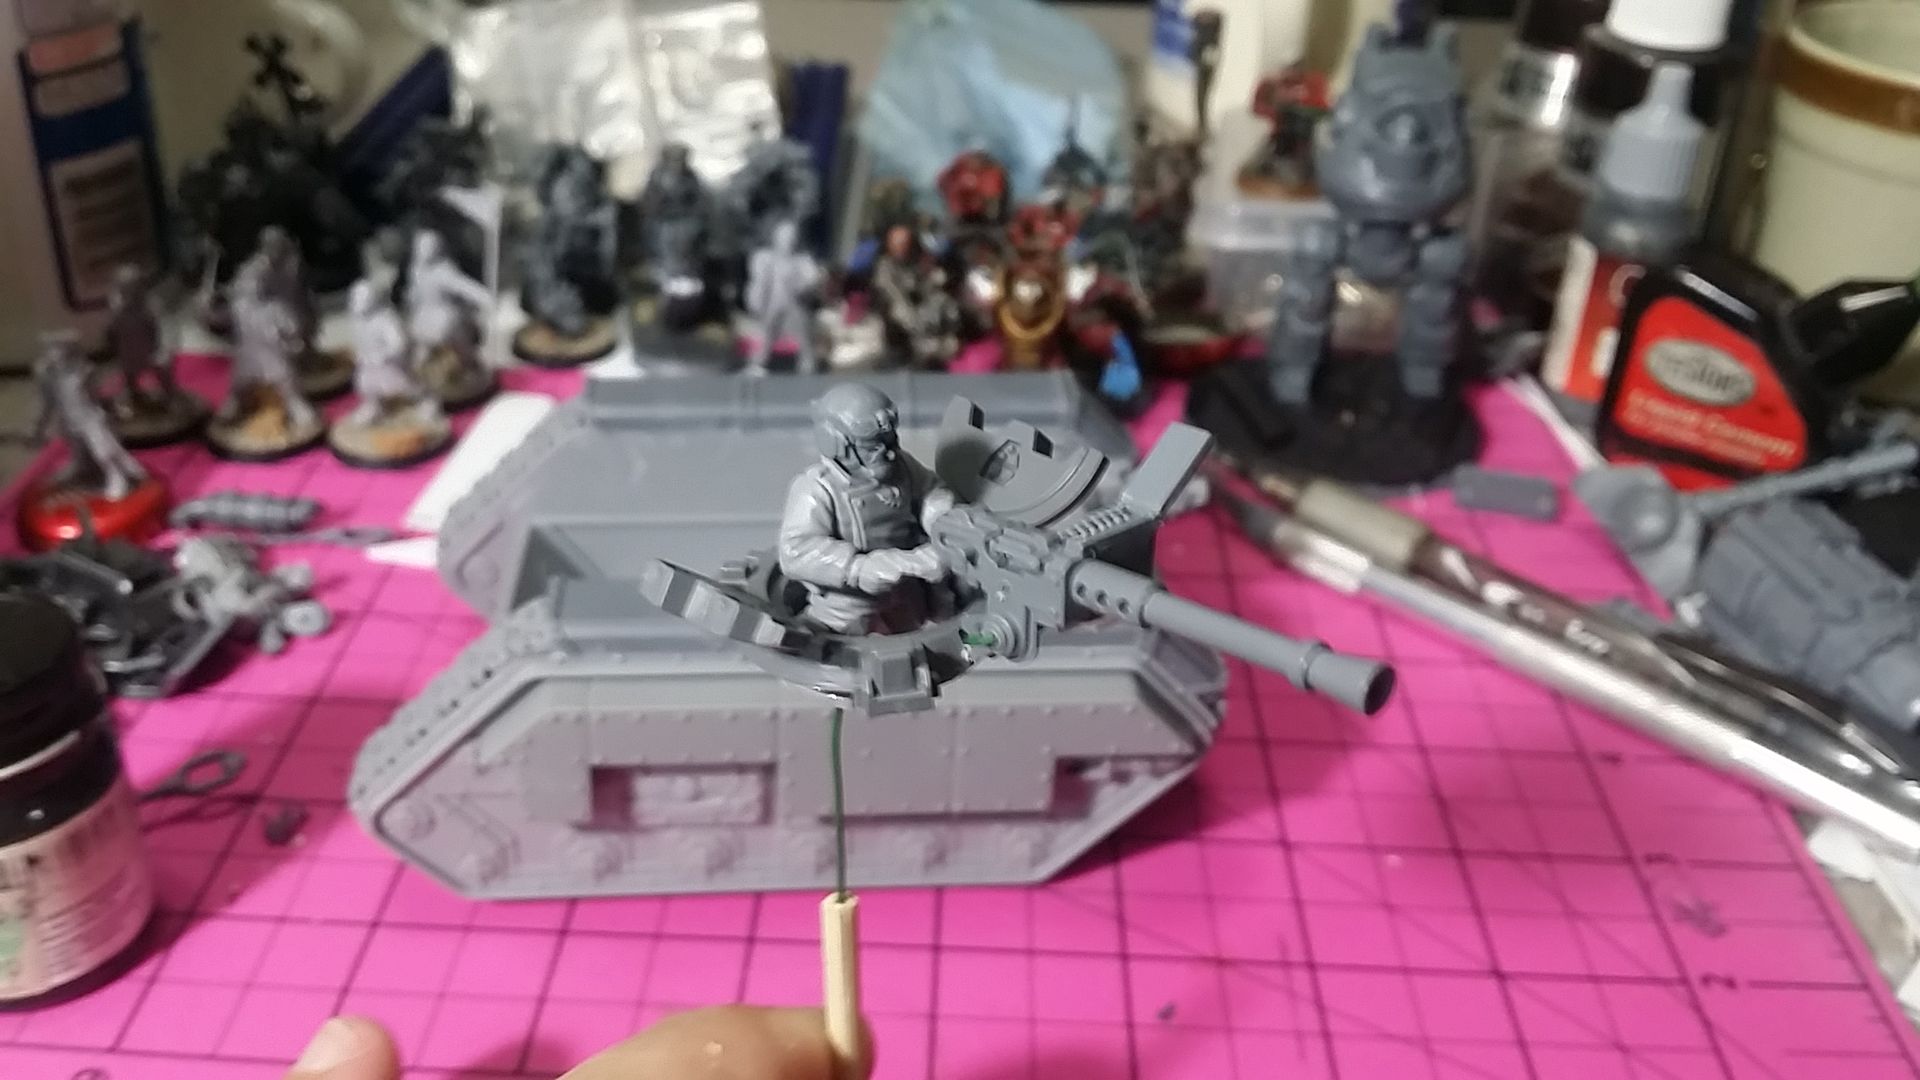
Even with a few vehicle accessory sprues I didn't have a turret ring. I used an extra Rhino hatch and modified it so the Heavy Stubber fit.

Here's the finished scout tank. The crew and Autocannon are all loose to facilitate painting the model easier.

Mr. Hollyoake also informed me that FW no longer produces the Salamander, so I hope this helps anyone who wants this tank in their army.

Cheers,

CJ

UPDATE: I forgot to include where I got the idea for this build: Black Gobbo. Remember that?

Thursday, July 7, 2016

Throwback Thursday: The Chimera Project

Once upon a time I had a couple of Basilisks come to me and their Earthshakers stripped for terrain purposes. They were both in a state of disrepair and I sought to use the empty hulls as a basis for a modular Chimera. So I cleaned the hulls up and set to work.

Please forgive me the image quality, these are nine years old.

Firstly I build up a standard transport variant. It turned out alright, especially seen next to the standard kit.

Just the module that fit the hull.

Next I built up a Salamander Scout variant. Every one of those deck details is a bit of screen cut up and individually placed. The crew was pinned into place after being painted.

The modified hulls. I ended up making a Trojan variant as well, but will leave that for another post.

I've been going through my photobucket and I have a few things that will make for good throwback articles. Sucks though its mostly models I lost in the churn. C'est la vie, eh?

Cheers,

CJ