Sunday, July 14, 2013

Azog Update 004

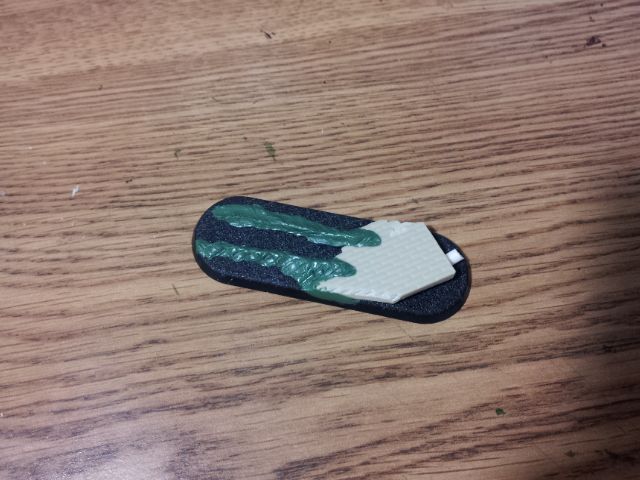
My Azogs need some special attention for their bases.  These are the first 40k cavalry bases I've worked on, but with so much space I'm sure it should be easy to customize them.

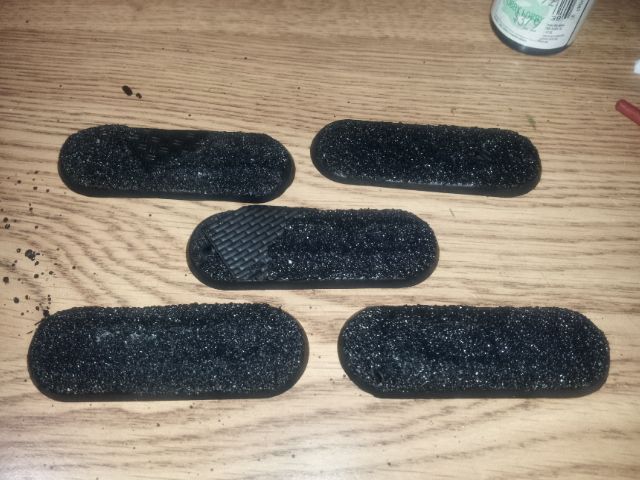
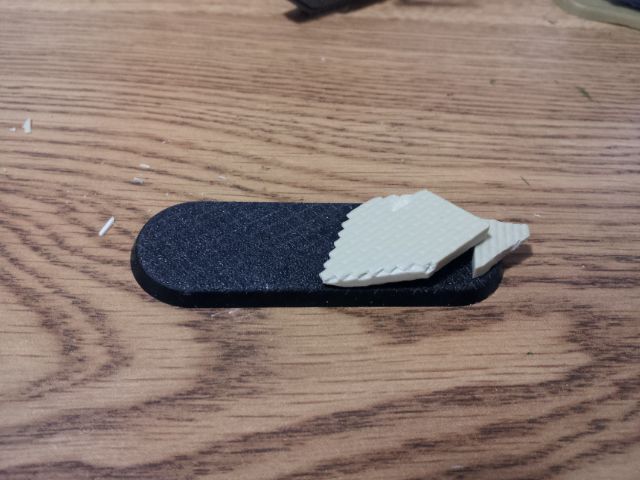
I score the bases, it helps things adhere better.  The bricks I'm using are from my resin terrain tile project (still not finished).  I cut and shaped the pieces with a hobby saw and a file.  Follow all appropriate safety procedures when working with resin since it is hazardous to your health.  This is the Sergeant's base, and will be the only one with a big swath of bricks.  All the bases will be finished with sand, and ultimately static grass.

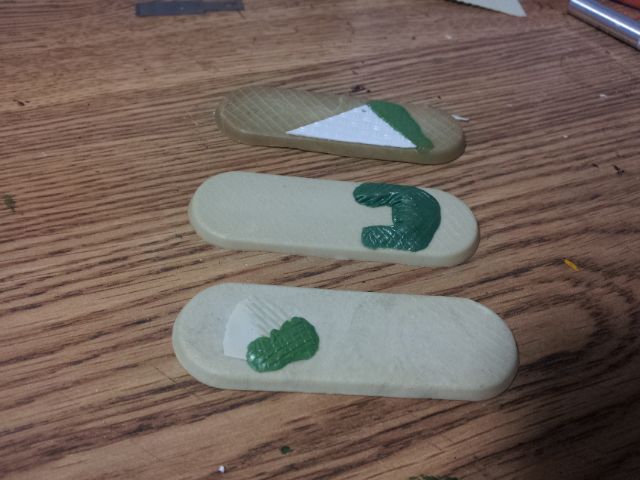
I started the channel here with glue before deciding that greenstuff is much more effective for this.  The bikes will be weathered with sand and grass to match the terrain they will be set in.

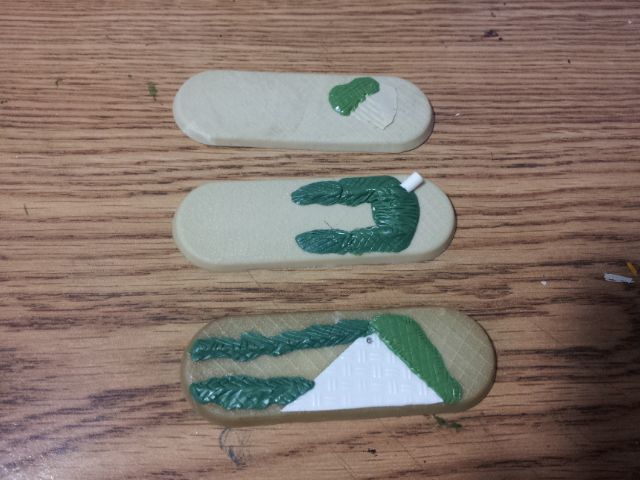
The remaining three bike bases.

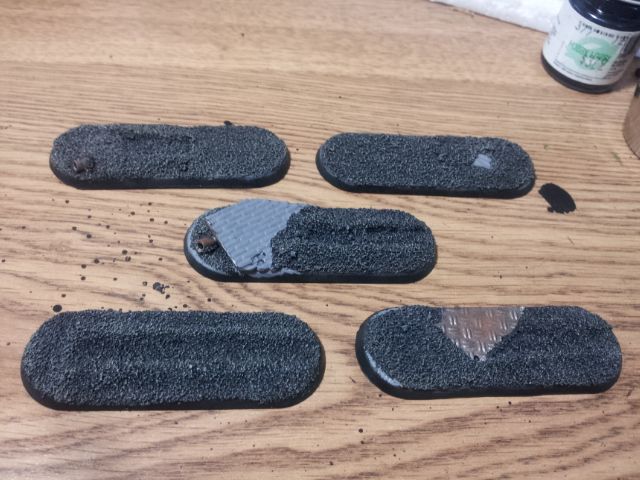
Sand added, and some drybrush layers.  Then for some ink and the final drybrush.

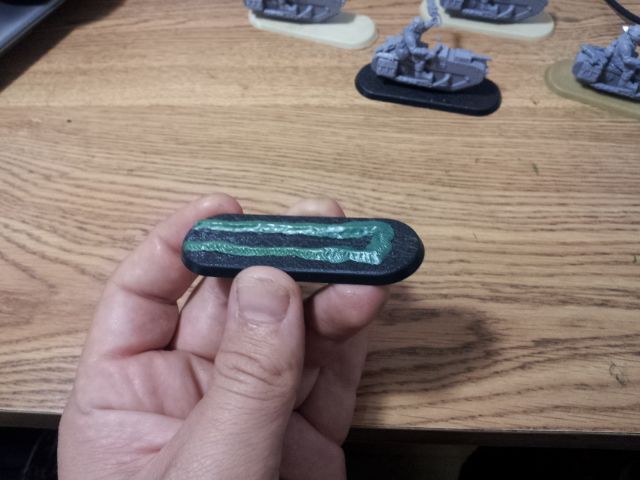
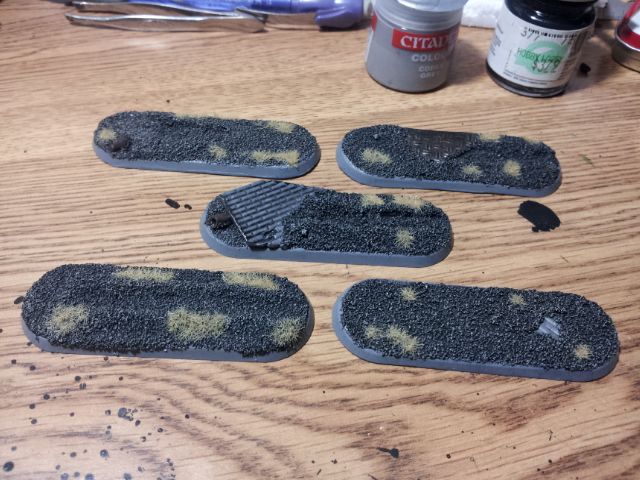
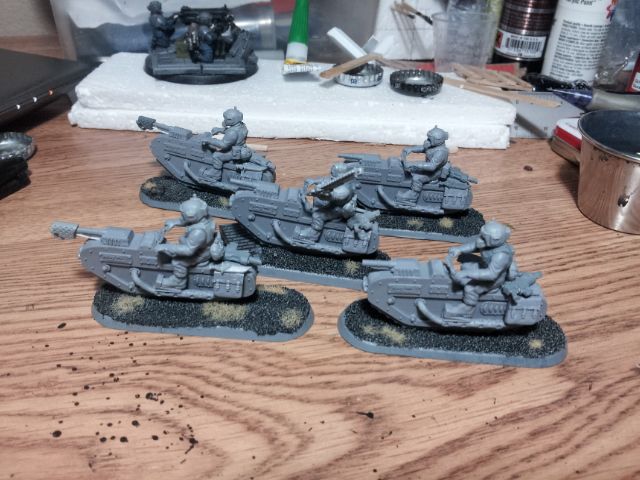
The completed bases.  While I'm posting this, the Azogs are on station for completion on my desk.


Cheers,
Xi

Friday, July 12, 2013

Azog Update 003

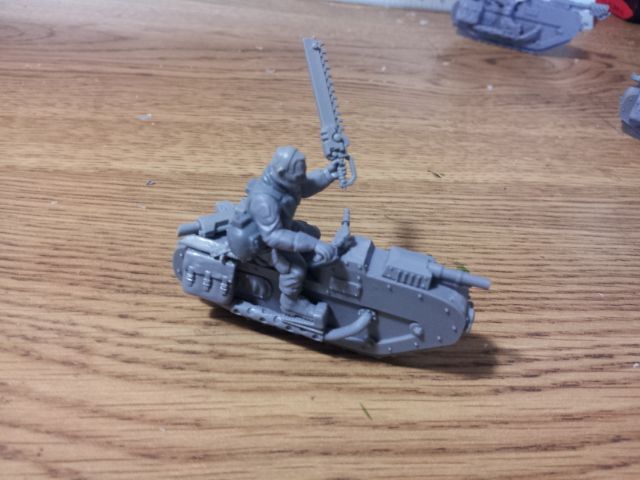
The squad sergeant is complete!  With him done, I can move onto bases for the unit.


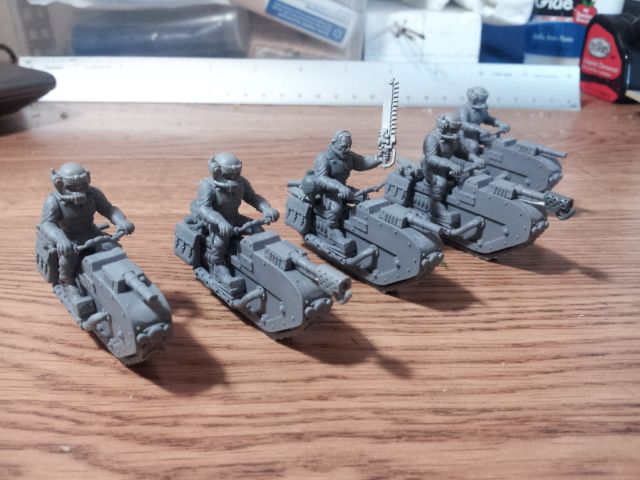
The group shot.  Just waiting for bases, now.

Cheers, Xi

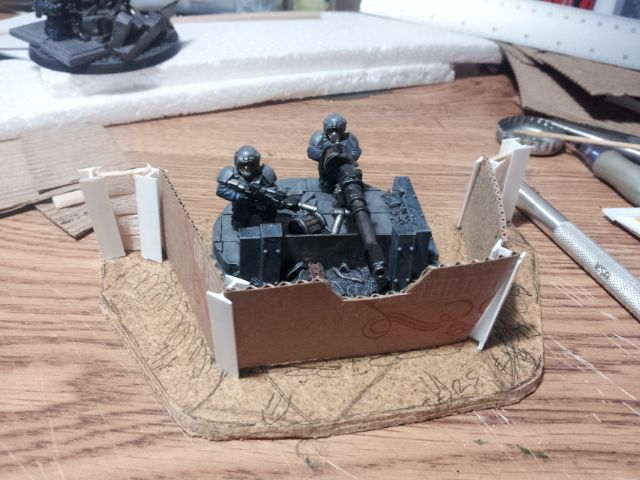
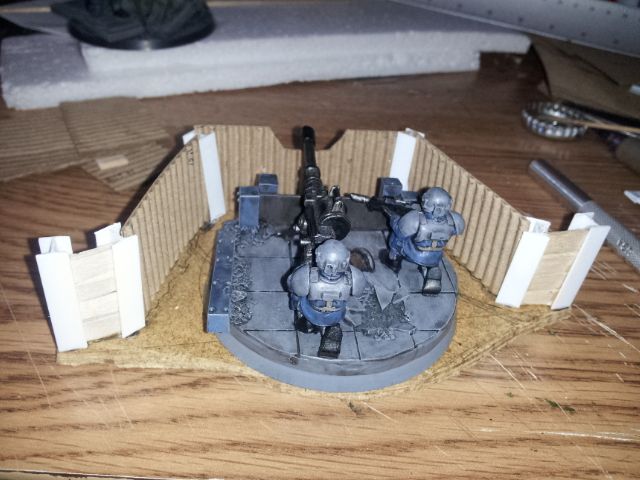
Terrain: Heavy Gun Nest 001

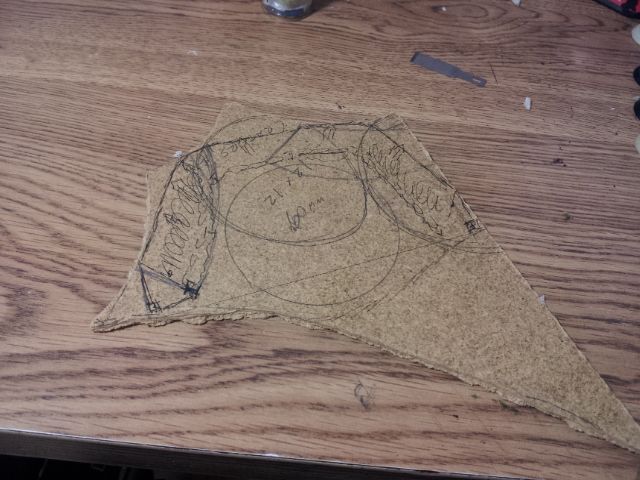
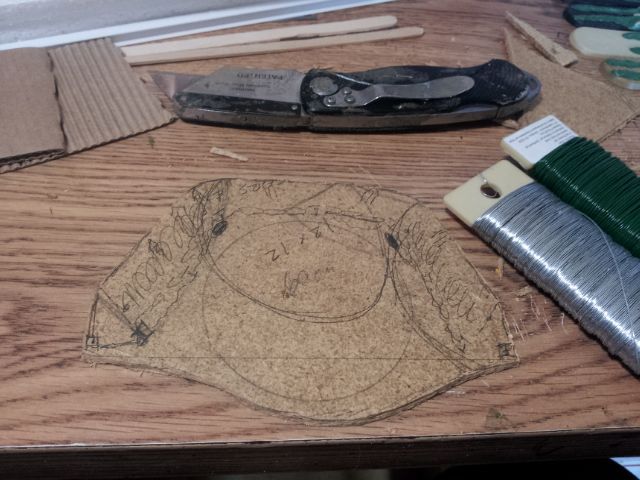
This piece of masonite is left over from when I was working on craters and fencing (which is still not finished), and I really couldn't see anything useful aside from another crater or debris pile.  Today I saw a heavy weapon nest, perfect for an autocannon team.  So I got out my Sharpie and drew some plans.

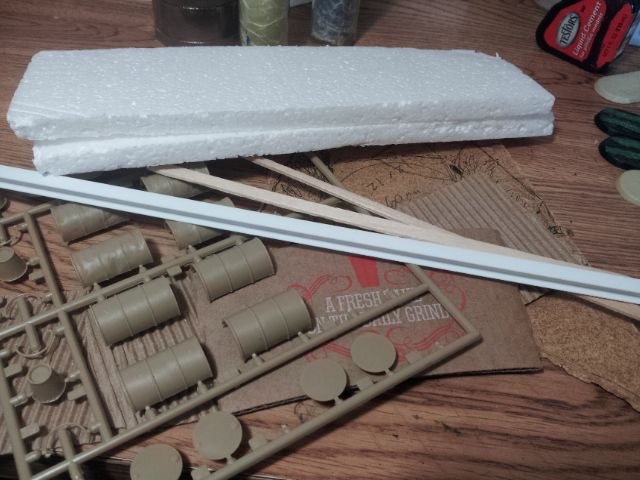
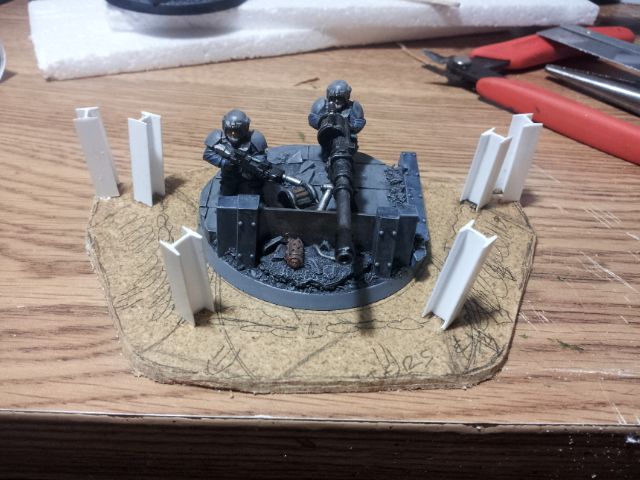
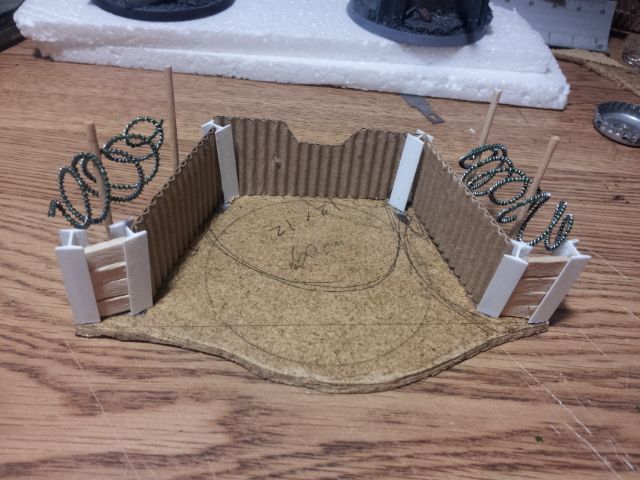
I plan for the nest to be H-beam and corrugated metal, with some sandbags, razor wire, and grenade sumps.  At the beginning of construction I was considering anti-vehicle spikes made of H-beam, but since decided against.

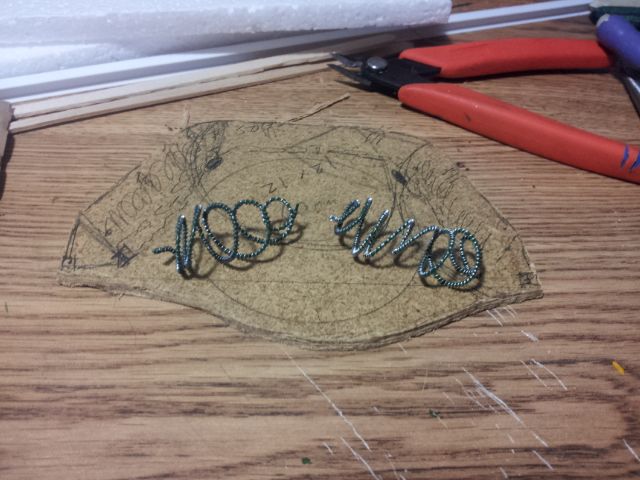
The hardest part of this task is cutting out the base (I'm limited to a utility knife in this case).  The next hardest part is making razor wire.  I use the wire wrapping method.  It is a monotonous task, but must be completed.

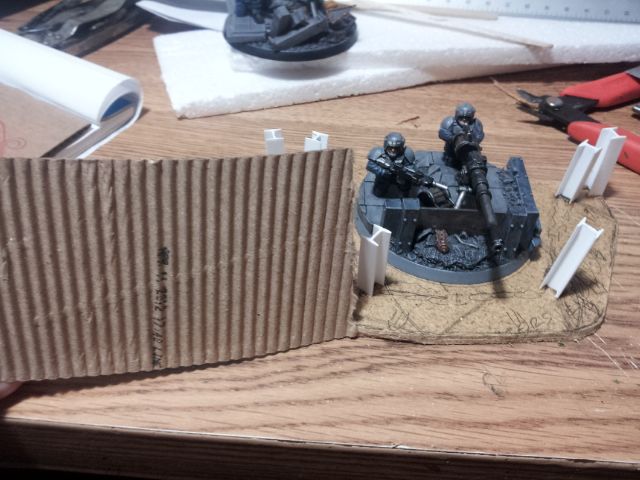
Once the H-beam supports for the corrugated metal walls are cut and installed, I begin cutting the card I'm using to shape.  In this case the card is coffee cup holders from the Sev which have been repurposed.

After the corrugated metal was cut to size, I added the support poles for the razor wire.  I ended up with an irregular pair of coils, but I think it adds to the overall look.  Now that everything is glued in place, I just wait for it to set.

Once the glue sets, I can begin adding sandbags, decking, and the grenade sumps.

Cheers,
Xi
Thursday, July 11, 2013

Monday, July 8, 2013

Azog Update 002

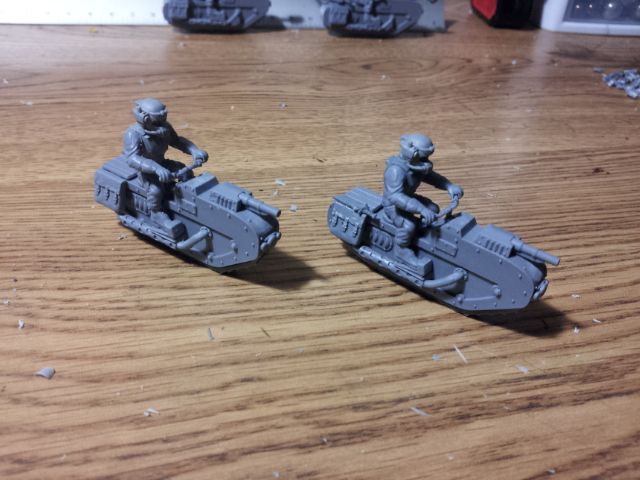
More Azog bikes have been completed over the weekend.  I finished a second flamer bike, as well as two standard riders.  The grenade launcher counts as the hunting lance for my purposes.

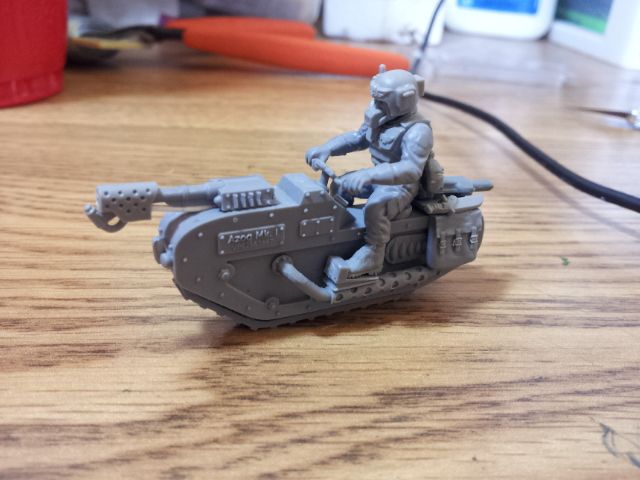
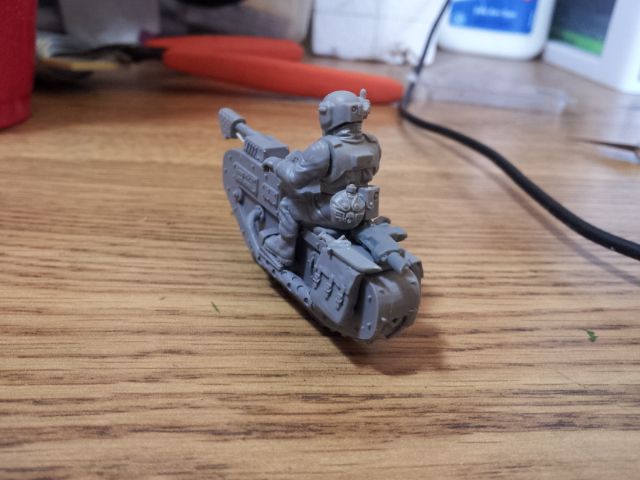
Here is the second of the flamer armed bikes.

Here are the two armed with hunting lances.  I might as well call them redshirts one and two...

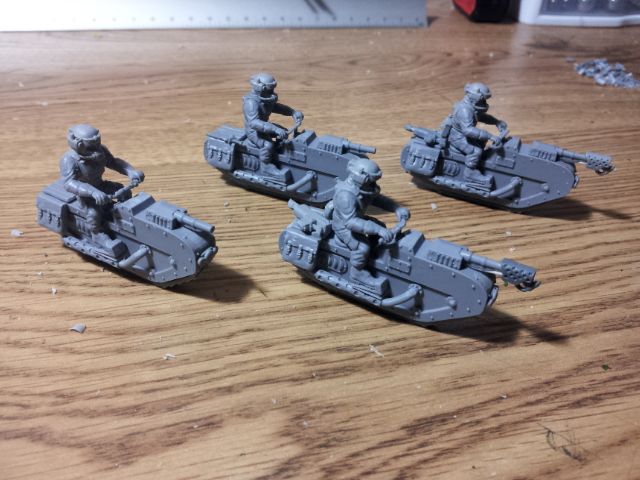
...and the whole squad so far.  There remains just the squad sergeant to complete.  Oh, and las-carbines for the two most recent additions.


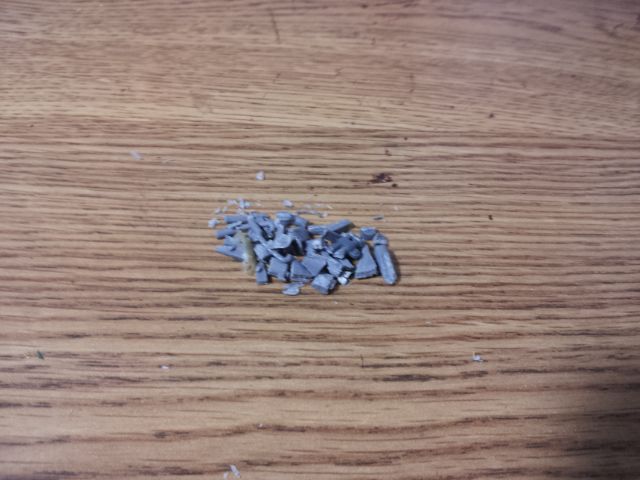
And here is what is left after assembling the bikes.  I just sweep it off my desk and into my rubble container, and it makes an interesting addition to bog standard clipped sprue.

Cheers,
Xi
Friday, July 5, 2013

Azog Update 001

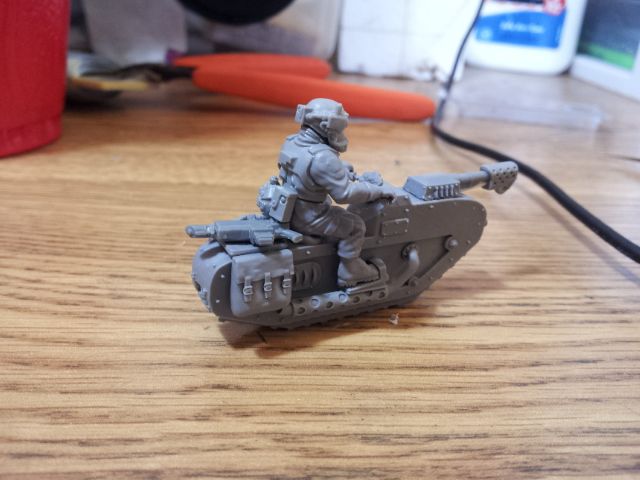
Greetings!  I've been hard at work and haven't had a whole lot of time for the hobby lately.  Good news is that I finally got my work station all put back together.

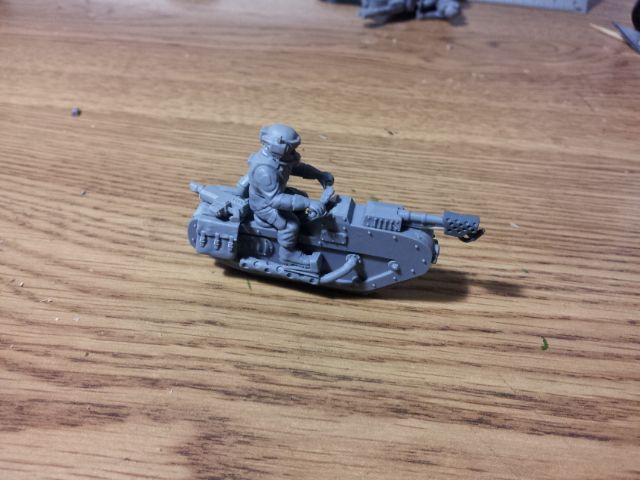
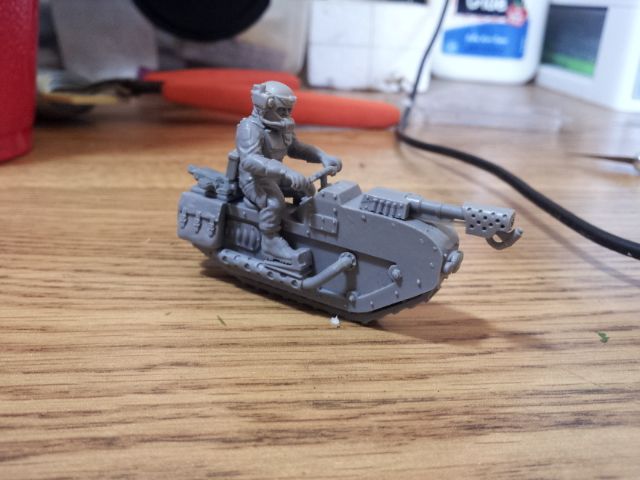
I began work on the Azog Treadbikes a couple weeks ago, but besides getting a set of saddlebags glued down, not much has been happening.  Partly because of the work schedule, and partly because I want my Rough Riders to be effective on the field.  So I plan to take a squad with two flamers to begin.  With this decided, I then had to work out how to deploy said flame weapons on my Azogs.

Here is what I came up with:
The flamer is made from the grenade launcher that is included with the kit, the end of a Cadian flamer, and a bit of plasticard rod.

I decided to go with the Cadian torsos and heads for the squad.  This will help maintain cohesion across my army.  I'm saving the stock heads and torsos for something else, but I'm not sure what that may end up being.


I gave the rider the means to defend himself in the event that he is forced from his mount.  The bayonet is part of the webbing included with the Cadian Shocktroops box.  The las carbine is converted from the spare lasgun in the Heavy Weapons box.

Cheers,
Xi
Wednesday, June 19, 2013

Raging Heroes Kickstarter

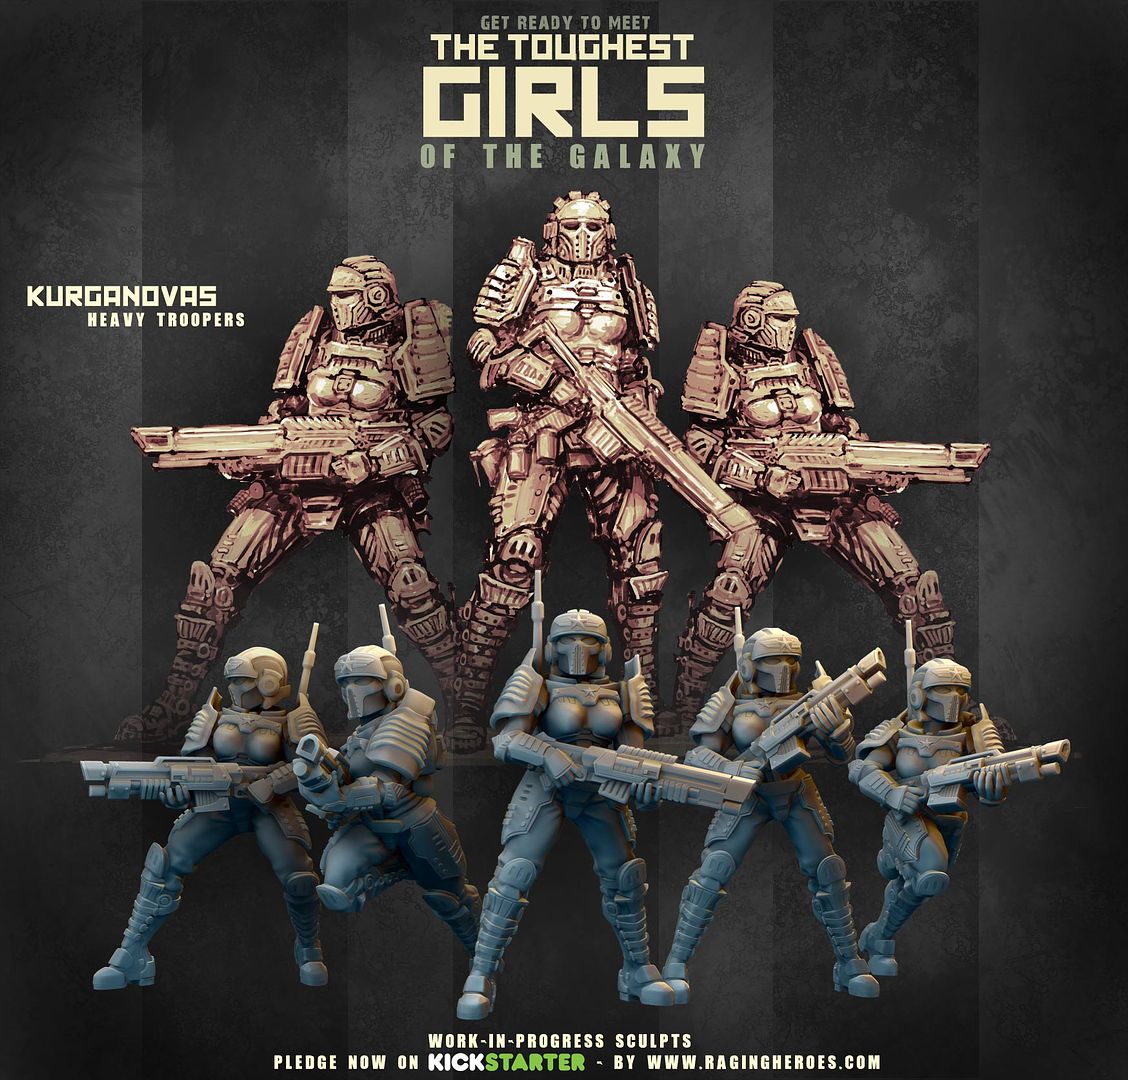
The Toughest Girls of the Galaxy launched 17 days ago on June 4th.  Raging Heroes was immediately funded, and a few hours later, when I went to check for the first time, they had reached 1000% funding.  Now they're really getting up there, and with stretch goals and freebies unlocking every $5000, its exciting to keep up on.  If the gods are good, I will be able to back this project.  I'm looking forward to it.

If you're interested in backing Raging Heroes' The Toughest Girls of the Galaxy, you can find it here.

Cheers,
Xi