Friday, July 19, 2013

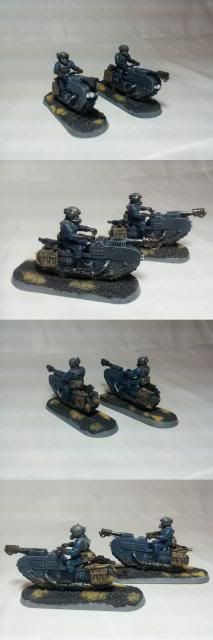
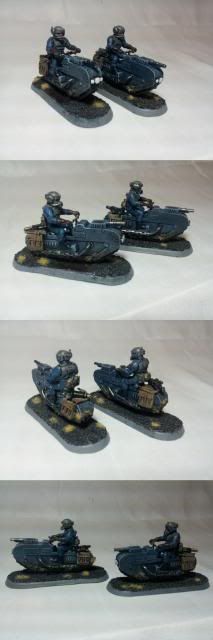
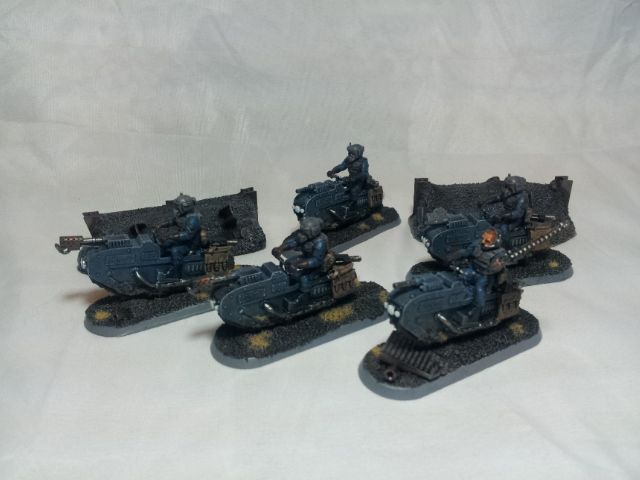
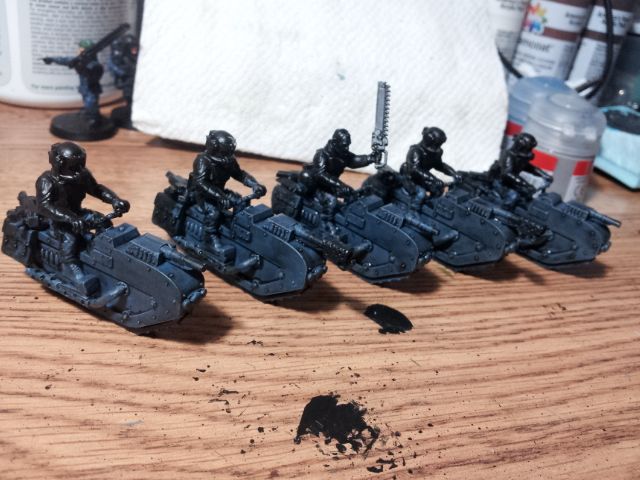
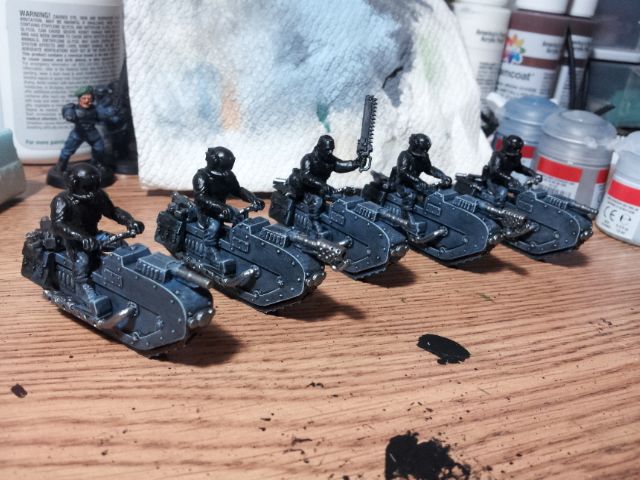
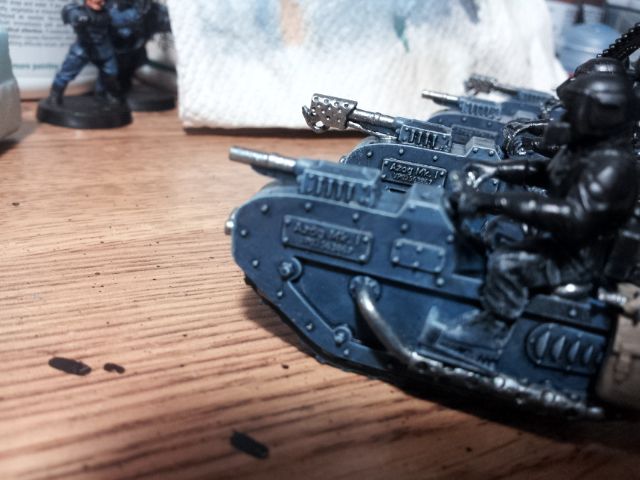
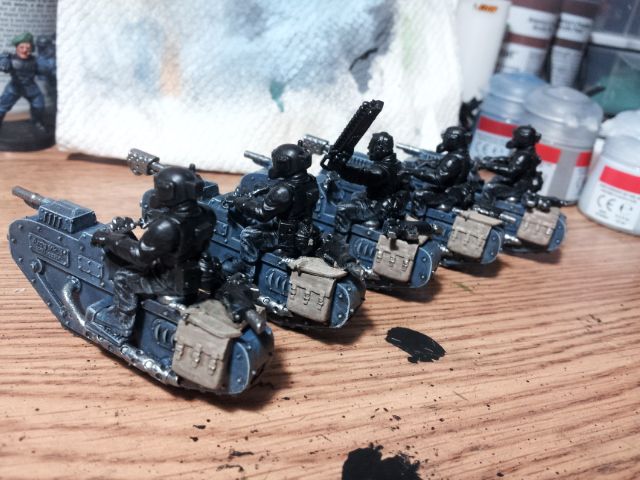
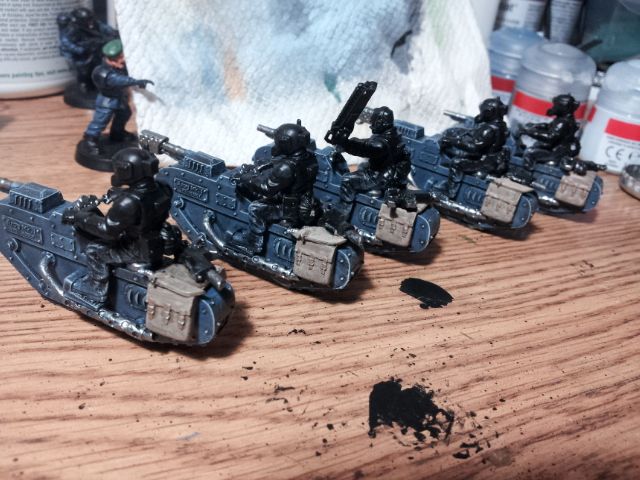
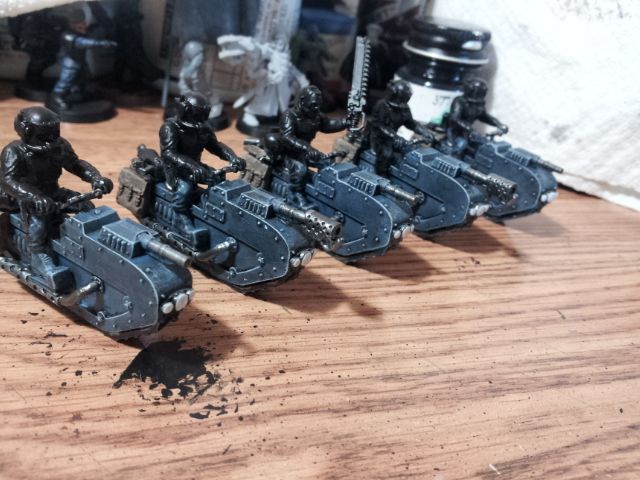
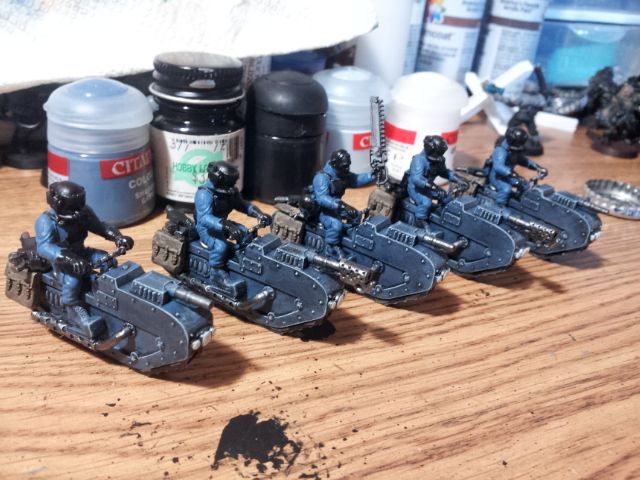
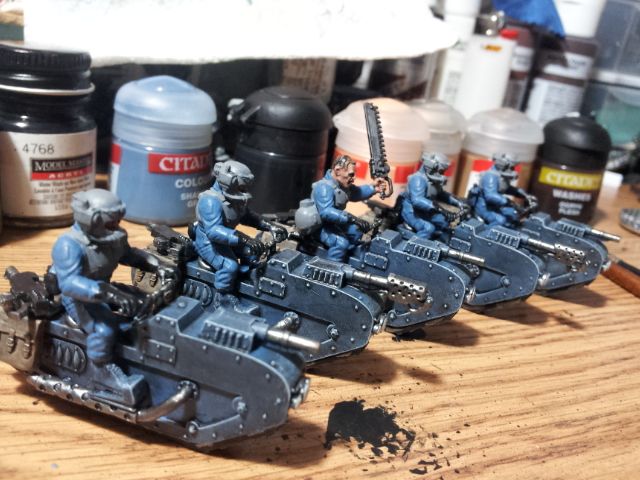
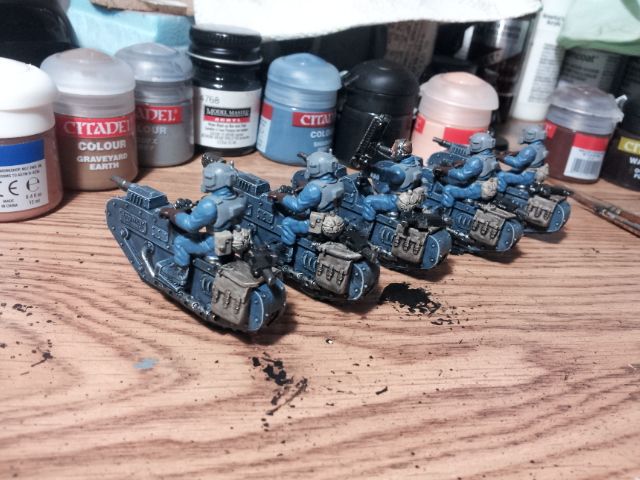
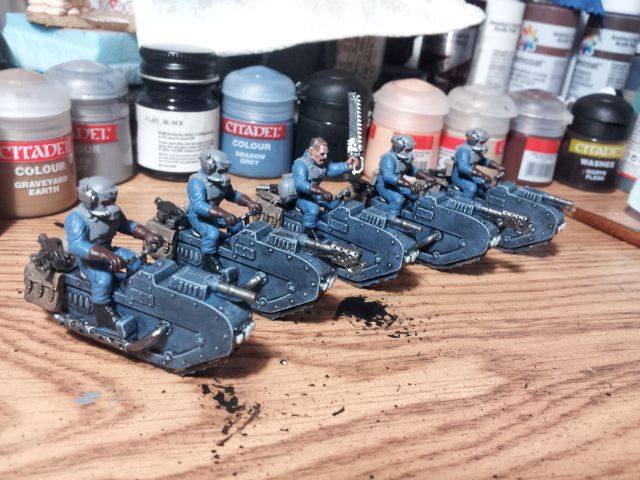
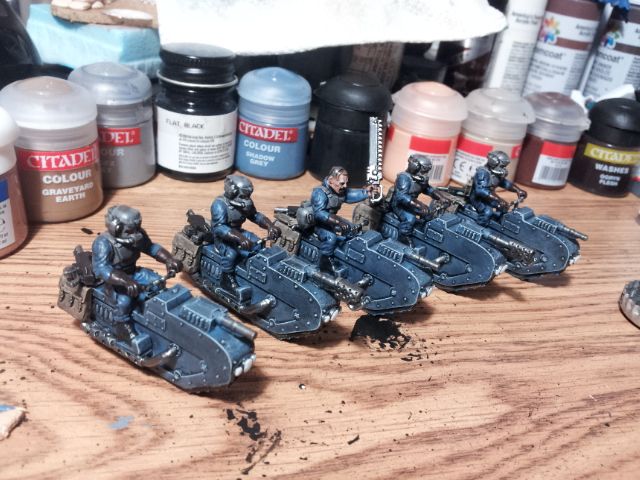
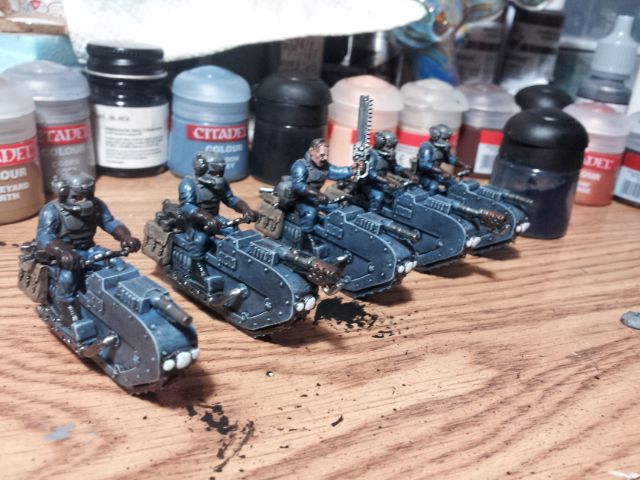
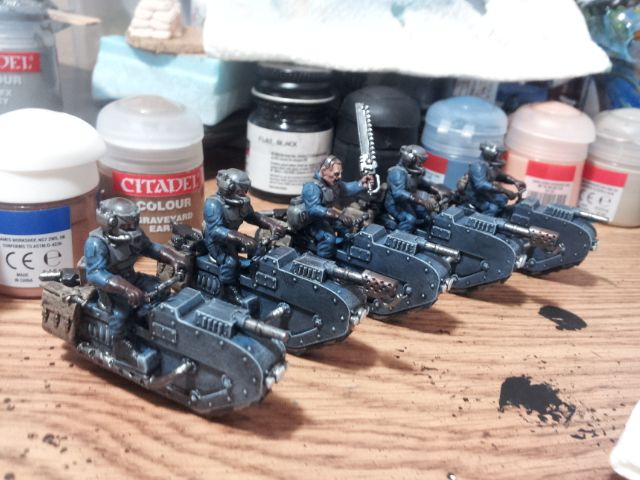
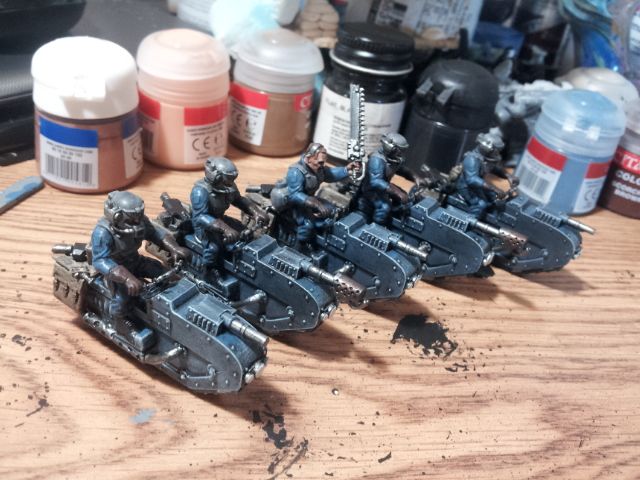
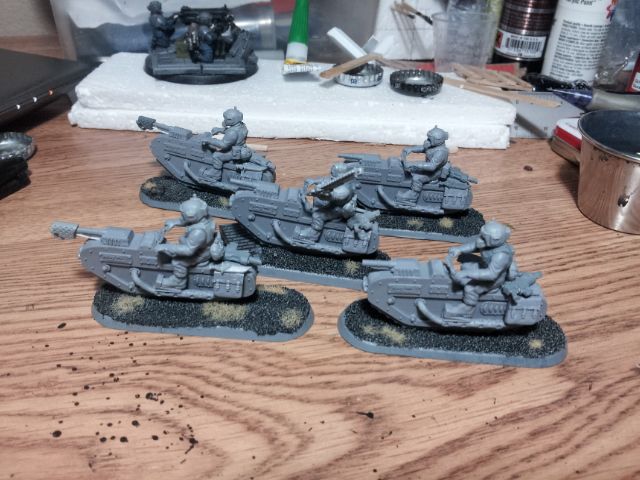
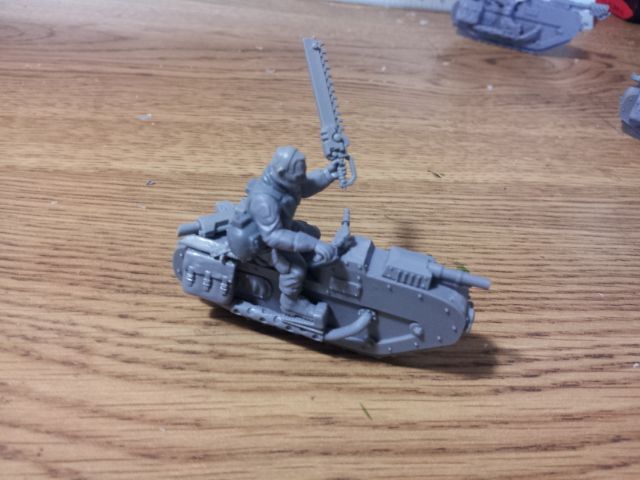
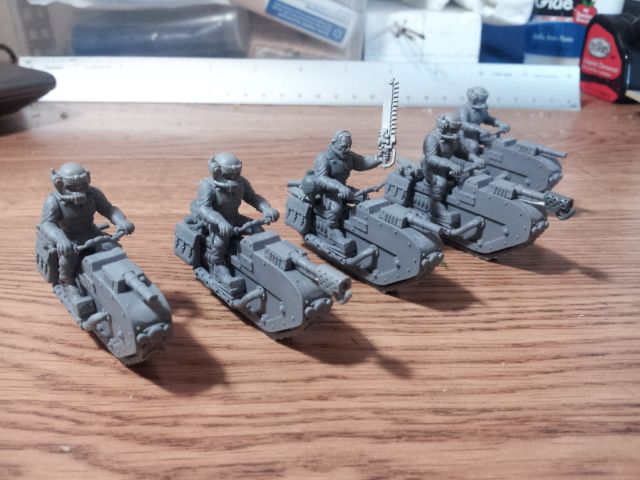
Azog Treadbikes Completed!

Building these models and painting them has been a blast.

Without further delay, here they are.


I can't wait to get these guys on the table for my next game.


I'd like to thank the gentlemen over on the WIP forum that kicked around the ideas that birthed these beauties one more time, and also, a big thanks to Steve at Mad Robot Miniatures.

Cheers,
Xi

Wednesday, July 17, 2013

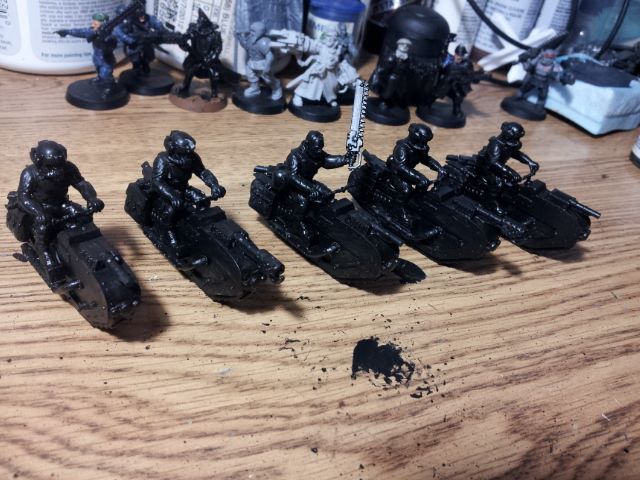
Azog Update 005

With the bases for my Rough Riders complete, it was time to turn my attention to the bikes themselves.  I painted them in the manner that I used to paint my armour.  Once upon a time it was a nice, clean shadow grey, and all the rivets picked out painstakingly.  That gave way to the scheme I currently use in 2009.  It has really lent itself to a more grim dark feel for my army as opposed to the fresh from founding look they had.

I started by first washing the models in warm soapy water.  This will remove any leftover release oil from the resin parts.  I didn't do this when working with my first ever resin miniatures, and ended up having to strip the model and start over.  The painting process begins with a coat of flat black, followed thin coats of Shadow Grey.  This allows for the coverage to be smooth and even, keeping brushstrokes from showing through.  Then the models were drybrushed with Codex Grey, and washed with black wash.  This is a custom mix, made from Delta black and a 1:4 mix of Future to water.  It acts a lot like the Badab Black wash from Citadel's old line up.  The bikes were then given a drybrush of Space Wolves Grey, and the metallic areas painted with Gunmetal Metal.

The ID plates really pop on these models.  Hell, everything really pops about these models.

Once the bike bodies were complete, I set to the saddlebags.  These began with a coat of Graveyard Earth, then an overbrush of Kommando Khaki.  This is followed by the picking out the straps and buckles with Graveyard Earth and Gunmetal Metal respectively.  A black wash over the saddlebags and they are complete.  The headlights got a coat of Space Wolves Grey followed by a coat of Skull White.

I begin the riders by blocking in all the base colours: Shadow Grey, Codex Grey, Scorched Brown for the gloves.  Then the faces were painted Tallarn Flesh, washed with Ogryn Flesh, and drybrushed Elf Flesh.  The web gear was painted in the same formula as the saddlebags.  Finally, the boots were painted black, and I cleaned up any mistakes.

The riders were next given an overall black wash.  The Shadow Grey and Codex Grey areas were then given drybrushes of the same colours.  The gloves were drybrushed with a mixture of 1:1 Scorched Brown to Graveyard Earth.  The flamer muzzles were drybrushed with Beaten Copper for two thirds the length, and then Tin Bitz for one third.  The whole area was then given a wash of Asurmen Blue, which makes the burnt metal effect look that much better.

The next installment of these boys will see them added to their bases and weathered.

Cheers,
Xi

Sunday, July 14, 2013

Azog Update 004

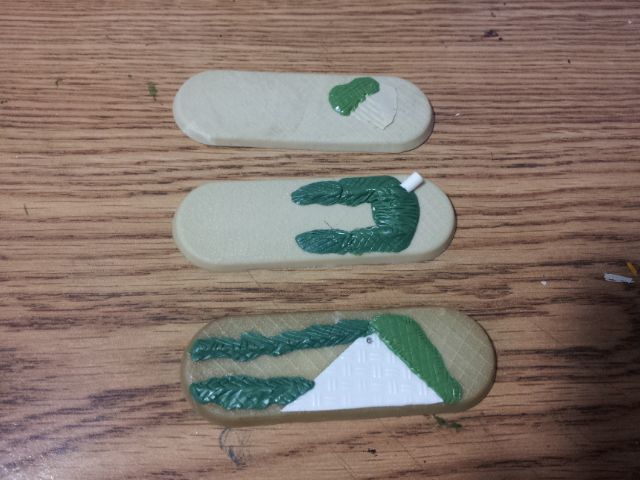
My Azogs need some special attention for their bases.  These are the first 40k cavalry bases I've worked on, but with so much space I'm sure it should be easy to customize them.

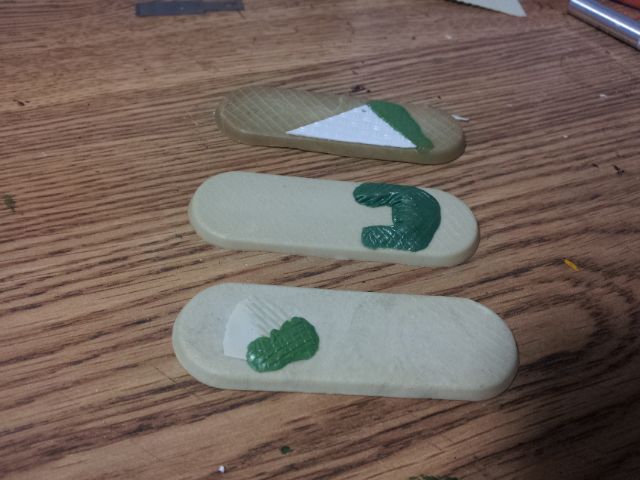
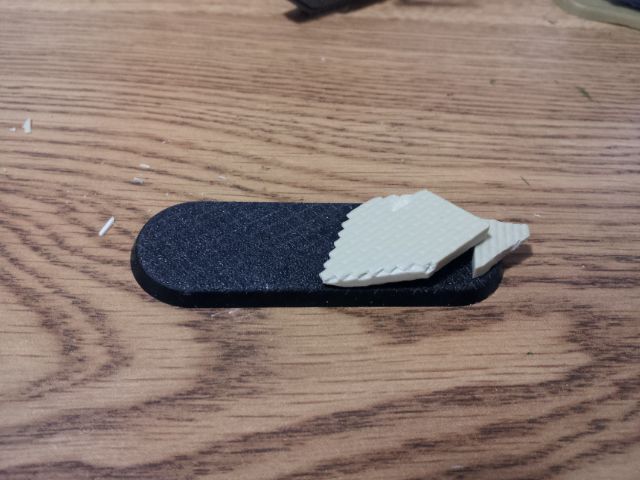
I score the bases, it helps things adhere better.  The bricks I'm using are from my resin terrain tile project (still not finished).  I cut and shaped the pieces with a hobby saw and a file.  Follow all appropriate safety procedures when working with resin since it is hazardous to your health.  This is the Sergeant's base, and will be the only one with a big swath of bricks.  All the bases will be finished with sand, and ultimately static grass.

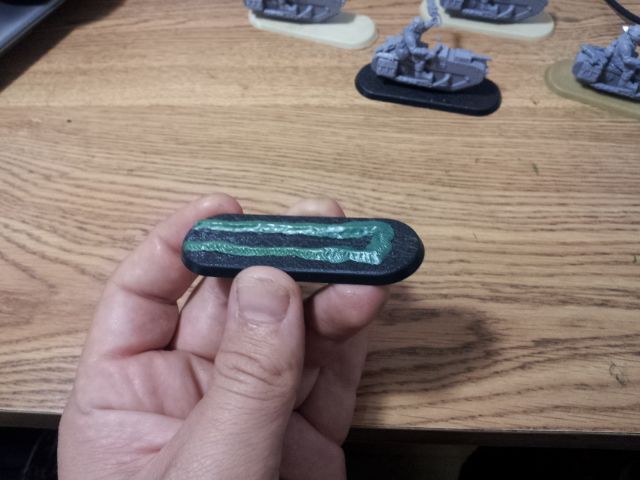
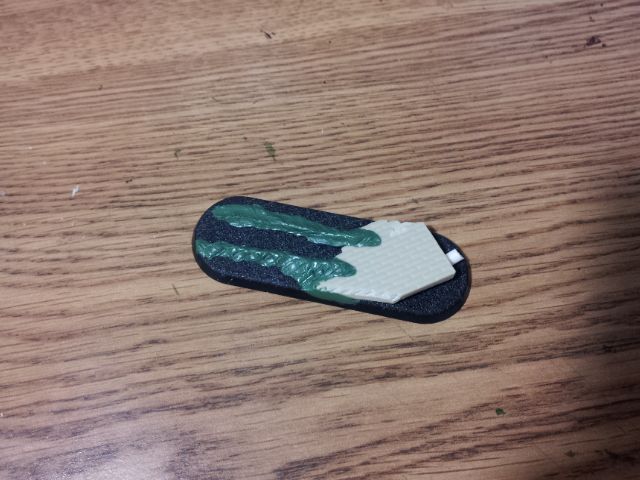
I started the channel here with glue before deciding that greenstuff is much more effective for this.  The bikes will be weathered with sand and grass to match the terrain they will be set in.

The remaining three bike bases.

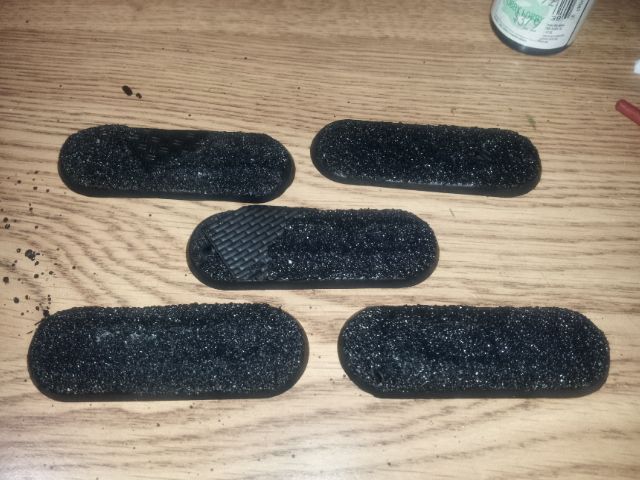
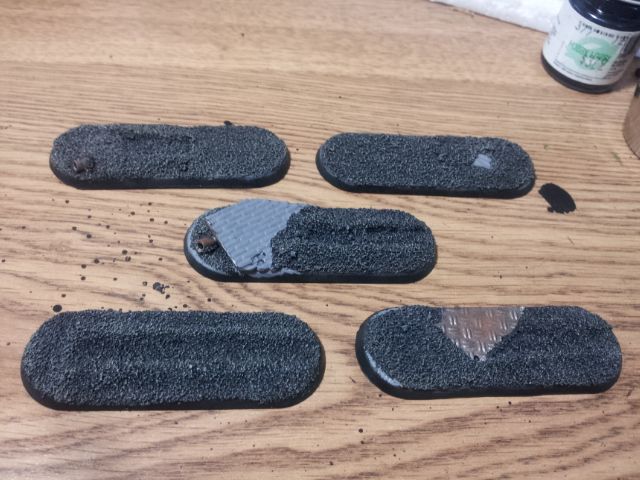
Sand added, and some drybrush layers.  Then for some ink and the final drybrush.

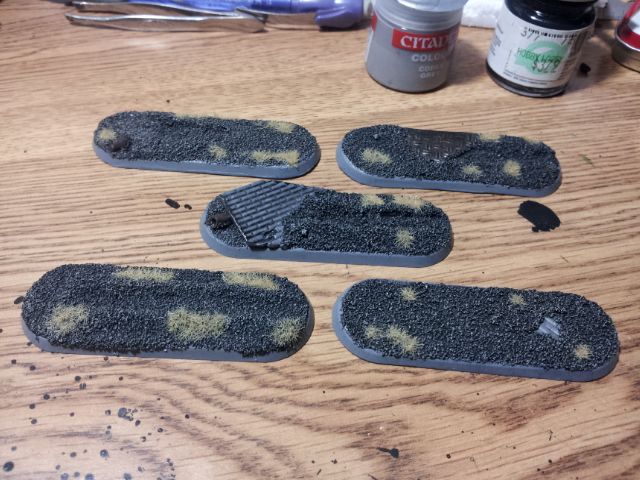
The completed bases.  While I'm posting this, the Azogs are on station for completion on my desk.


Cheers,
Xi
Friday, July 12, 2013

Azog Update 003

The squad sergeant is complete!  With him done, I can move onto bases for the unit.


The group shot.  Just waiting for bases, now.

Cheers, Xi
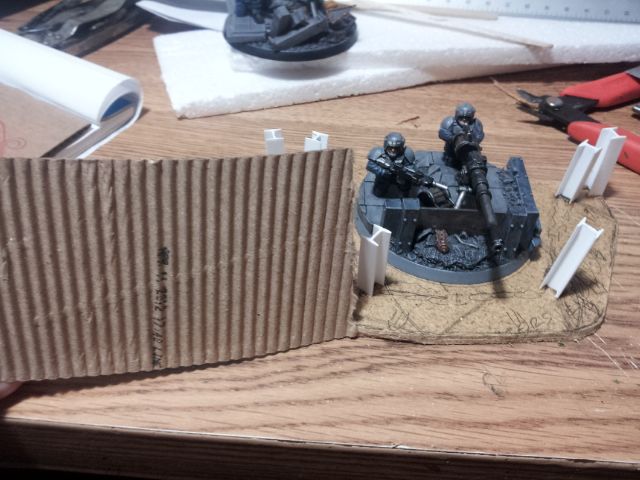
Terrain: Heavy Gun Nest 001

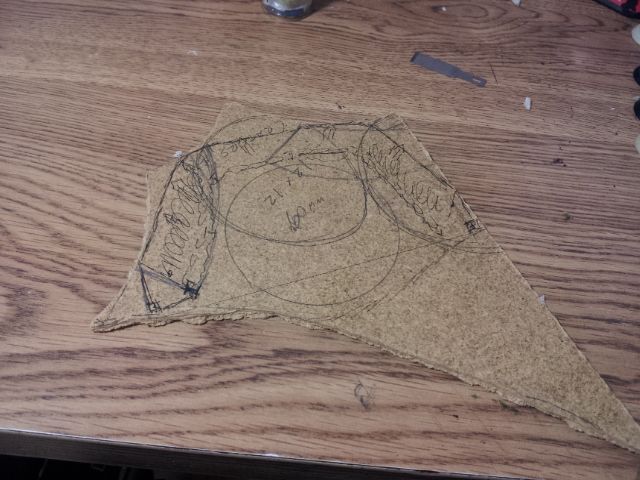
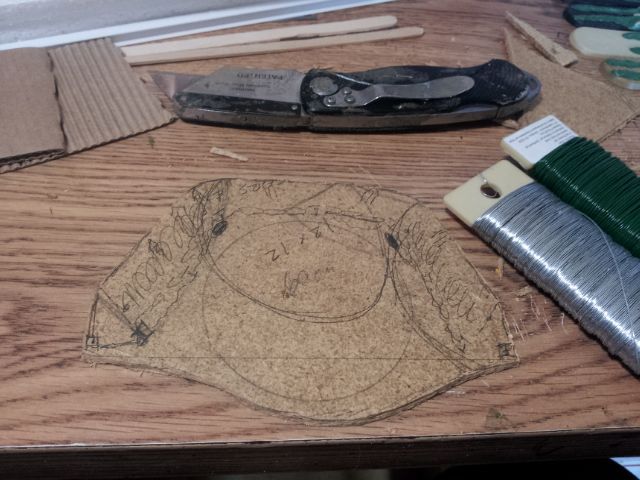
This piece of masonite is left over from when I was working on craters and fencing (which is still not finished), and I really couldn't see anything useful aside from another crater or debris pile.  Today I saw a heavy weapon nest, perfect for an autocannon team.  So I got out my Sharpie and drew some plans.

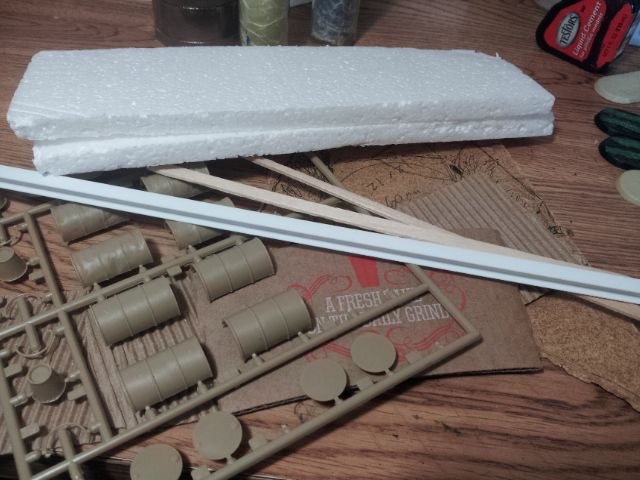
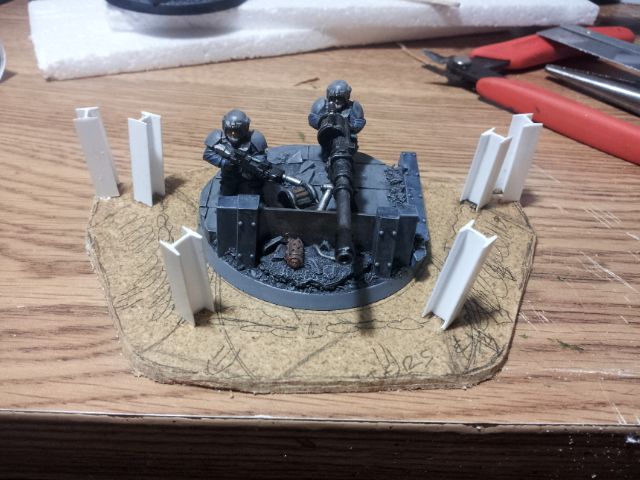
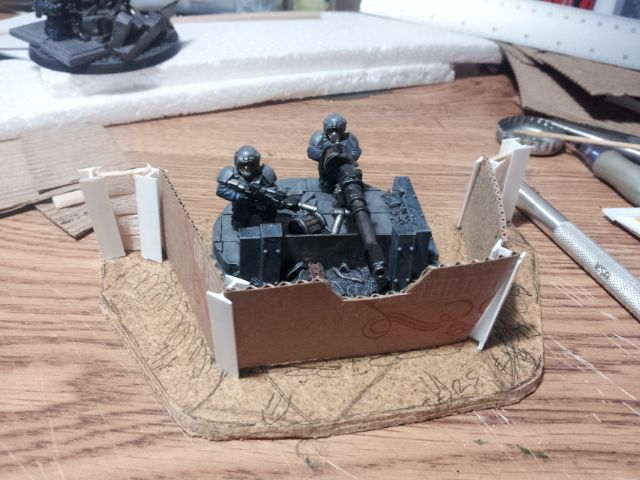
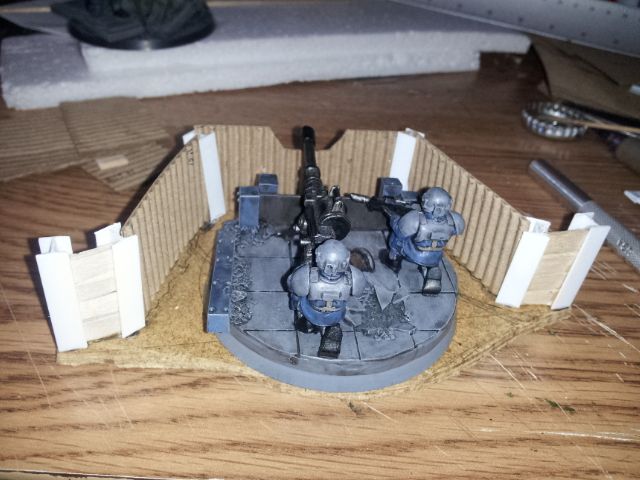
I plan for the nest to be H-beam and corrugated metal, with some sandbags, razor wire, and grenade sumps.  At the beginning of construction I was considering anti-vehicle spikes made of H-beam, but since decided against.

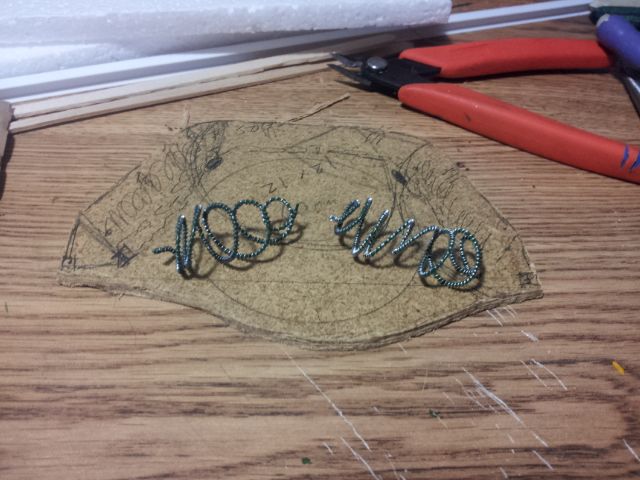
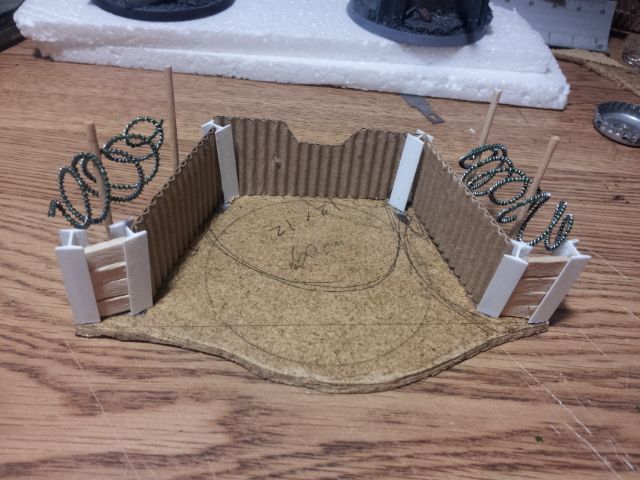
The hardest part of this task is cutting out the base (I'm limited to a utility knife in this case).  The next hardest part is making razor wire.  I use the wire wrapping method.  It is a monotonous task, but must be completed.

Once the H-beam supports for the corrugated metal walls are cut and installed, I begin cutting the card I'm using to shape.  In this case the card is coffee cup holders from the Sev which have been repurposed.

After the corrugated metal was cut to size, I added the support poles for the razor wire.  I ended up with an irregular pair of coils, but I think it adds to the overall look.  Now that everything is glued in place, I just wait for it to set.

Once the glue sets, I can begin adding sandbags, decking, and the grenade sumps.

Cheers,
Xi

Thursday, July 11, 2013