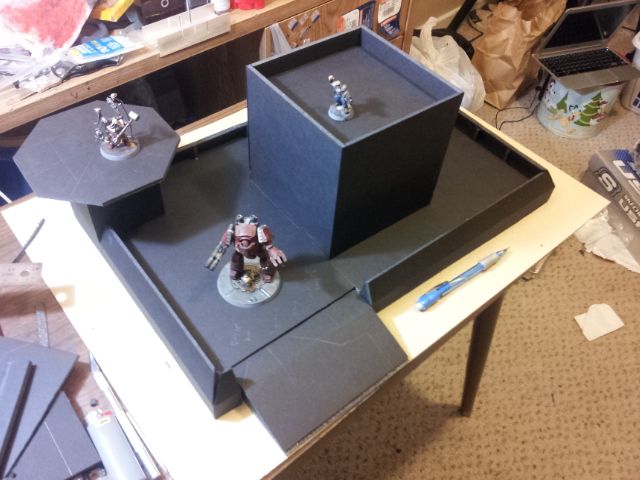
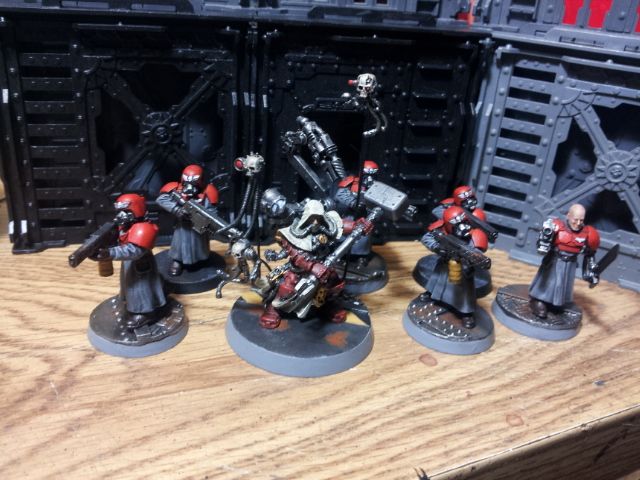
On Saturday's paint table update, I mentioned very briefly the mystery project I have been working on. Now it is revealed: an Adeptus Arbites Precinct House. This model will represent a surface entrance to an Arbites Hall. There is a landing pad, defensive ramp, and plenty of firing position offered. I'm working on the project as part of Terragenesis.co.uk's regular competitions. Their site is amazing if you're a terrain enthusiast.
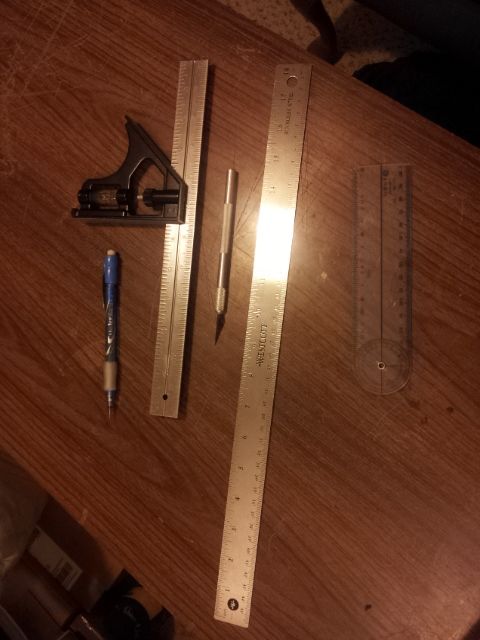
These are the tools I used to get the patterns I needed drawn out on the foamcore. The adjustable square came in handy more than you might expect. I also cannot stress the usefulness of a nice steel ruler. Mine cost $2 at Walmart.
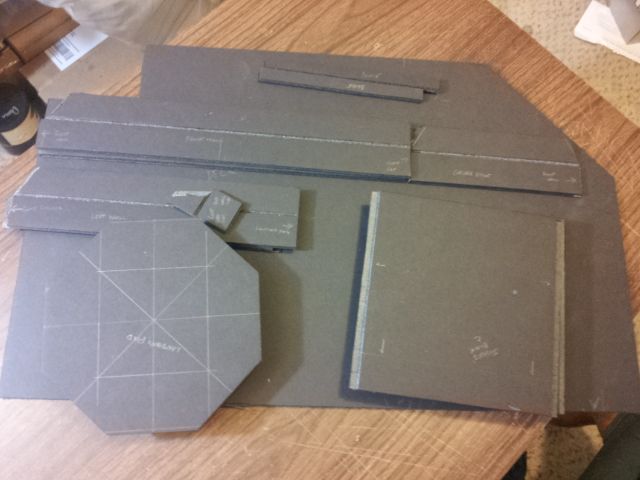
Using the above tools I was able to turn my single piece of foamcore into a sort of terrain flatpack.
33 pieces make up the core construction of the piece.
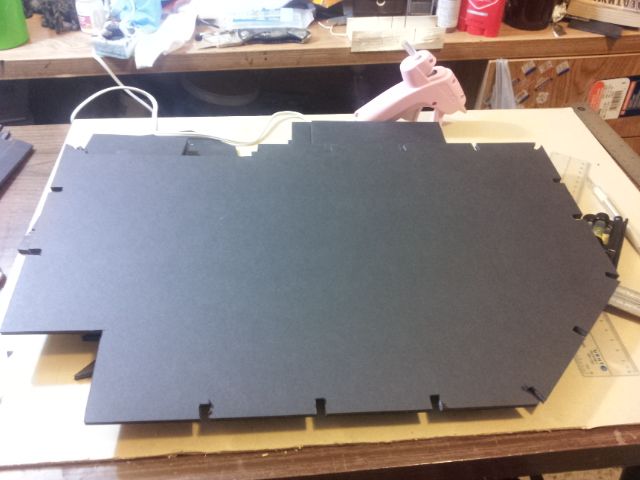
I cut the deck of the Precinct House to accept the buttresses of the walls. Then I set about assembling the walls. I wish I had remembered to take photos when I was performing the assembly, but once I got rolling, it was too late.
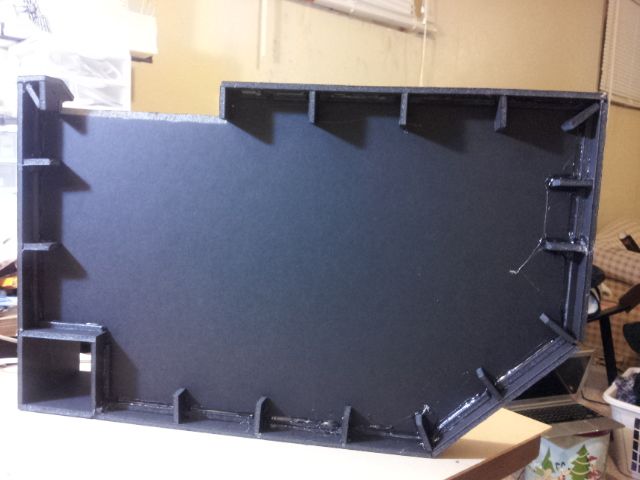
The underside of the piece. You can see the bracing around the edge, securing the deck to the walls and buttresses. I measured a line around the perimeter of all the walls and the tower for the landing pad and added supports at that uniform height all around.
The base measures 17"x24" and is 1/8" thick MDF. Next up will be hiding the seams with card detailing, as well as detailing the main deck, Precinct Entrance, and landing pad.
Cheers,
-CJ
Monday, February 17, 2014
Saturday, February 15, 2014
Paint Table Saturday no. 4
Ah another week come and gone. Surprise family visits and work have made painting seem tedious this week, and as a result I have finished not a single thing. Also mystery project.
I did get a tutorial posted on making cables from floral wire.
This week I will pledge to finish the shotgun squad of Henchmen at the least.
Cheers!
-CJ
I did get a tutorial posted on making cables from floral wire.
This week I will pledge to finish the shotgun squad of Henchmen at the least.
Cheers!
-CJ
Labels:
Paint Table Saturday,
Painting,
PIP,
Update
Tuesday, February 11, 2014
Tutorial: Power Cables from Floral Wire
A few weeks ago, A Sent One asked in a comment how I make power cables from wrapped floral wire. In this post I will explain the process.
Here is an example of one of these power cables in action. This method is by no means unique. I came up with the idea as a theoretical one day, 'Can I make my own power cables from wire?' while I was twisting up some razor wire sections. Eventually I tried it out when I needed some power cable for a conversion. It worked, and so I never looked back.
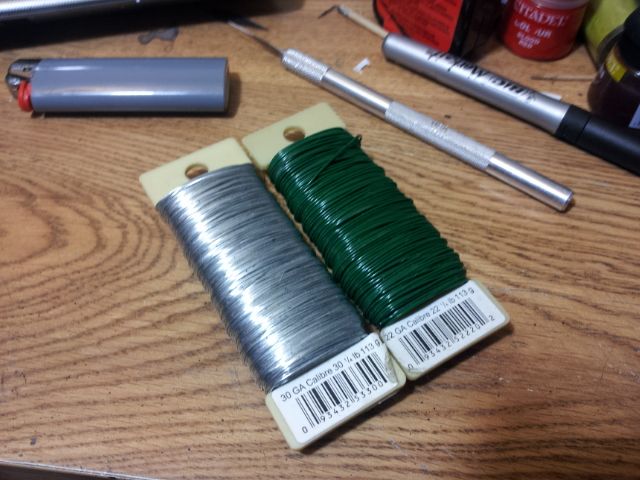
I get these spools of floral wire from Michael's for something like $2. The green is 22 GA and the silver is 30 GA. The 22 GA works great for armatures for sculpting, as well as being my go to pinning wire.
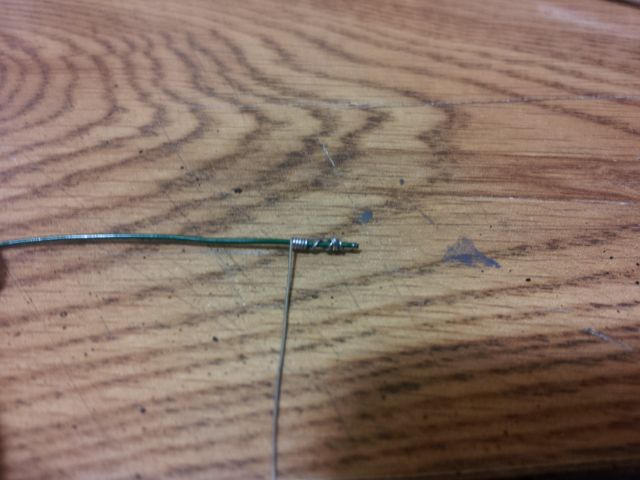
I wrap the 30 GA wire around the 22 GA wire, holding the end with a pair of needle nose pliers. I pinch the wire to the shaft with my left hand, then turn the shaft with my right. Once I build up enough coil, I can twist it without having to grip it in the pliers.
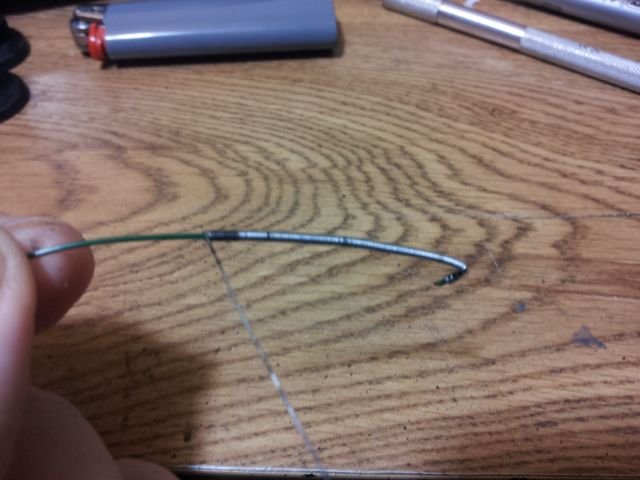
Three inches finished in a few minutes. Once you get the hang of it, the process is pretty simple.
Cheers,
-CJ
Here is an example of one of these power cables in action. This method is by no means unique. I came up with the idea as a theoretical one day, 'Can I make my own power cables from wire?' while I was twisting up some razor wire sections. Eventually I tried it out when I needed some power cable for a conversion. It worked, and so I never looked back.
I get these spools of floral wire from Michael's for something like $2. The green is 22 GA and the silver is 30 GA. The 22 GA works great for armatures for sculpting, as well as being my go to pinning wire.
I wrap the 30 GA wire around the 22 GA wire, holding the end with a pair of needle nose pliers. I pinch the wire to the shaft with my left hand, then turn the shaft with my right. Once I build up enough coil, I can twist it without having to grip it in the pliers.
Three inches finished in a few minutes. Once you get the hang of it, the process is pretty simple.
Cheers,
-CJ
Labels:
Tutorial
Saturday, February 8, 2014
Paint Table Saturday no. 3
Another week come and gone. This week I did concentrate on getting some painting done.
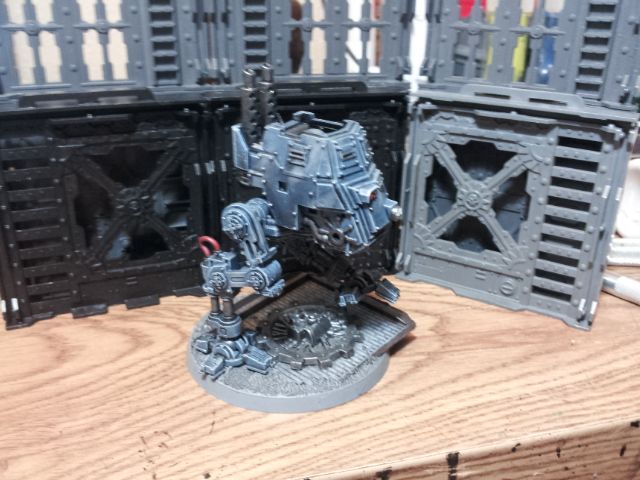
I got the weapons done for my Sentinel, and this model clanks off to the army bag to await deployment to a table (hopefully soon).
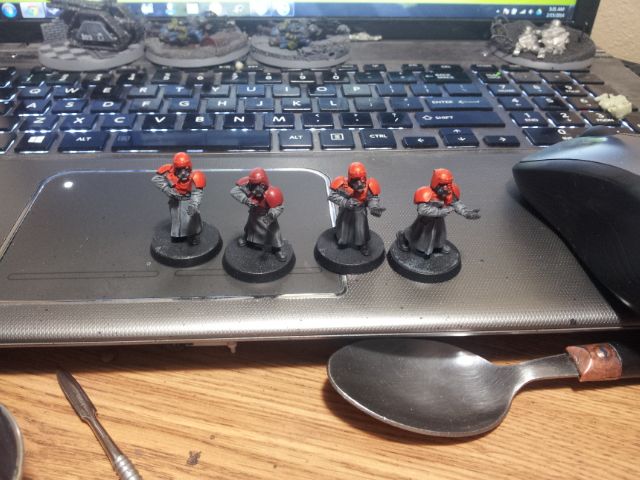
I've completed the greatcoats for these 'counts as' Inquisitorial Henchmen. This coming week I hope to get one squad done, maybe two.
Cheers!
-CJ
I got the weapons done for my Sentinel, and this model clanks off to the army bag to await deployment to a table (hopefully soon).
I've completed the greatcoats for these 'counts as' Inquisitorial Henchmen. This coming week I hope to get one squad done, maybe two.
Cheers!
-CJ
Labels:
Paint Table Saturday,
PIP,
Update
Wednesday, February 5, 2014
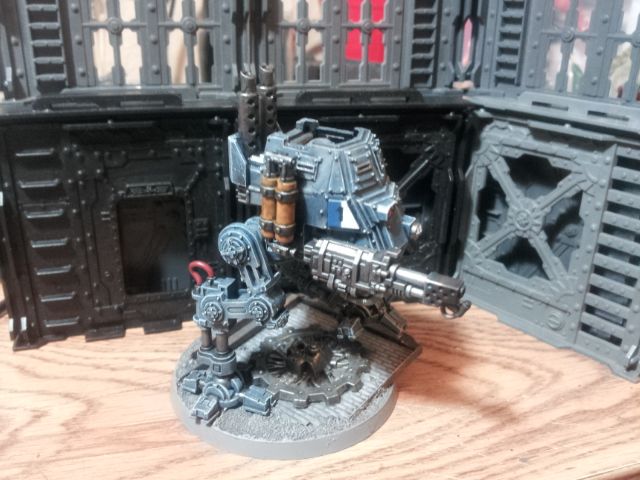
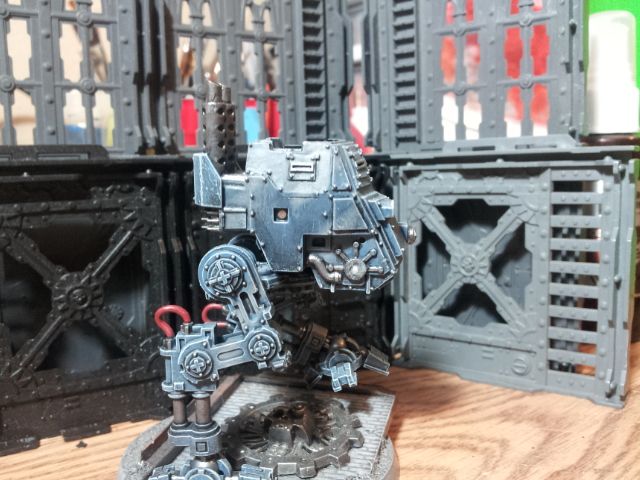
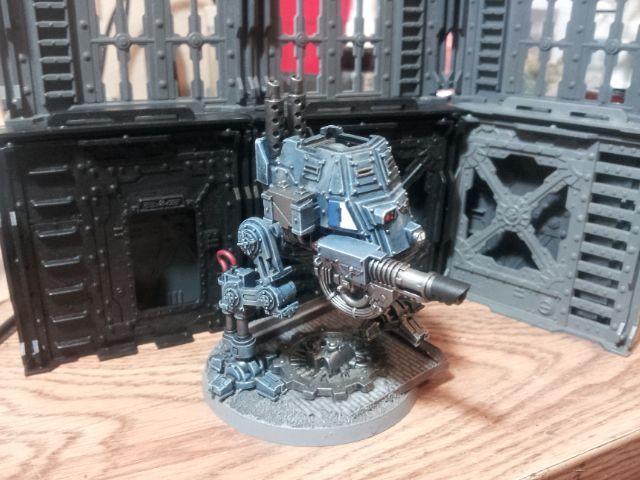
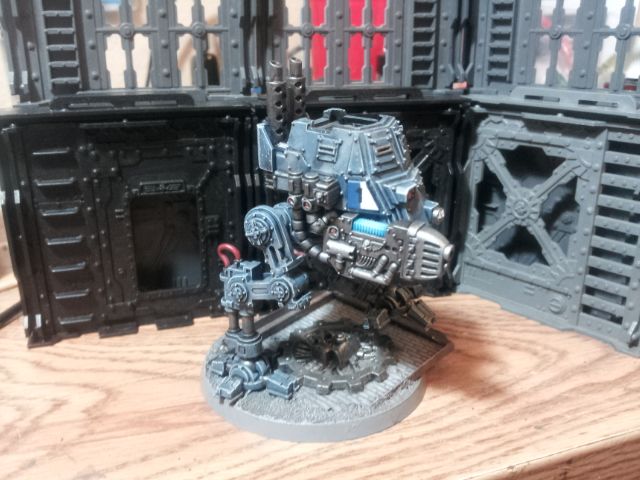
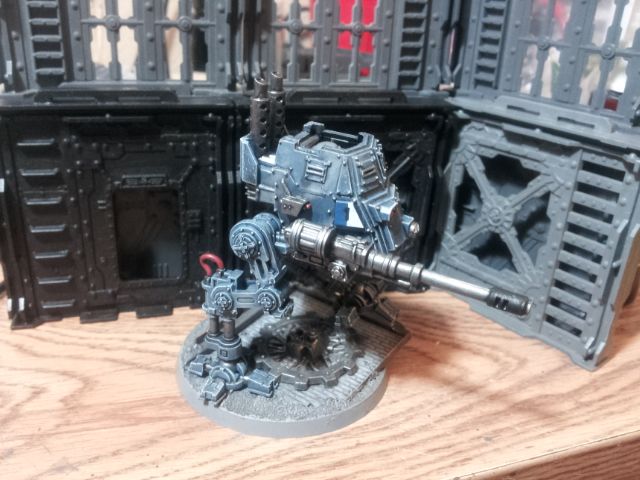
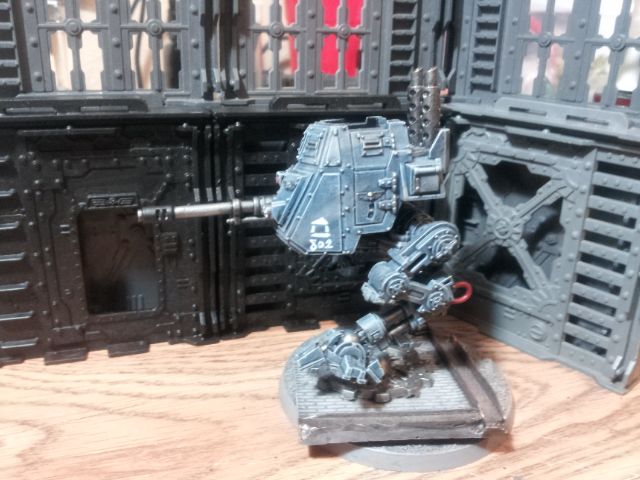
Cadian Armoured Sentinel Complete
I ordered these .063"x .031" rare earth magnets from Magcraft and installed them in my Sentinel. I then added magnets in the weapon systems and their respective accessories. The magnets are small and easy to lose, so if you decide to order some be careful. In my fingers they felt especially tiny.
I have the options made ready for both Armoured and Scout Sentinel. I have another kit and I plan to build the same configuration with it. I will then use the left over Armageddon pattern bits to convert some eBay salvage jobs I won last year.
I added army markings and unit id on the walker. After the unit gets some kills, I will add the appropriate kill markers.
Once I finish with the eBay Sentinels and the other new kit, I'll have five total. I plan to convert some heavy bolters and multi-meltas to round out the weapon selection. It is always fun to herd Ork Boyz from the flanks :D
Cheers,
CJ
I have the options made ready for both Armoured and Scout Sentinel. I have another kit and I plan to build the same configuration with it. I will then use the left over Armageddon pattern bits to convert some eBay salvage jobs I won last year.
I added army markings and unit id on the walker. After the unit gets some kills, I will add the appropriate kill markers.
Once I finish with the eBay Sentinels and the other new kit, I'll have five total. I plan to convert some heavy bolters and multi-meltas to round out the weapon selection. It is always fun to herd Ork Boyz from the flanks :D
Cheers,
CJ
Labels:
40k,
Cadians,
Complete,
Magnetized,
Sentinel
Saturday, February 1, 2014
Paint Table Saturday no. 2
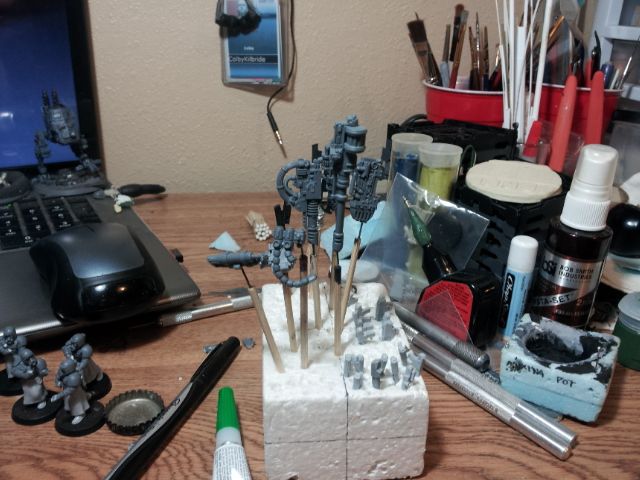
Welcome back! This week has been another mostly assembly focused week, with the goal of getting my 'counts as' Henchmen all put together. My rare earth magnets arrived as expected, and I got the Sentinel weapons ready to mount.
Here they are all ready for paint. You can also see the weapons for the Henchmen stuck into the styrofoam block.
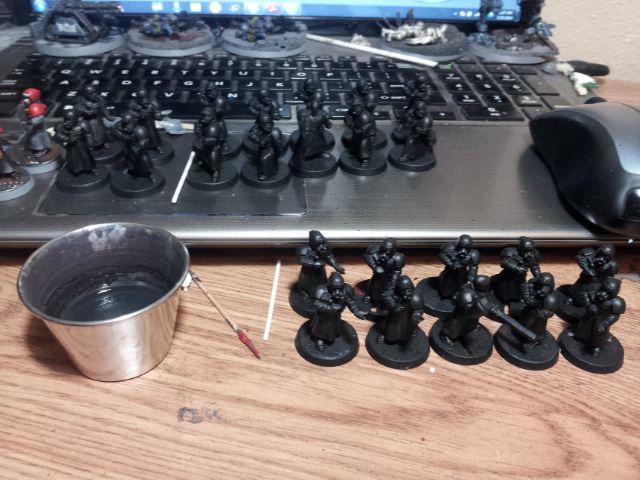
Here are the remaining 24 Henchmen with their basecoats. I hope to have better progress to showcase next week.
Cheers,
-Xi
Here they are all ready for paint. You can also see the weapons for the Henchmen stuck into the styrofoam block.
Here are the remaining 24 Henchmen with their basecoats. I hope to have better progress to showcase next week.
Cheers,
-Xi
Labels:
Paint Table Saturday,
Update,
WIP
Saturday, January 25, 2014
Paint Table Saturday no. 1
I saw this header over on Excommunicate Tratoris, and he saw it a few places. It comes from Sofie's Paint Blog, and I think its a good idea and will therefore perpetuate it.
So, what's on my paint table? Not much at the moment. Right now it is more of a assembly table than a painting table.
My 'counts as' Coteaz and his Henchmen are ready to take to the field. These are the most recent finished items off the table. Assembly of another 24 is planned. I will also need to cast custom bases for them.
This IG Sentinel is mostly finished, except for weathering and unit markings. I have also been waiting on an order of rare earth magnets to move forward with the weapons systems. They arrived yesterday, and so this project moves forward.
This Steel Legion heavy bolter team is the only thing awaiting paint only. As I said to start, this coming week looks to be a production week.
Cheers,
-Xi
So, what's on my paint table? Not much at the moment. Right now it is more of a assembly table than a painting table.
My 'counts as' Coteaz and his Henchmen are ready to take to the field. These are the most recent finished items off the table. Assembly of another 24 is planned. I will also need to cast custom bases for them.
This IG Sentinel is mostly finished, except for weathering and unit markings. I have also been waiting on an order of rare earth magnets to move forward with the weapons systems. They arrived yesterday, and so this project moves forward.
This Steel Legion heavy bolter team is the only thing awaiting paint only. As I said to start, this coming week looks to be a production week.
Cheers,
-Xi
Subscribe to:
Posts (Atom)